Home/Craft Basket/Cardboard Kumihimo Loom Bracelets
Cardboard Kumihimo Loom Bracelets
Craft Basket

Cardboard Kumihimo Loom Bracelets

Turn a scrap of cardboard into a Japanese braiding disk and let kids weave rainbow friendship bracelets, one simple move at a time.

This page may contain affiliate links. I earn a commission from qualifying purchases.
Ages 5-810 min prep

We made the first kumihimo disc out of a cardboard box lid, and it worked so well that we never bought a real one.

The braid pattern is a simple repeated move, and once a child has the rhythm they can do it anywhere: in the car, on the sofa, waiting at the doctor. My daughter braided her way through an entire family trip.

Every bracelet gets given away to a friend. We are on batch number nine.

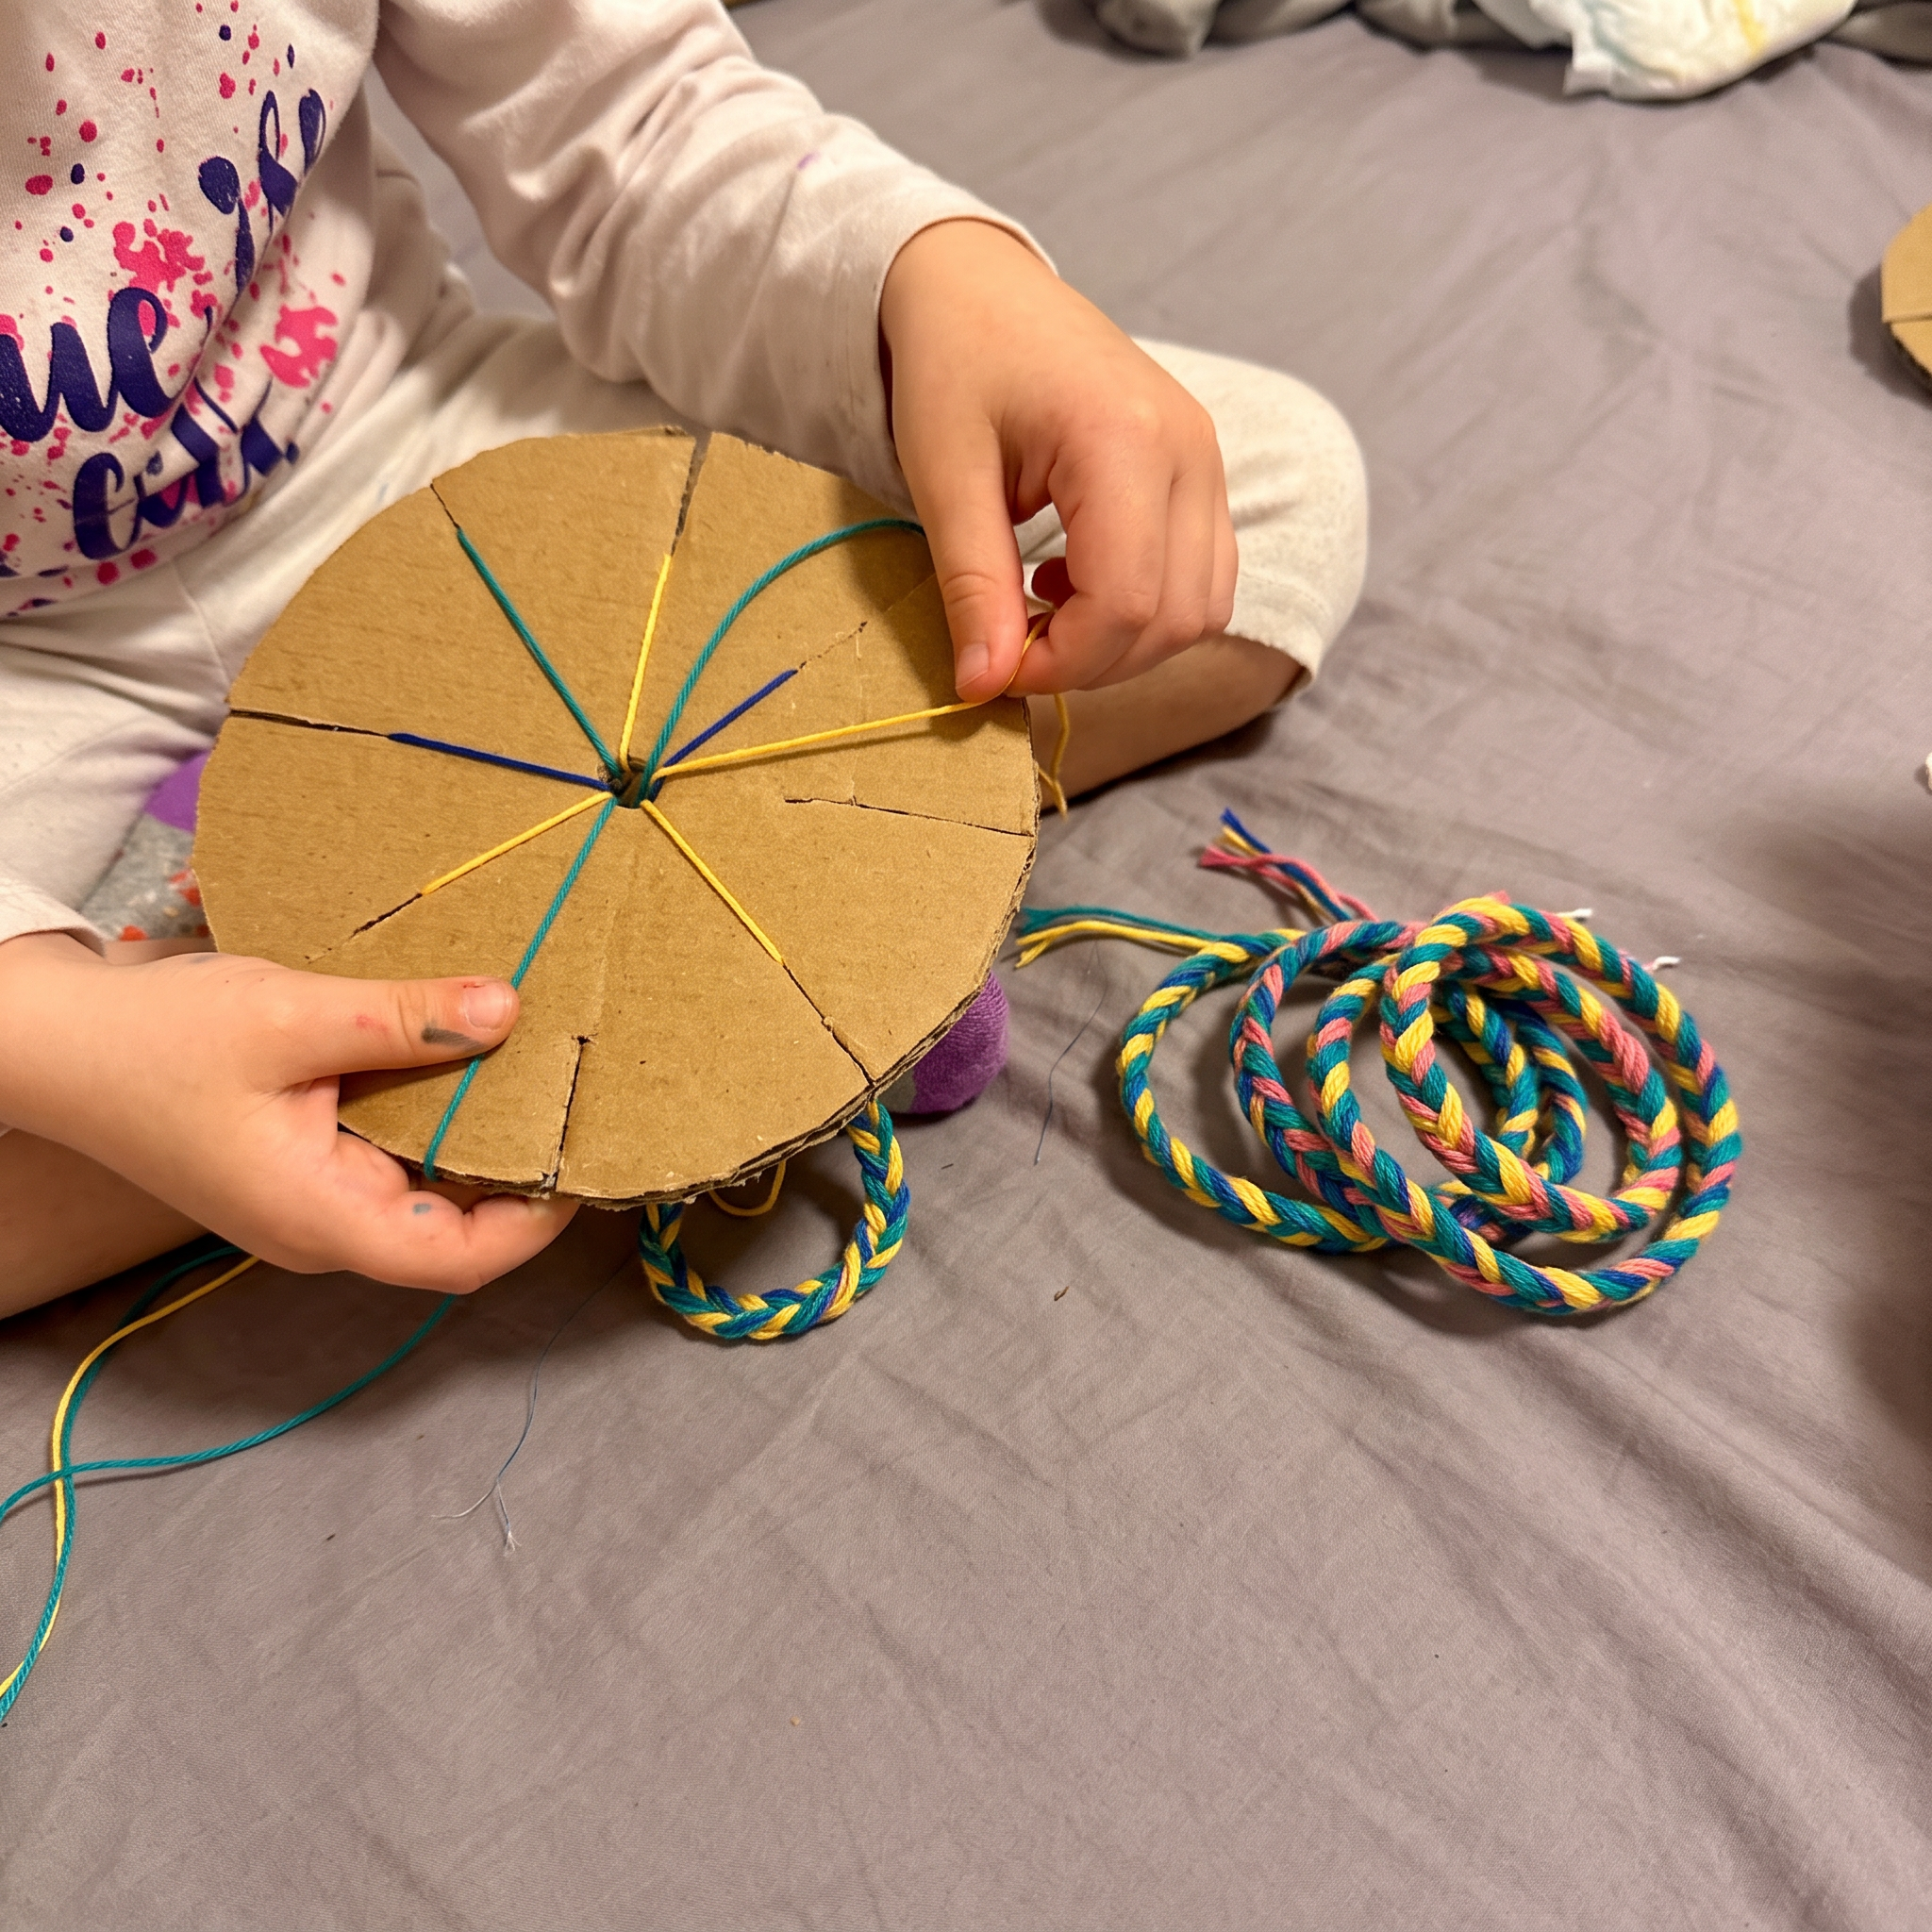
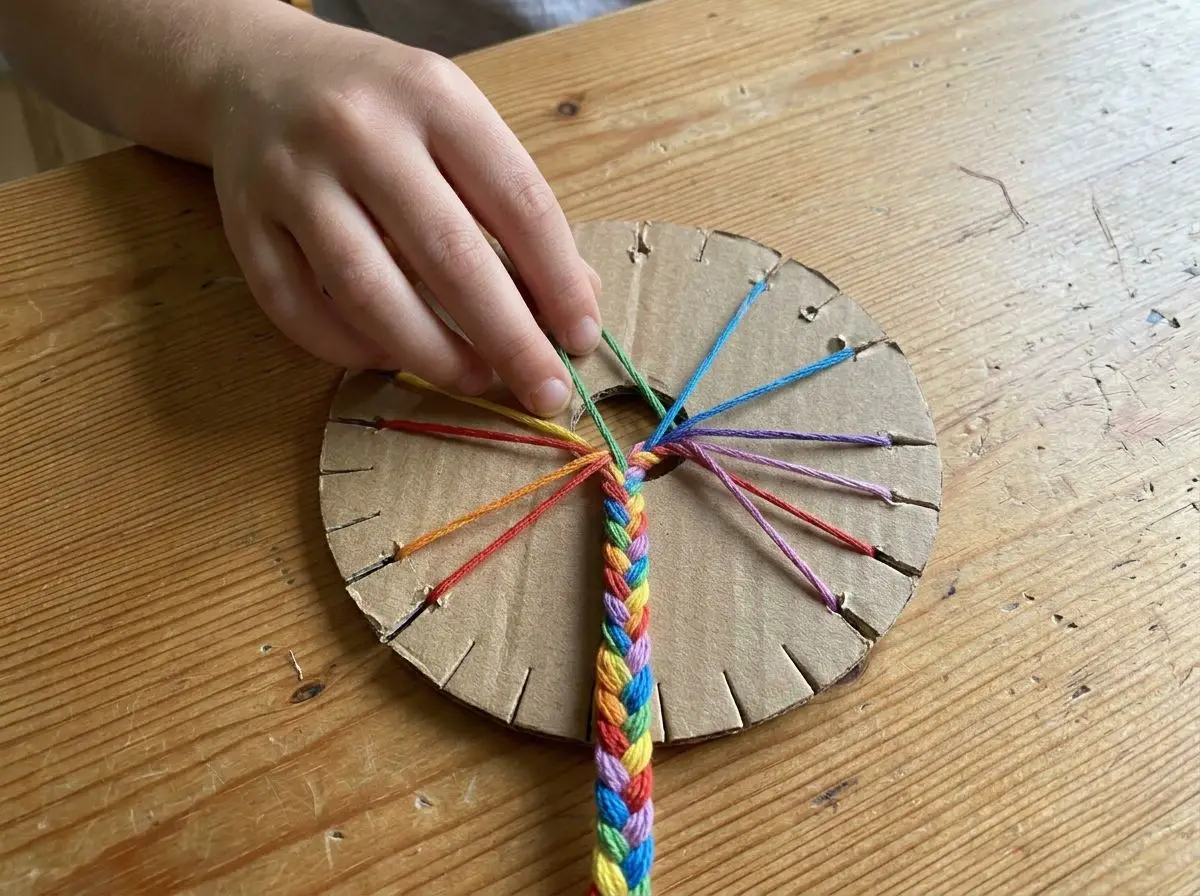
Threads clipped into the cardboard disc, mid braid
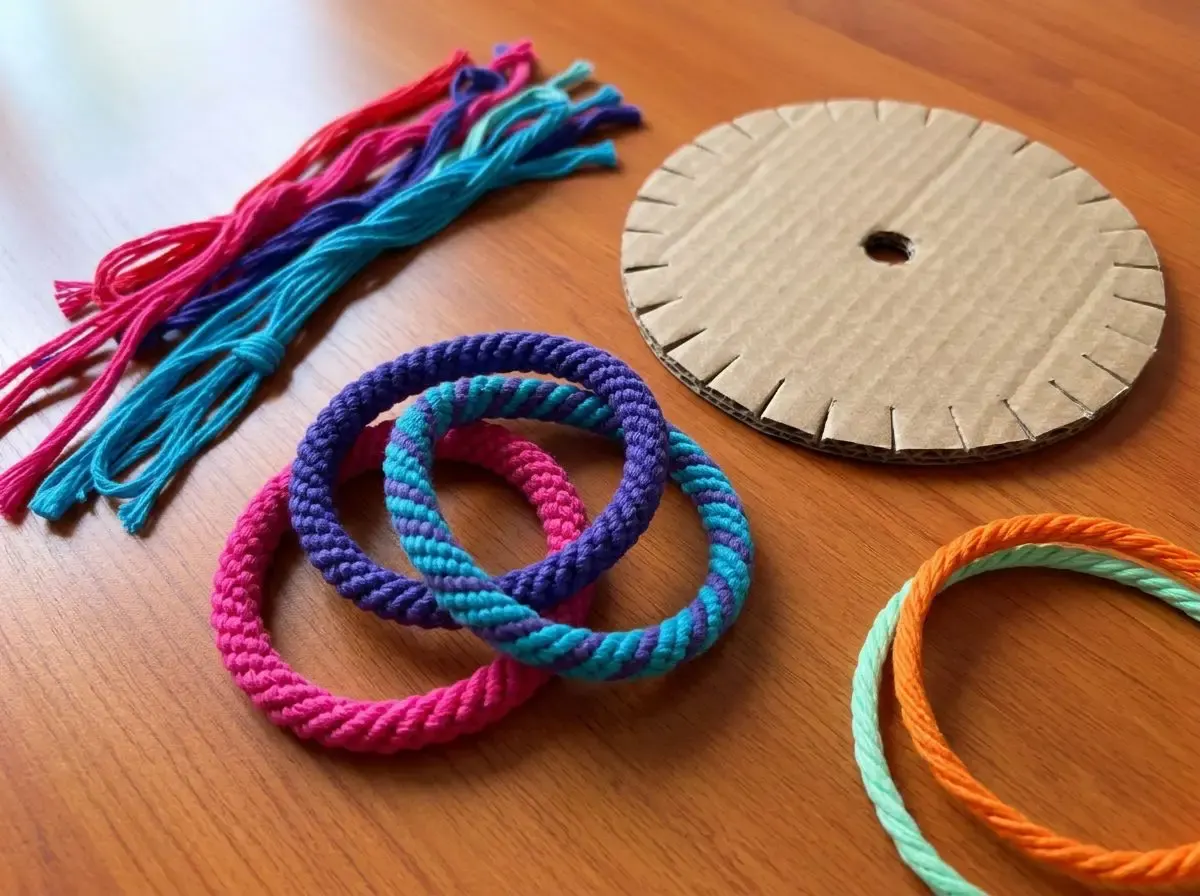
A pile of finished bracelets waiting to be given away
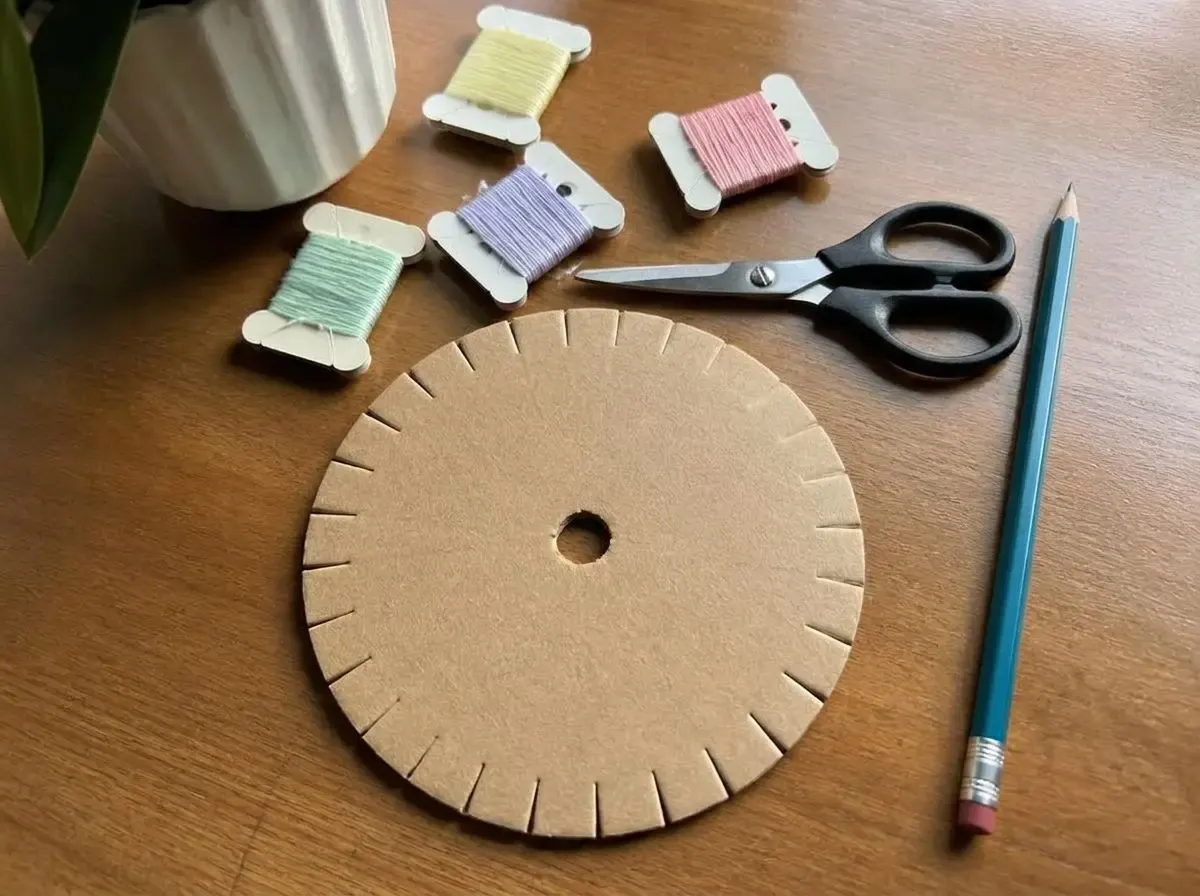
The homemade cardboard disc and floss, ready to start

What you'll need

  • A piece of thick corrugated cardboard (a shipping box works)
  • A round object to trace, about 12-15 cm across (a bowl or mug)
  • Scissors (adult cuts the disk and the notches)
  • A pencil and a ruler
  • 7 strands of yarn or embroidery floss, about 70 cm each, in 3-4 colors
  • A small piece of tape or a bead to weight the braid

How to make it

  1. 1

    Trace the round object onto the cardboard and cut out the disk. Poke a hole in the very center, about the size of a pencil.

  2. 2

    Mark 8 evenly spaced points around the edge (think of a clock: 12, 1:30, 3, 4:30, 6, 7:30, 9, 10:30) and cut a short notch at each one.

  3. 3

    Gather the 7 strands, knot them together at one end, and push the knot down through the center hole so it hangs underneath.

  4. 4

    Slot each strand into a notch. One notch stays empty — that empty slot is the secret to the whole braid.

  5. 5

    Hold the disk with the empty notch at the bottom. Count 3 notches up on the right and move that strand down into the empty slot.

  6. 6

    Turn the disk so the new empty notch is at the bottom again, and repeat: count 3, move down, turn.

  7. 7

    Keep going with the same rhythm. After 20-30 moves, lift the disk and peek underneath — a round braided cord is growing.

  8. 8

    When the braid is long enough to wrap a wrist, slide the strands out, knot the end, trim the tails, and tie it on.

Tip

Say the rhythm out loud together — 'count 3, move down, turn' — it turns the braid into a little song and kids stop needing help after a few rounds.