Craft Basket
Ice Cube Painting
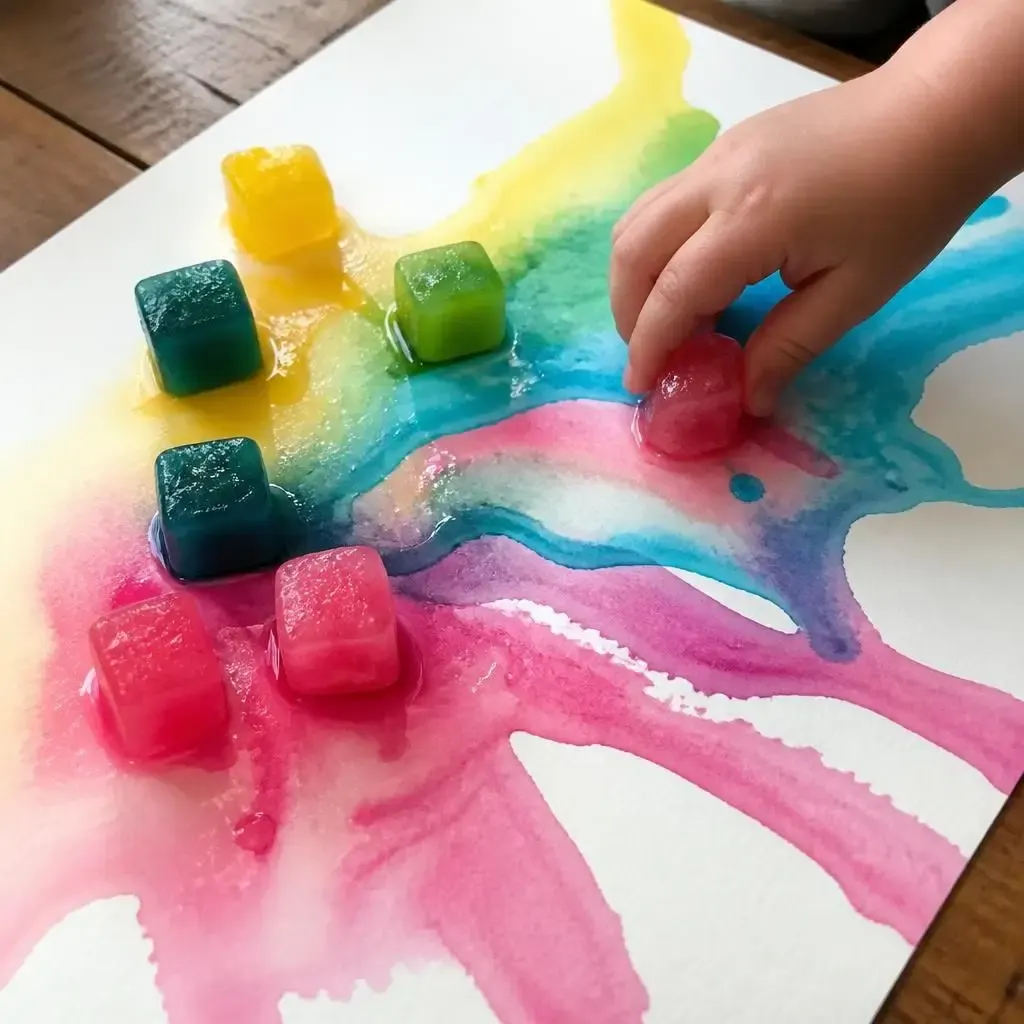
Frozen paint cubes melt slowly across paper, blending soft colors in a mess-friendly sensory art moment.
This page may contain affiliate links. I earn a commission from qualifying purchases.
Frozen paint cubes melt slowly across paper, blending soft colors in a mess-friendly sensory art moment.
This page may contain affiliate links. I earn a commission from qualifying purchases.
On the hottest days of summer, when going outside before 5pm feels impossible, this is what saves us. I freeze the trays the night before and pull them out when the whining starts.
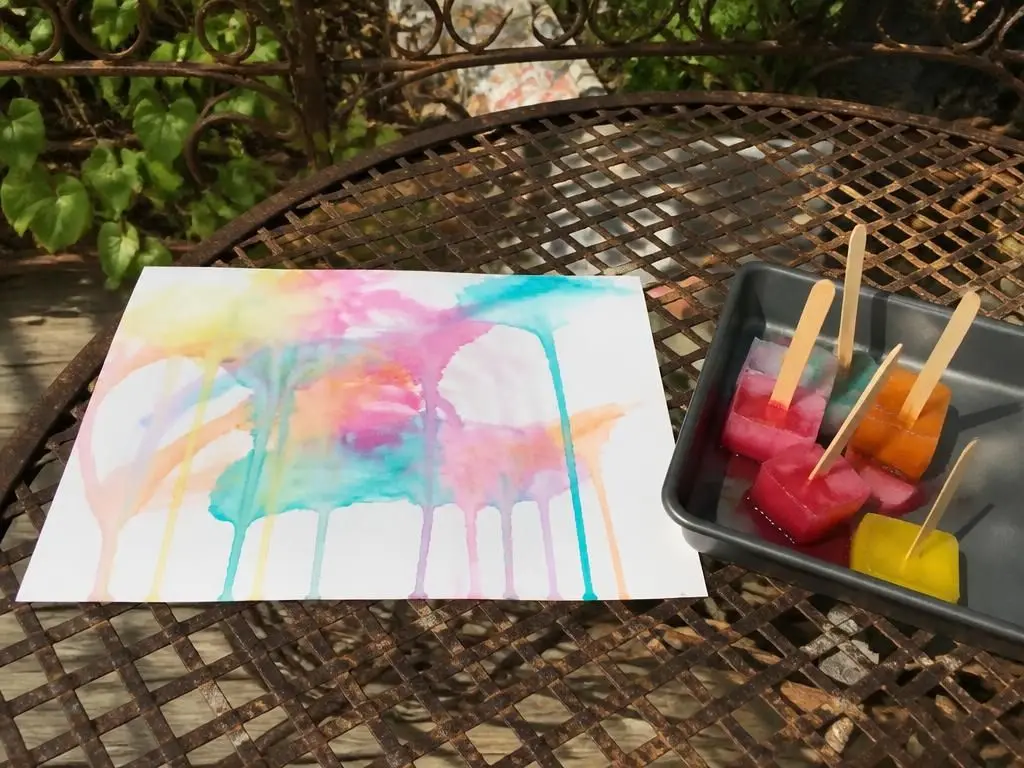
My kids hold the sticks and drag the cubes across the paper, and the color follows them like it is alive. It is cold in their hands, it melts, it changes. My son once spent forty minutes on one sheet just watching the puddles mix.
We do it on the patio in swimsuits, so the mess is part of the fun and the cleanup is a hose.
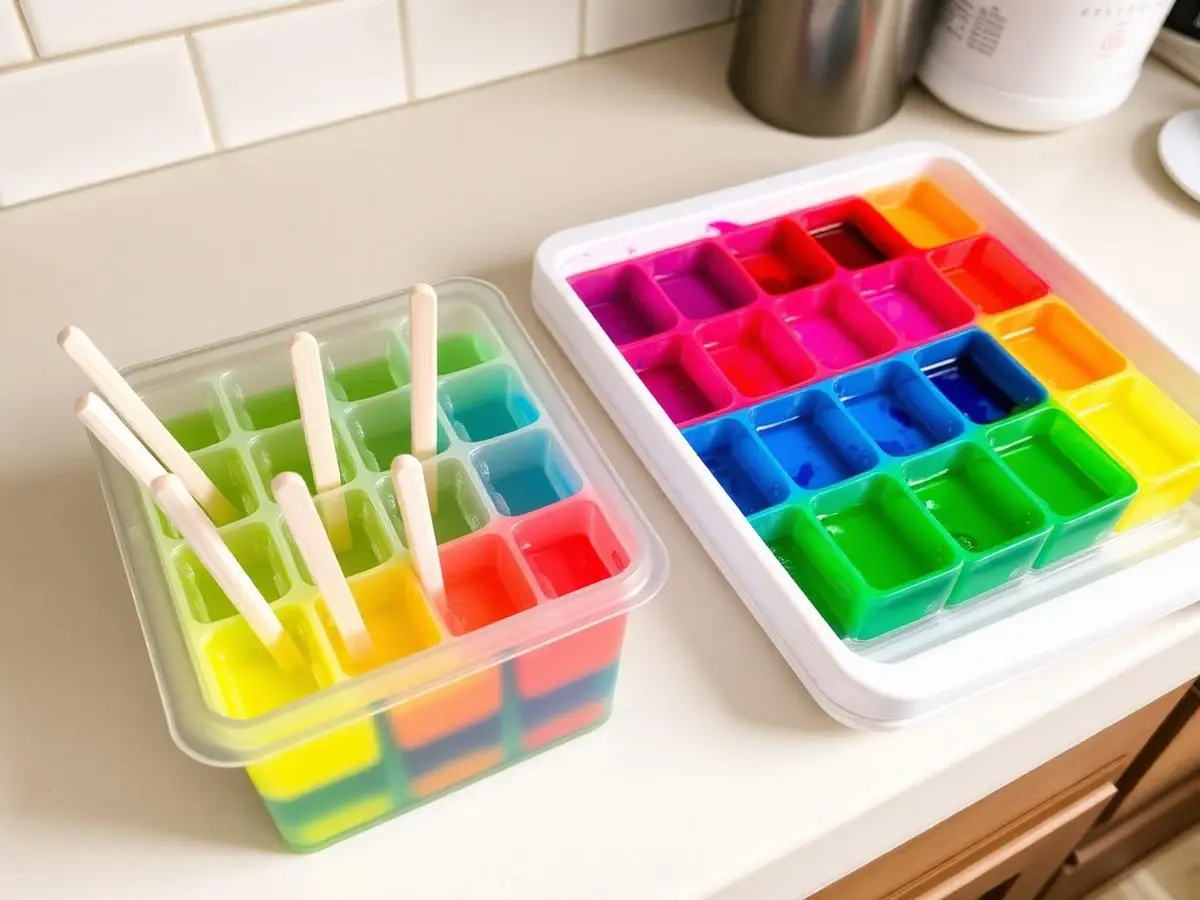
Mix water with paint or food coloring and pour into the tray.
Place a popsicle stick in each cube and freeze overnight.
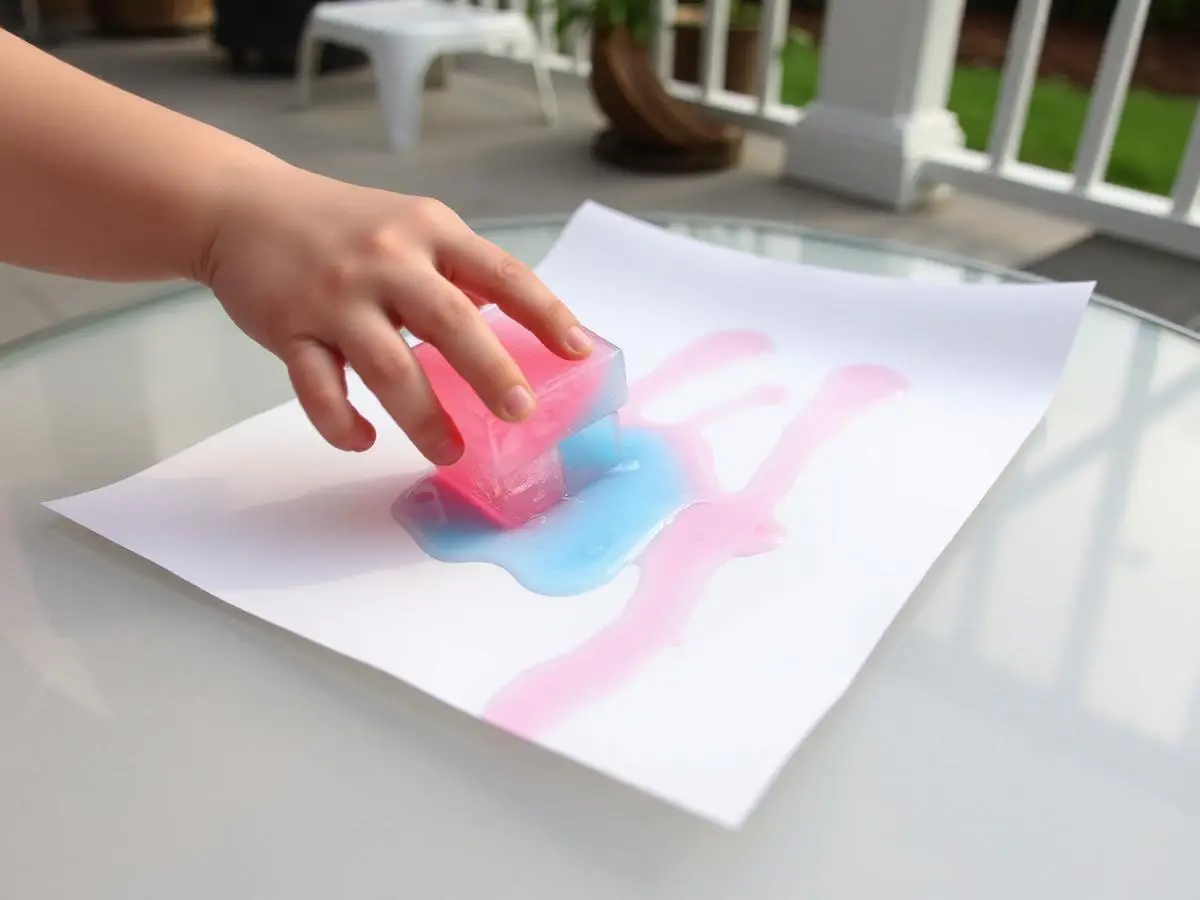
Pop the frozen cubes out and set them on watercolor paper.
Let your child glide the ice across the page and watch the colors bloom.
If your child loved painting on ice, the next step is building with it. Salt and watercolor turn frozen blocks into melting sculptures.
Ice, salt and paint, with a little science hiding inside.
A perfect activity for warm afternoons — try it outside on a picnic blanket.
Loved this basket?
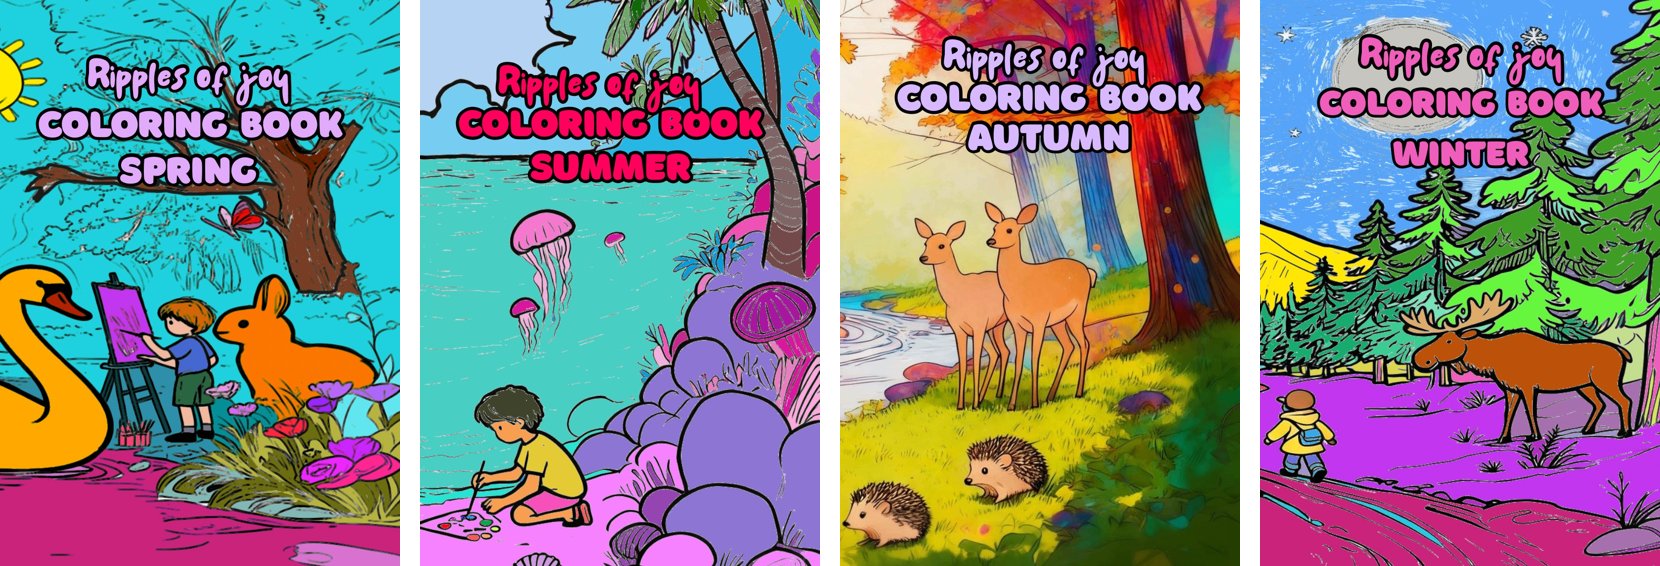
Get our 4 Seasons coloring pack, free
Four printable nature coloring books, about 100 pages of animals, flowers and treasures from every season. Then one small idea a week: a craft secret, a nature whisper, or a question for your family table.
By subscribing you agree to our Privacy Policy. Free, every Sunday morning. No spam, and you can unsubscribe anytime.
Keep the magic going