Home/Craft Basket/Salt & Watercolor Ice Sculptures
Salt & Watercolor Ice Sculptures
Craft Basket

Salt & Watercolor Ice Sculptures

A mesmerizing ice art experiment where salt melts tiny rivers into frozen blocks and watercolor paints trace every path.

This page may contain affiliate links. I earn a commission from qualifying purchases.

Ages 3-610 min (plus overnight freezing) prep
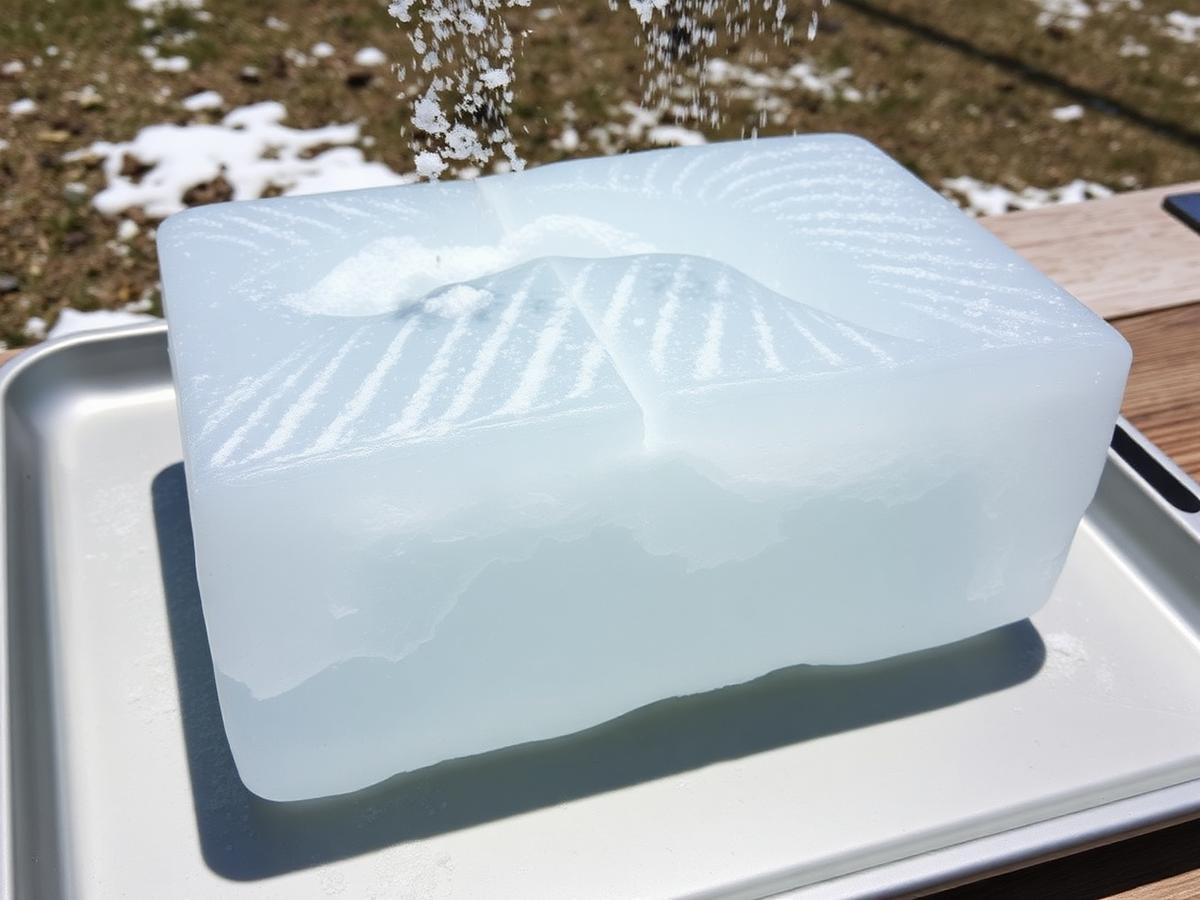
We froze a mixing bowl of water overnight, tipped it onto a tray in the yard, and handed over the salt shaker. That was the entire plan.

Salt melts tunnels into the ice, and when you drip watercolor into them the color runs straight through the middle of the block. It is beautiful and it is also, quietly, a science experiment.

Both of my kids stayed with it for over an hour, which in our house is basically a record.

Salt sprinkled over a big block of ice, carving tunnels
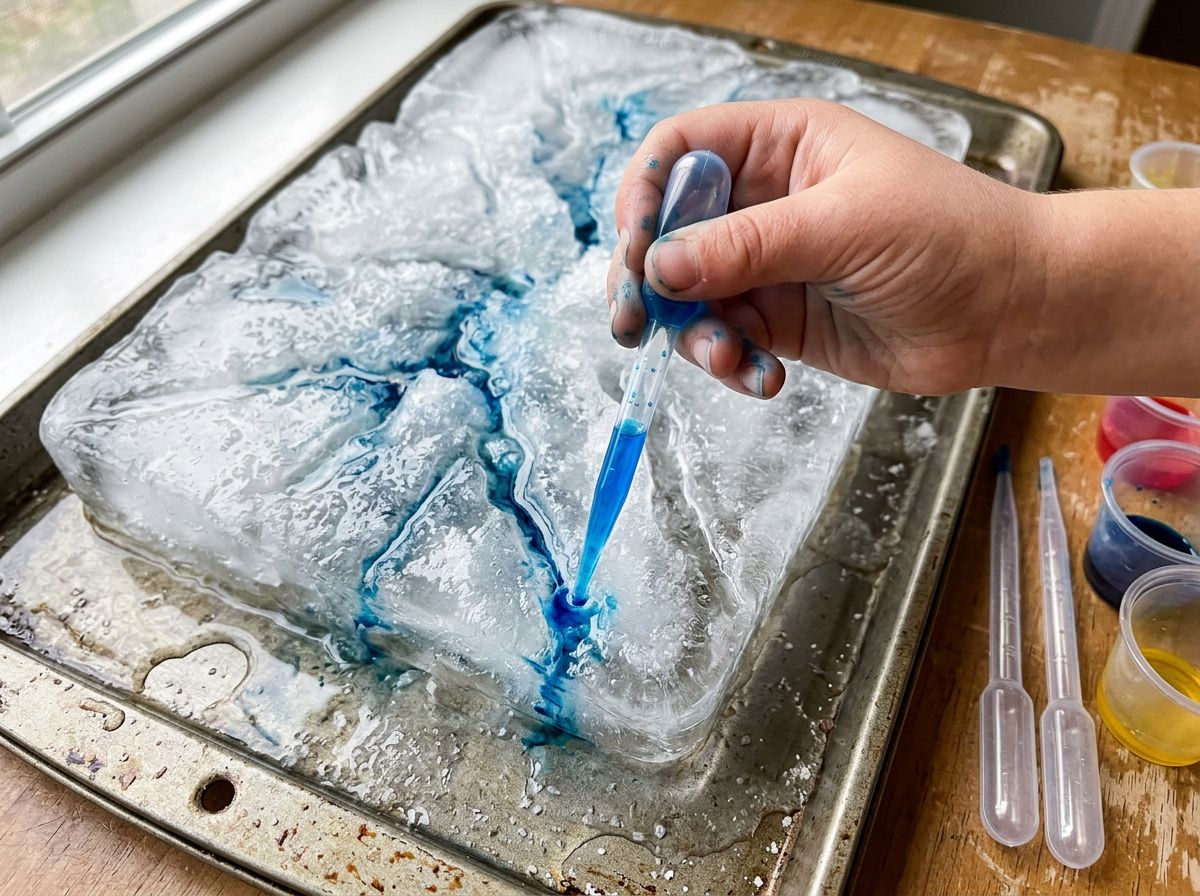
Watercolor dripped in and running through the melted channels
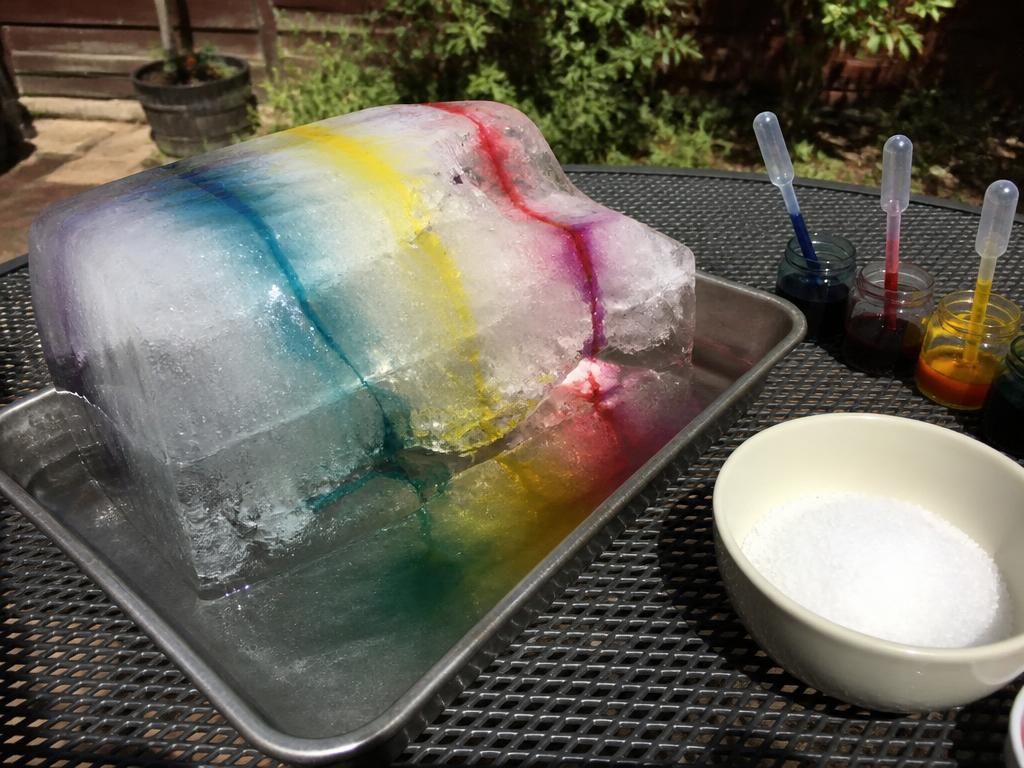
The big block with color running down the salt channels

What you'll need

  • A small plastic container or empty milk carton for freezing ice
  • Water
  • Coarse salt or kosher salt in a small bowl
  • Liquid watercolors or watered-down food coloring
  • A dropper or small spoon
  • A shallow tray or baking dish to catch drips
  • A towel for little hands

How to make it

  1. 1

    The night before, fill a small plastic container with water and freeze it solid. A rectangular block is easiest for small hands to work on.

  2. 2

    When you are ready to play, run warm water over the outside of the container for a few seconds, then pop the ice block out onto the tray.

  3. 3

    Invite your child to sprinkle salt across the top of the ice. Watch together as the salt begins to melt tiny grooves into the frozen surface.

  4. 4

    Fill the dropper with one color and drip it onto the salted ice. The color will race down the melted channels like a tiny river.

  5. 5

    Try a second and third color. Ask your child which path each color takes and why some lines cross or stop.

  6. 6

    Add more salt to a new spot and observe how the ice changes shape. The block will slowly transform into a colorful, glistening sculpture.

  7. 7

    When the activity winds down, let your child touch the smooth and bumpy parts of the ice and describe how it feels.

Tip

Use liquid watercolors rather than thick paint so the colors flow easily. Keep a towel nearby because the activity is wonderfully wet.