Home/Craft Basket/Wet-on-Wet Watercolor Basket
Wet-on-Wet Watercolor Basket
Craft Basket

Wet-on-Wet Watercolor Basket

A Waldorf-inspired painting basket where colors bloom and blend across damp paper — pure, calm, hypnotic color play.

Ages 3-610 min prep

What you'll need

  • Thick watercolor paper (140 lb / 300 gsm), cut to about A4 size
  • A smooth wooden board or plastic tray slightly larger than the paper
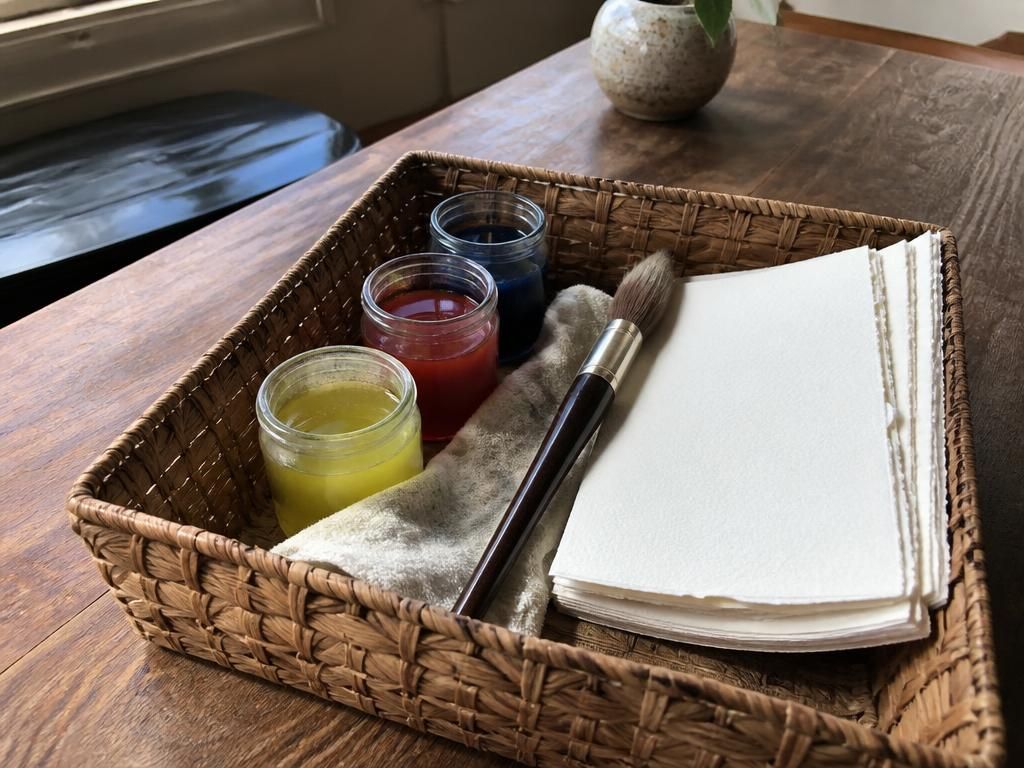
  • Three small glass jars with liquid watercolor paint: lemon yellow, crimson red, cobalt blue (the three primaries)
  • One thick round soft brush (size 12 or larger) — one brush total, not one per color
  • A jar of clean water for wetting the paper
  • A second jar of clean water for rinsing the brush
  • A natural sponge or soft folded cloth
  • A folded dry cloth for smoothing the paper

How to make it

  1. 1

    Set the basket out the night before: tuck the jars, brush, sponge, and paper into the basket so the invitation is ready when your child wakes up.

  2. 2

    In the morning, lay the wooden board on a wipeable surface and place one sheet of watercolor paper on it.

  3. 3

    Dip the sponge in the clean-water jar and gently wipe the whole sheet from edge to edge until it is evenly damp and glossy — no puddles and no dry patches.

  4. 4

    Press the folded dry cloth lightly over the paper to smooth out air bubbles and stick it flat to the board.

  5. 5

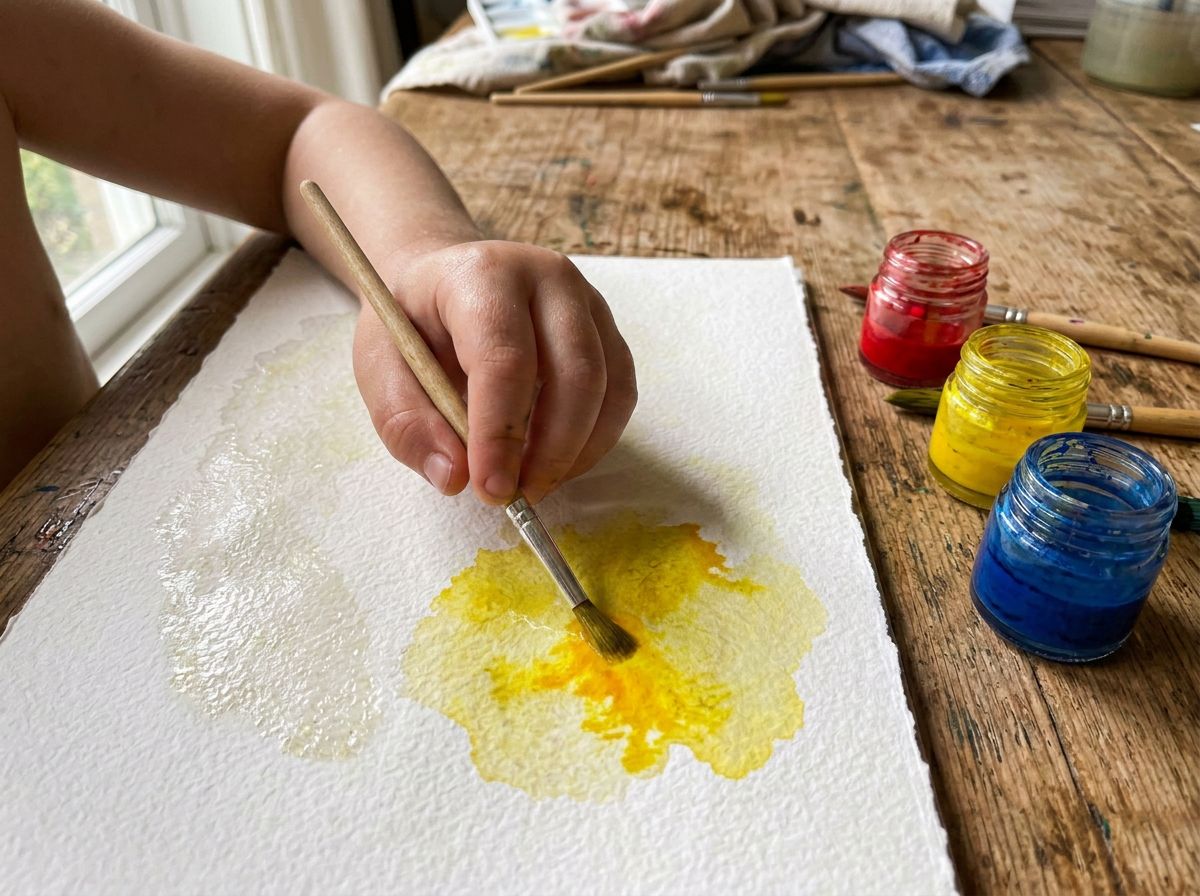
    Sit with your child and show them: dip the brush in the rinse water, tap it on the jar's rim, then dip just the tip into the yellow jar and touch it to the paper. Watch the color bloom and spread on its own.

  6. 6

    Rinse the brush fully in the water jar and dab it on the cloth before picking up the next color. Clean brush between colors is the one rule of this activity.

  7. 7

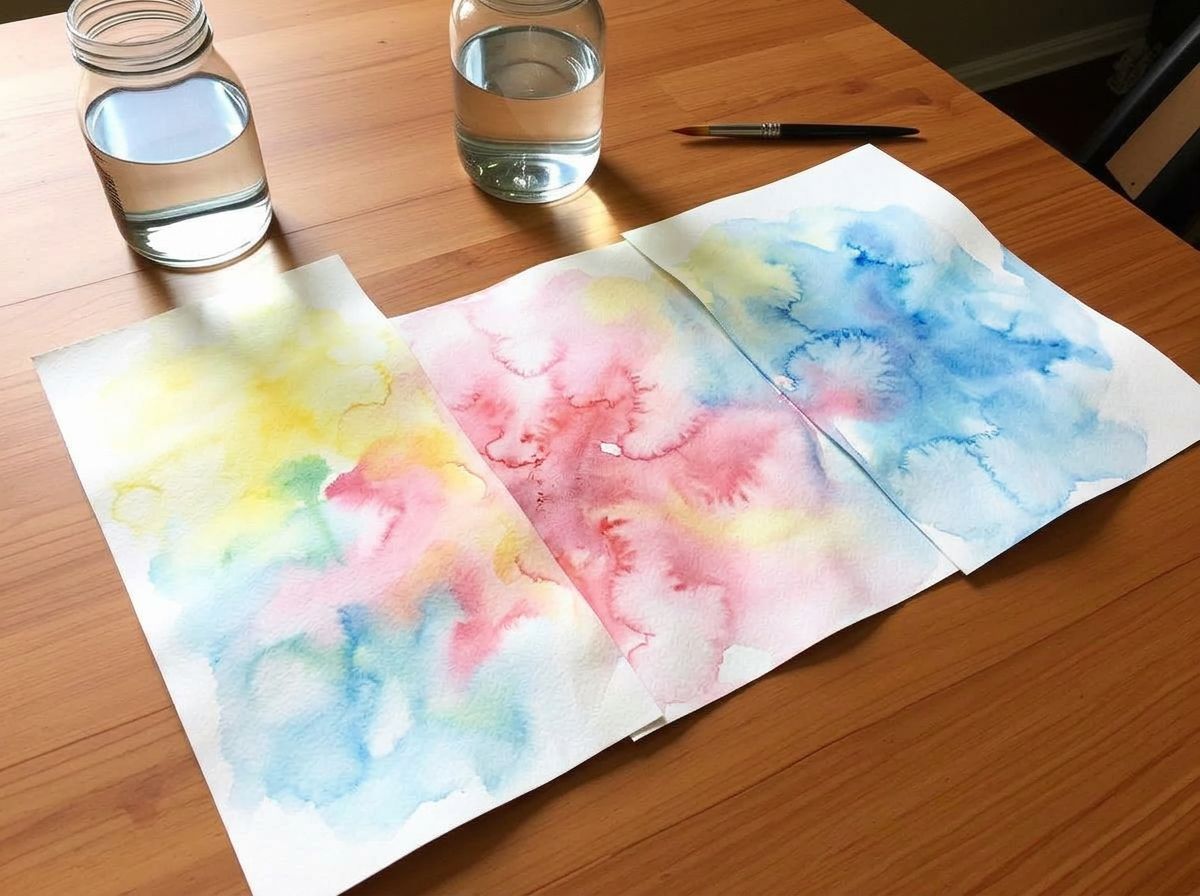
    Invite your child to add red next, then blue, leaving space between the colors so they can meet slowly on the wet paper and make orange, purple, and green on their own.

  8. 8

    Let them keep painting until the paper feels finished to them. There is no picture to make — the colors are the whole point.

  9. 9

    Lift the paper carefully by two corners and lay it flat on a drying rack or clean towel. It will take a few hours to dry.

  10. 10

    Once dry, the paper will be slightly wavy and glowing. Save it for the next activity: cut into cards, folded into little books, or torn into shapes for a collage.

Tip

Keep the palette to only the three primary colors — this is what makes the magic. More colors turn the paper muddy fast. If your child dumps a whole color onto the sheet, that's fine; blot with the sponge and keep going. The calm, quiet mood of this activity is half the gift.