Craft Basket
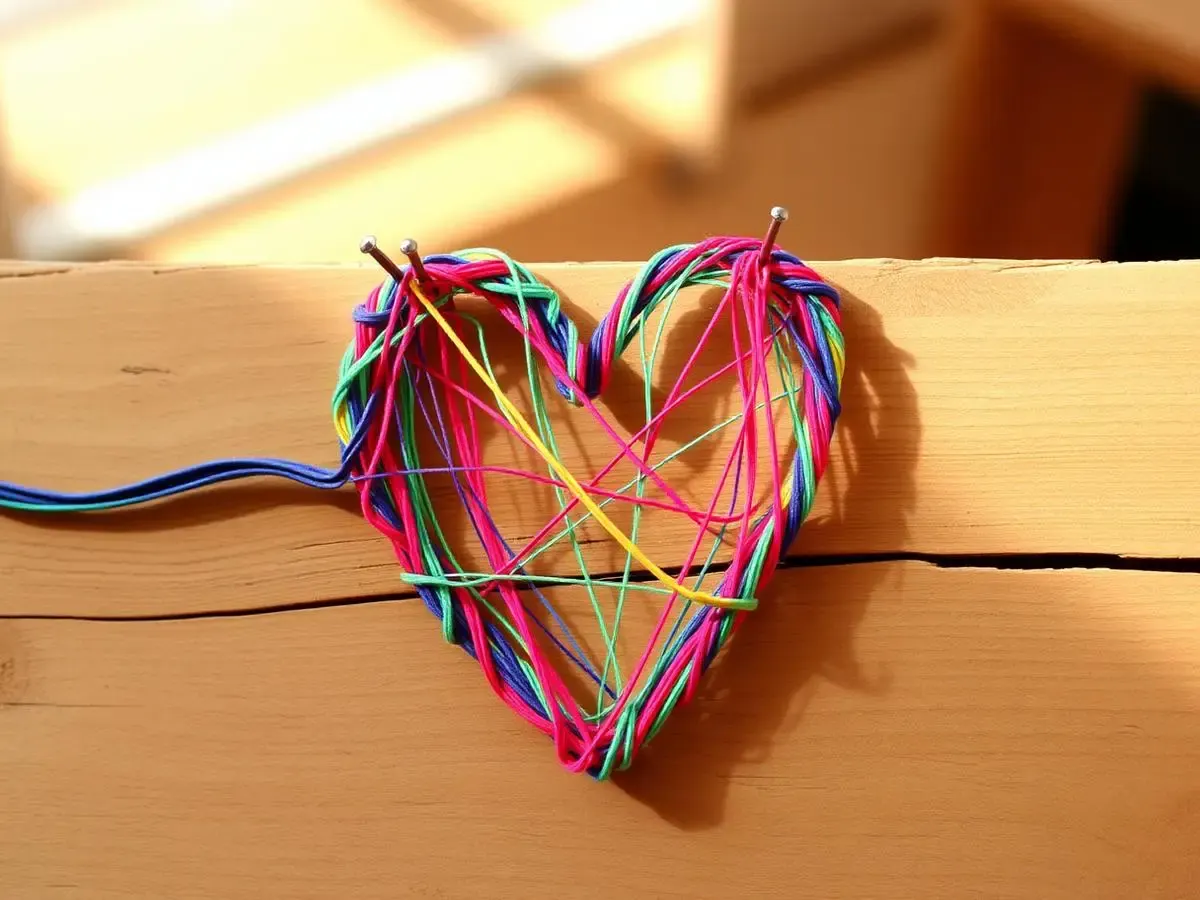
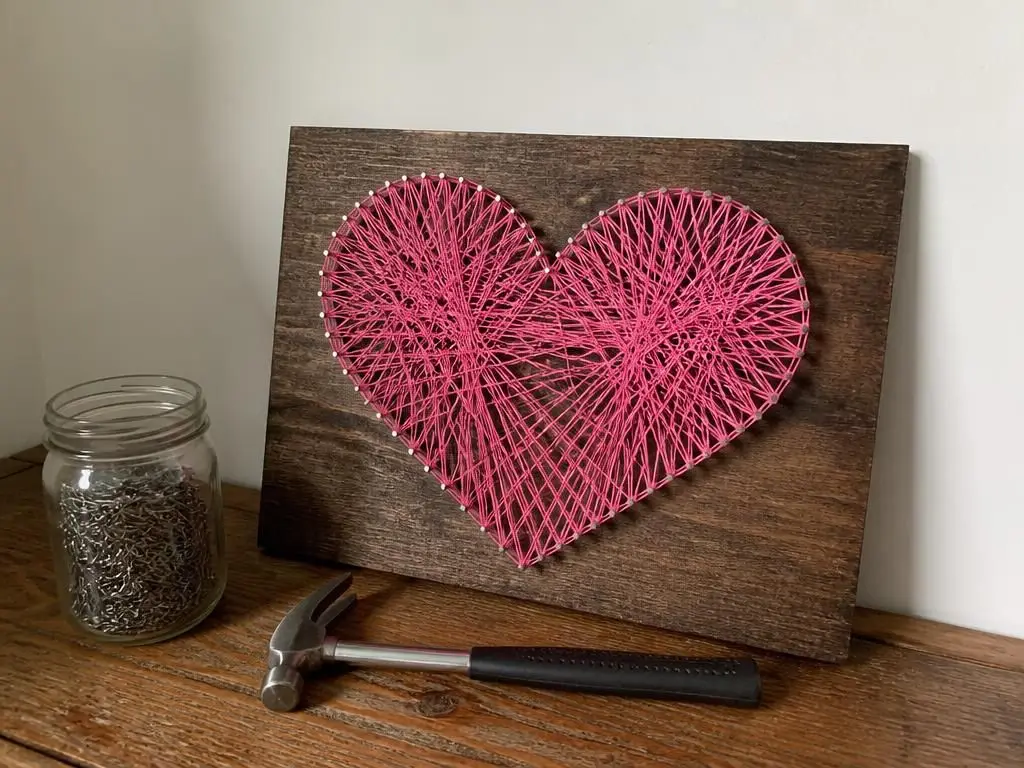
Hammer & String Heart Art
Trace a shape, hammer in the nails, wind the string — a first woodworking-and-art project full of pride.
This page may contain affiliate links. I earn a commission from qualifying purchases.
Trace a shape, hammer in the nails, wind the string — a first woodworking-and-art project full of pride.
This page may contain affiliate links. I earn a commission from qualifying purchases.
Real hammer, real nails, real pride. I hesitated for a long time before letting my kids do this, and then I sat right beside them and it was fine.
The hammering part takes about fifteen minutes and it is loud and thrilling. Then comes the string, which is slow and quiet and completely absorbing, and the mood in the room changes.
They chose their own colors and wound the thread in whatever direction they wanted. Both boards are hanging in the hallway.
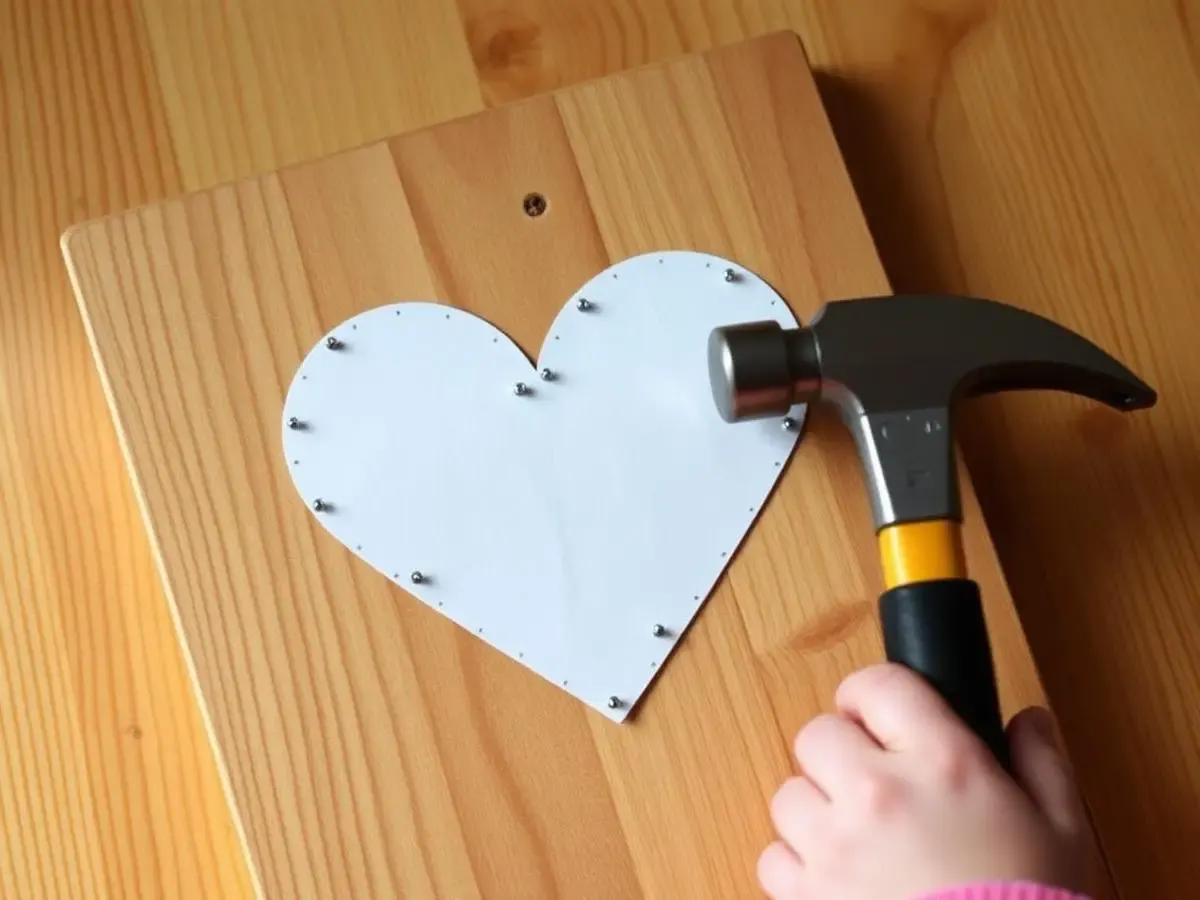
Tape the printed shape onto the middle of the wood board so it can't slide.
Together, mark small dots along the outline of the shape, evenly spaced about a finger-width apart.
Adult starts each nail: hold a nail on a dot and tap gently twice to set it standing up straight.
Now let your child take over the hammer. Two hands on the handle, small taps, aiming for the nail head.
Once every nail is halfway in, peel off the paper. The shape appears in nails only.
Tie the string to any one nail with a double knot.
Wrap the string from nail to nail across the shape in any zig-zag pattern until it looks full. Tie off with another knot.
Sit on the floor with the board between your knees for stability. Praise the aim, not the speed.
Loved this basket?
Get our 4 Seasons coloring pack, free
Four printable nature coloring books, about 100 pages of animals, flowers and treasures from every season. Then one small idea a week: a craft secret, a nature whisper, or a question for your family table.
By subscribing you agree to our Privacy Policy. Free, every Sunday morning. No spam, and you can unsubscribe anytime.
Keep the magic going