Home/Nature Basket/Log Slice Hammering Basket
Log Slice Hammering Basket
Nature Basket

Log Slice Hammering Basket

Real wood, a real little hammer, and a jar of short nails. Kids hammer leaves onto tree slices, then wrap yarn between the nails to make their own string art.

This page may contain affiliate links. I earn a commission from qualifying purchases.

Ages 4-85 min prep

Giving my daughter a real hammer felt like a big step. I hovered for the first five minutes, then sat down on the step with my coffee and watched her concentrate harder than I had seen in weeks.

Hammering is deeply satisfying work: it is loud, it is physical, and it has an obvious result. For a child who has too much energy and nowhere to put it, a log slice and ten nails are better than any toy.

We started with 'hammer a nail anywhere' and it slowly grew into leaf pinning, then yarn wrapping, then a whole afternoon of pattern making.

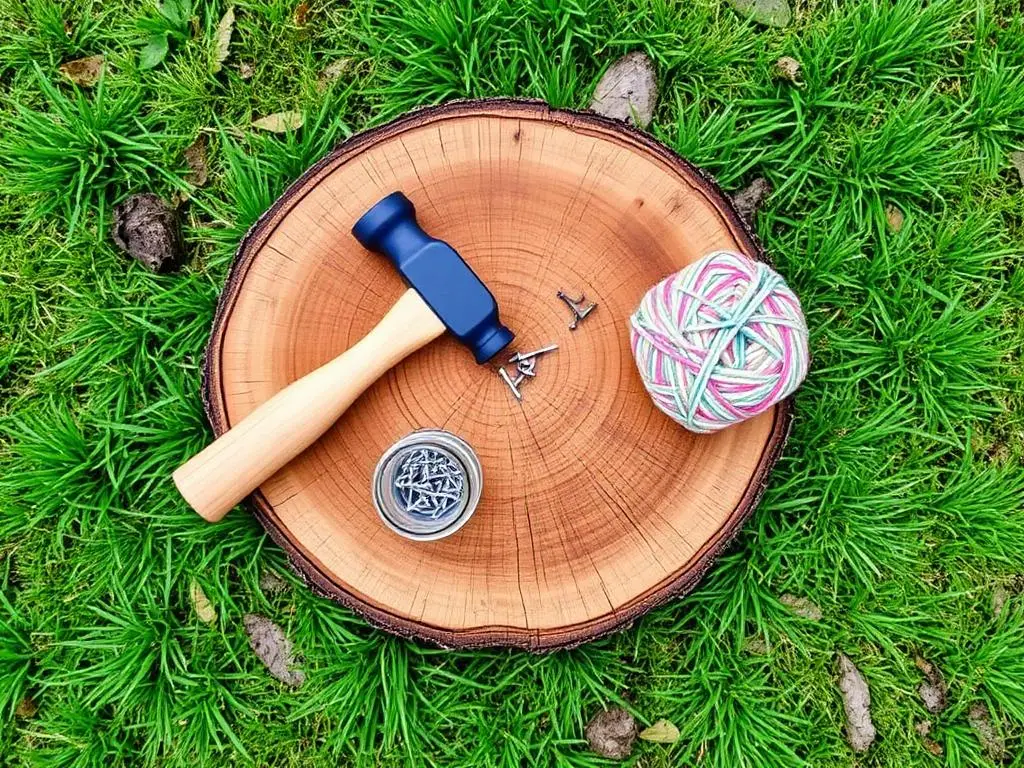
A log slice, a real small hammer, a jar of nails and a ball of yarn.
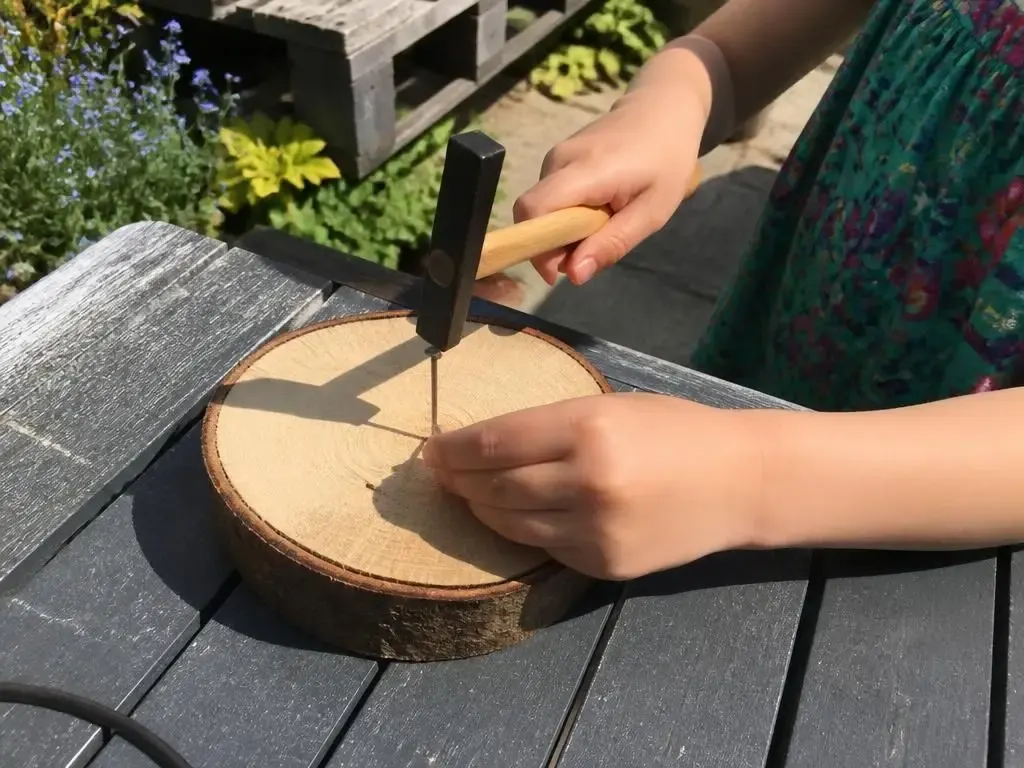
Both hands low and close to the wood — the safest grip for small hands.
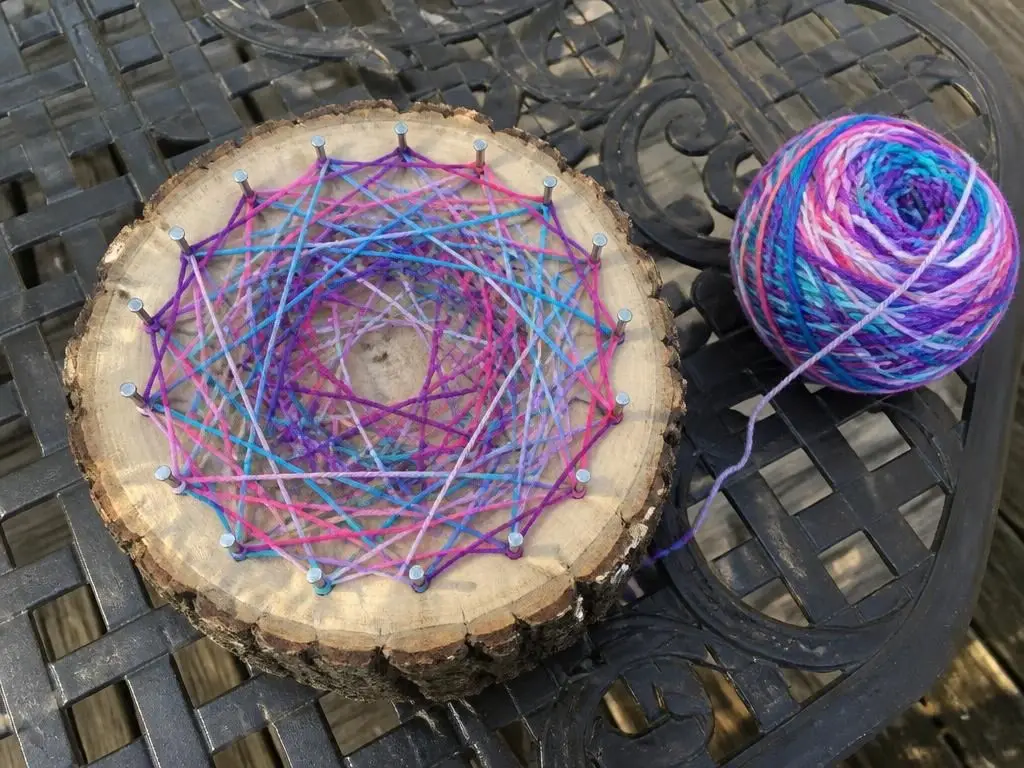
Nails around the edge, yarn wrapped freely — every slice ends up different.

What you'll need

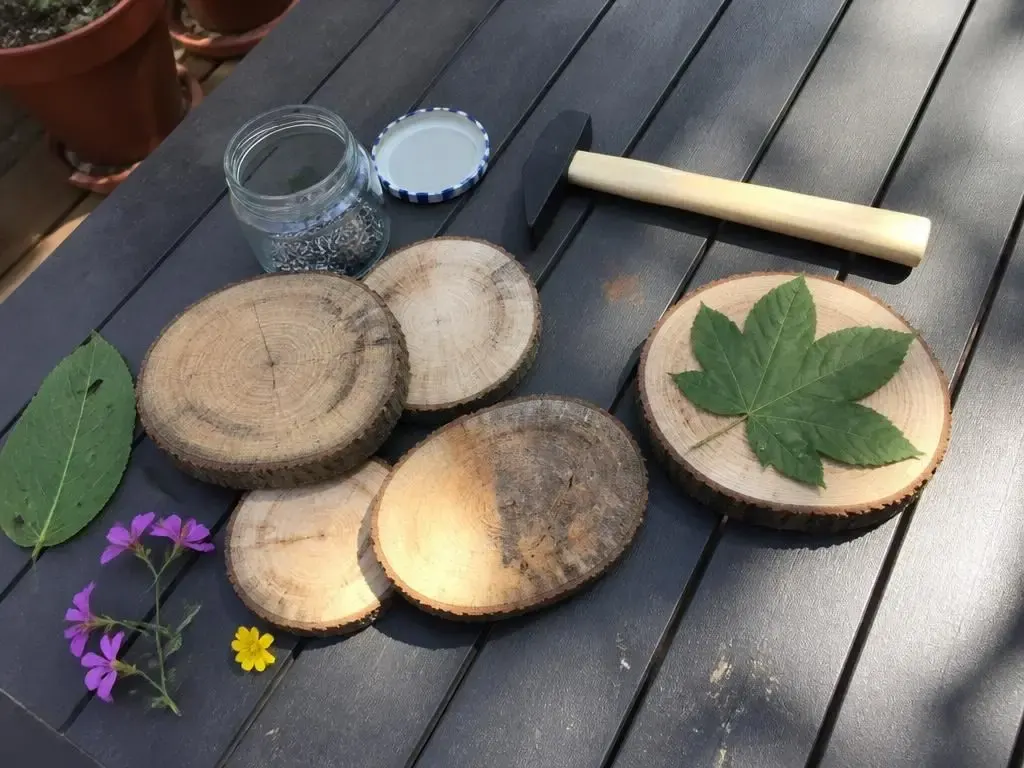
  • 3-5 tree log slices (wood cookies), roughly 12-15 cm across and 3 cm thick
  • A small child-size hammer with a wooden handle
  • A jar of short, wide-headed nails (2-3 cm — long enough to hold, short enough to stay safe)
  • Leaves, petals, and small flat flowers from a walk
  • A ball of colourful yarn
  • A garden table or a low sturdy surface at waist height

How to make it

  1. 1

    Set up outside on a sturdy table. Show the grip: hammer near the end of the handle, other hand holding the nail low, close to the wood.

  2. 2

    Start with practice nails — just tap them anywhere in the log. Let your child get the feel of the weight before you add a goal.

  3. 3

    Next, lay a leaf on the slice and hammer a nail through its stem so it is pinned to the wood. Add a second leaf, then a flower.

  4. 4

    For the yarn version, hammer 10-16 nails in a rough circle around the edge of the slice, leaving about 1 cm of each nail standing proud.

  5. 5

    Tie the yarn to one nail and let your child wrap it across, around, and back again in any order. There is no wrong pattern — the web builds itself.

  6. 6

    When they run out of yarn, tie off and hang the slice on a branch or lean it on a shelf. It keeps beautifully.

  7. 7

    Pack the hammer and nails back into the basket together — treating the tools with care is part of the activity.

Tip

Wide-headed nails are much easier to hit than thin ones, and a proper small hammer (not a plastic toy) actually makes it safer, because the child does not have to swing hard. Stay close for the first few sessions, then sit back and let them work.