Home/Craft Basket/5 Thanksgiving Crafts We Love Making Together
5 Thanksgiving Crafts We Love Making Together
Craft Basket

5 Thanksgiving Crafts We Love Making Together

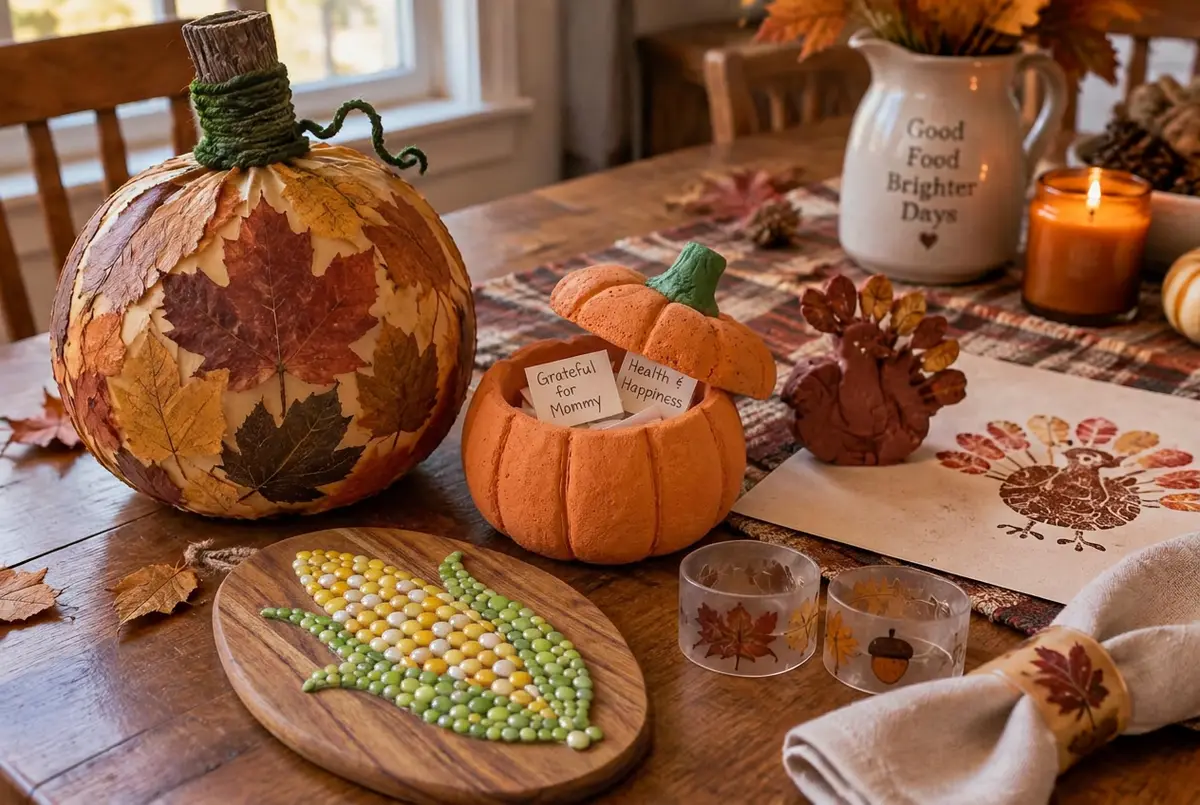
The five Thanksgiving crafts we come back to every single year: a leaf covered balloon pumpkin, a foam clay gratitude pumpkin the children fill with thank yous, hand carved turkey stamps for playdough, a corn mosaic on a little wooden board, and shrink plastic charms that turn into napkin rings for the holiday table.

This page may contain affiliate links. I earn a commission from qualifying purchases.
Ages 3-1030 to 60 min per craft, plus drying time prepSave to Pinterest

Thanksgiving in our house starts about two weeks early, at the kitchen table, with glue on everything.

I used to think the crafting was a way to keep the children busy while I cooked. It is really the opposite. The crafts are how they get to be part of the holiday, and by the time the table is set, half of what is on it was made by small hands.

These five are the ones we make again every year. Some take an afternoon and a night of drying, some take twenty minutes. None of them need talent, only patience with mess.

All five of them together, the week before the holiday.

What you'll need

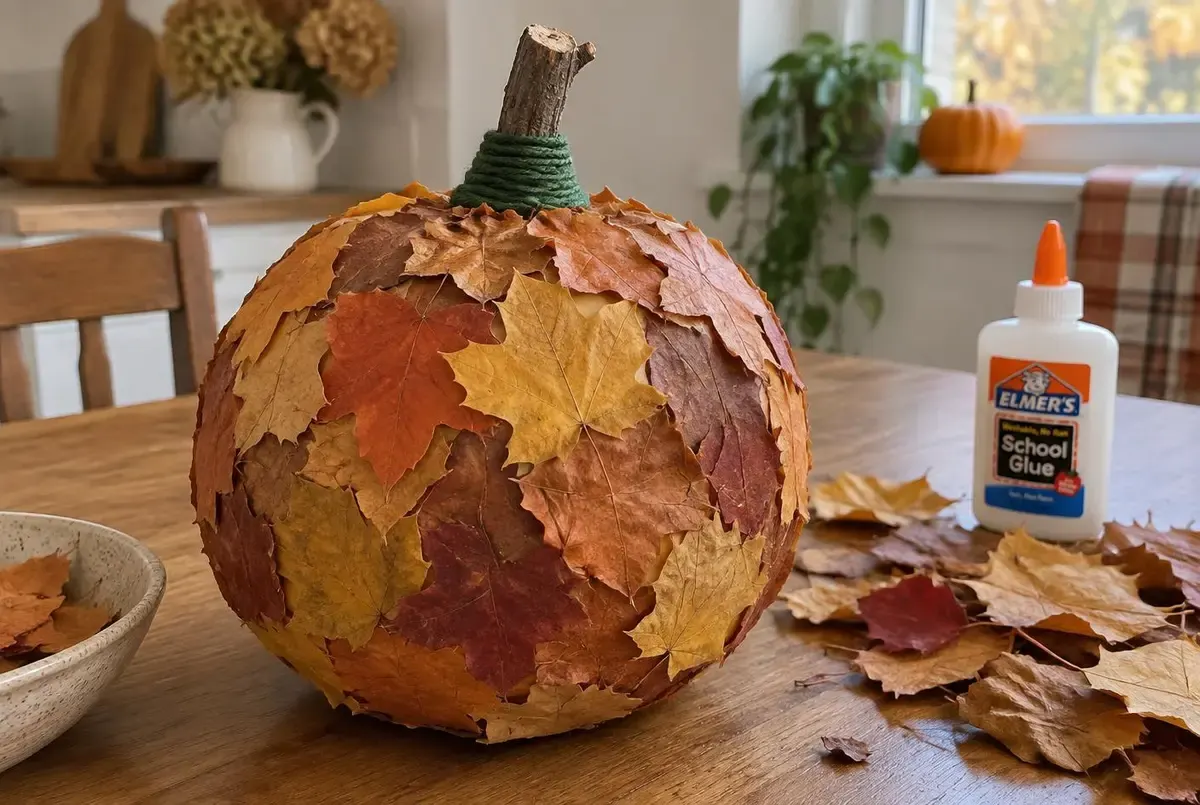
1. The leaf pumpkin on a balloon

Go out and gather leaves first, as many as you can carry, in every colour. This is half the craft and the best half.

Blow up a balloon to about the size you want the pumpkin, then glue leaves all over it. Be generous, brush glue under each leaf and over the top of it too, all the way around, so the whole thing is covered in overlapping layers. It will look like a soggy mess and that is correct.

Now the part everyone skips: put something a little heavy on top, a board game and a stone work well, and press the balloon down slightly so it dries into a proper squat pumpkin shape instead of a ball. Leave it to dry fully, a day is safest.

When it is hard and dry, wrap a short twig in green yarn and hot glue it on top as the stem. Pop the balloon inside if it has not shrunk away already.

Hot glue is for the grown ups. Everything else is entirely theirs.

Leaves, glue, a balloon and one night of drying under something heavy.

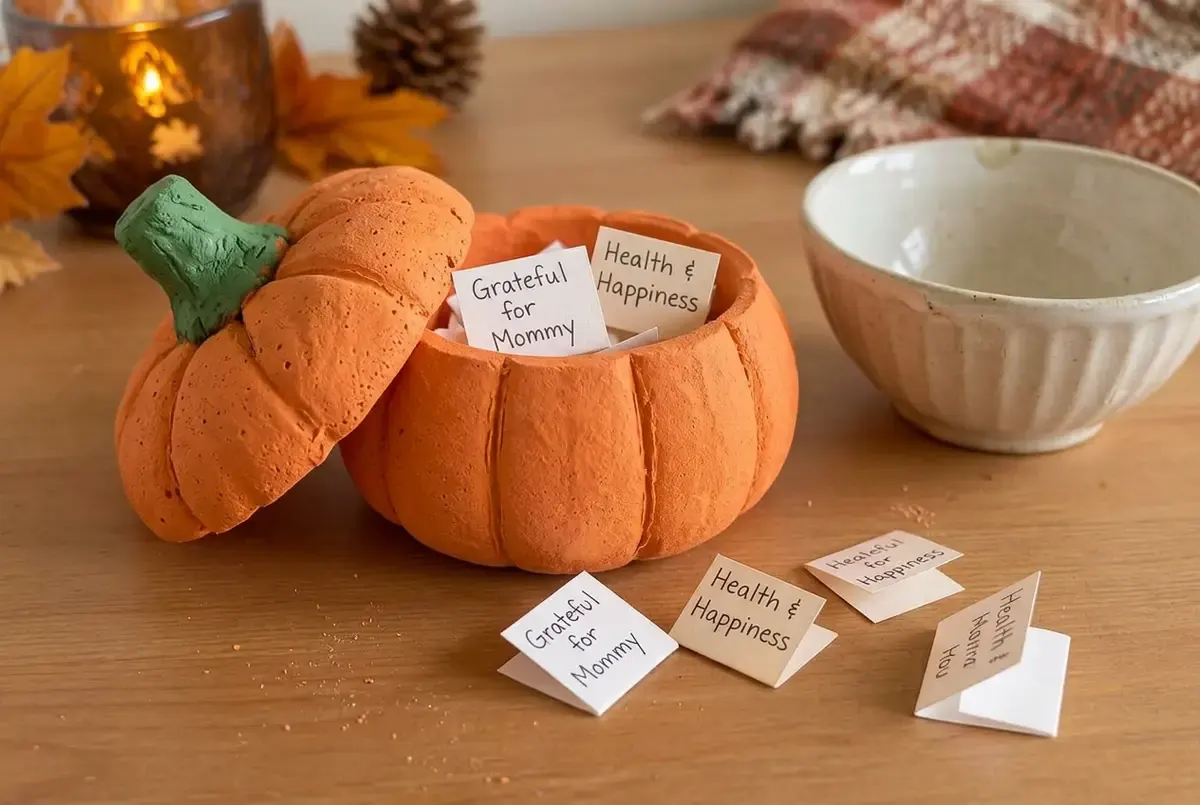
2. The gratitude pumpkin in foam clay

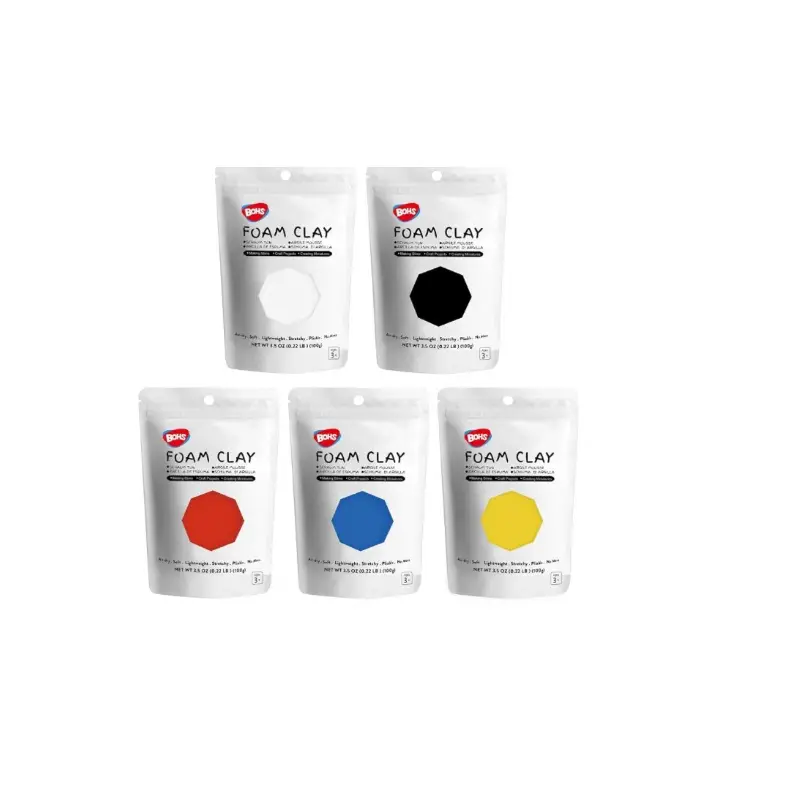
Start with the colour mixing, because the clay comes in primary colours and the pumpkin needs orange and green. Knead yellow and red together for the orange, and here is the thing everyone forgets: keep some yellow aside before you use it all up, because you need yellow with blue for the green stem. We learned that the hard way one year, with a very orange pumpkin and no leaves.

Turn a small bowl upside down and press the orange foam clay over the outside of it in an even layer. That gives you the rounded bottom half of the pumpkin. Leave it on the bowl while it firms up.

For the lid, stand a bowl the right way up and mark out a circle of clay to match the rim, then build a little height onto it so it sits like the top of a pumpkin rather than a flat disc. Add a small green stem on top.

Score gentle vertical lines down both halves with a blunt knife so it reads as a pumpkin, then let it dry until it is light and firm.

We call it the gratitude pumpkin because of what happens next. From the day it is finished until the evening of the holiday, everyone writes small thank yous on paper slips and drops them inside. At dinner we open it and read them out. It is the part of the meal I look forward to most.

Shaped over a bowl, filled with thank yous, opened at dinner.

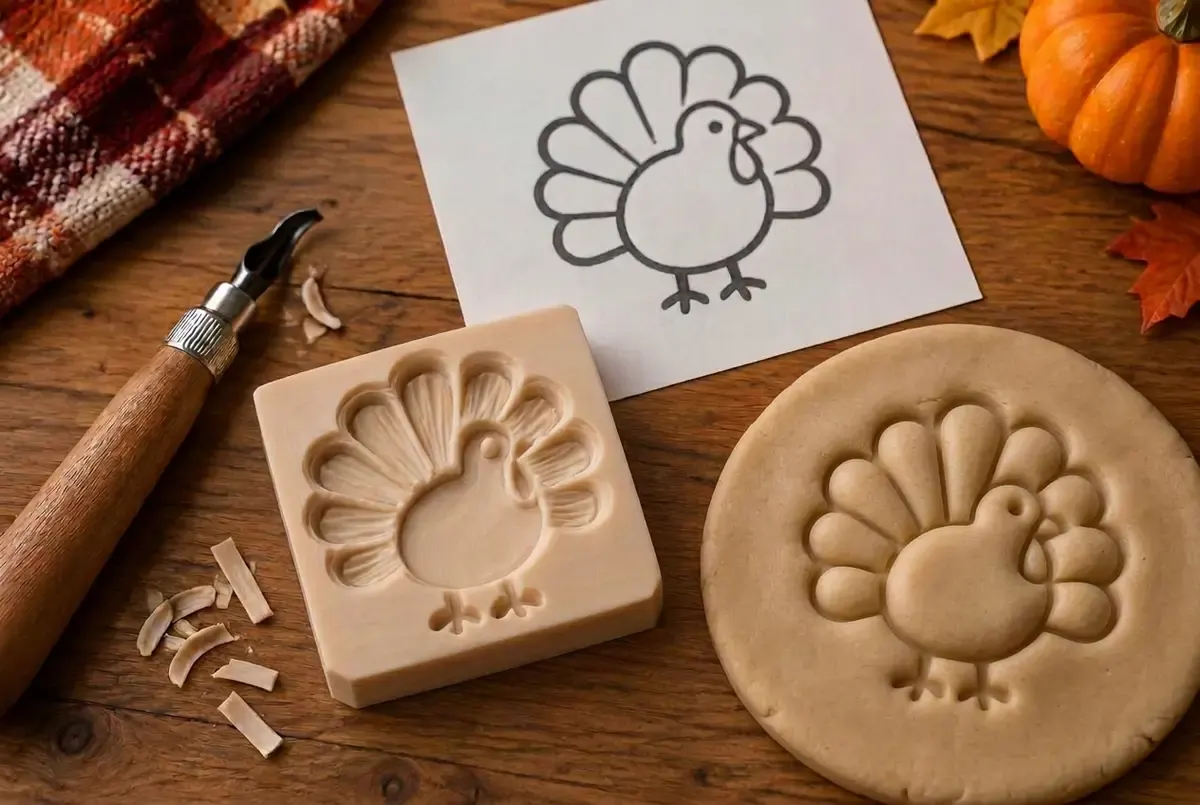
3. Carved turkey stamps for playdough

Print the simplest turkey picture you can find, a plain outline drawing with thick lines. The simpler it is, the better the stamp.

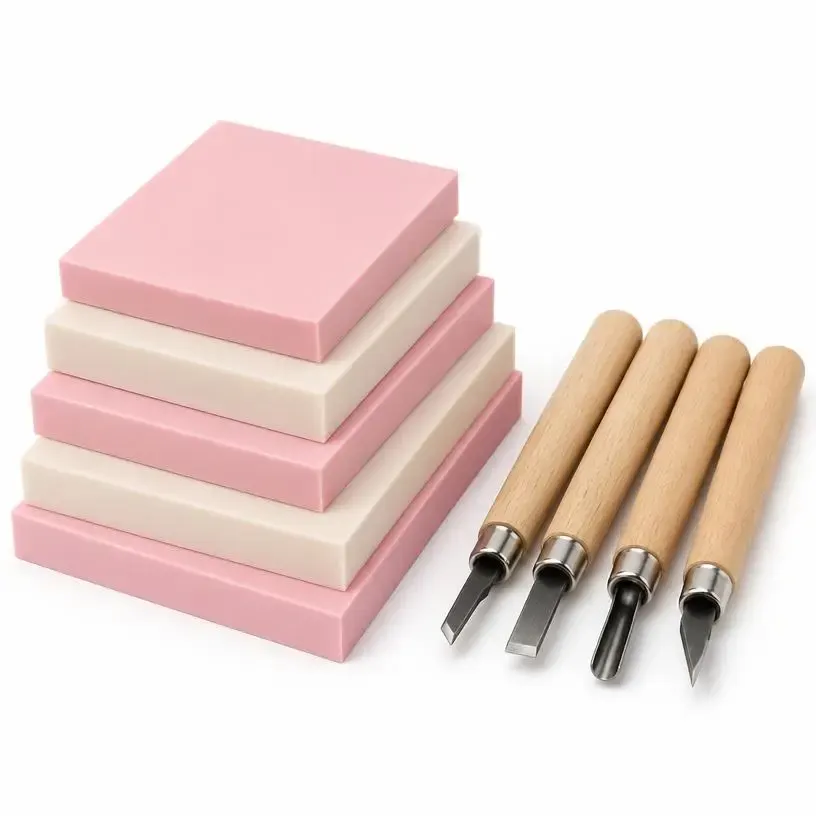
Lay it on a soft carving block and go over every black line with the knife, even the dots for the eyes. Deeper is better, because shallow lines disappear in the dough.

Then hand the block to the children and let them deepen the grooves in between. It is surprisingly satisfying work and their lines make it look handmade in the best way.

Bring out playdough, press, lift, and there is your turkey. They will stamp for an hour. An adult does the first cutting with the knife, the children only deepen what is already there.

One printed outline, one carving block, a whole afternoon of stamping.

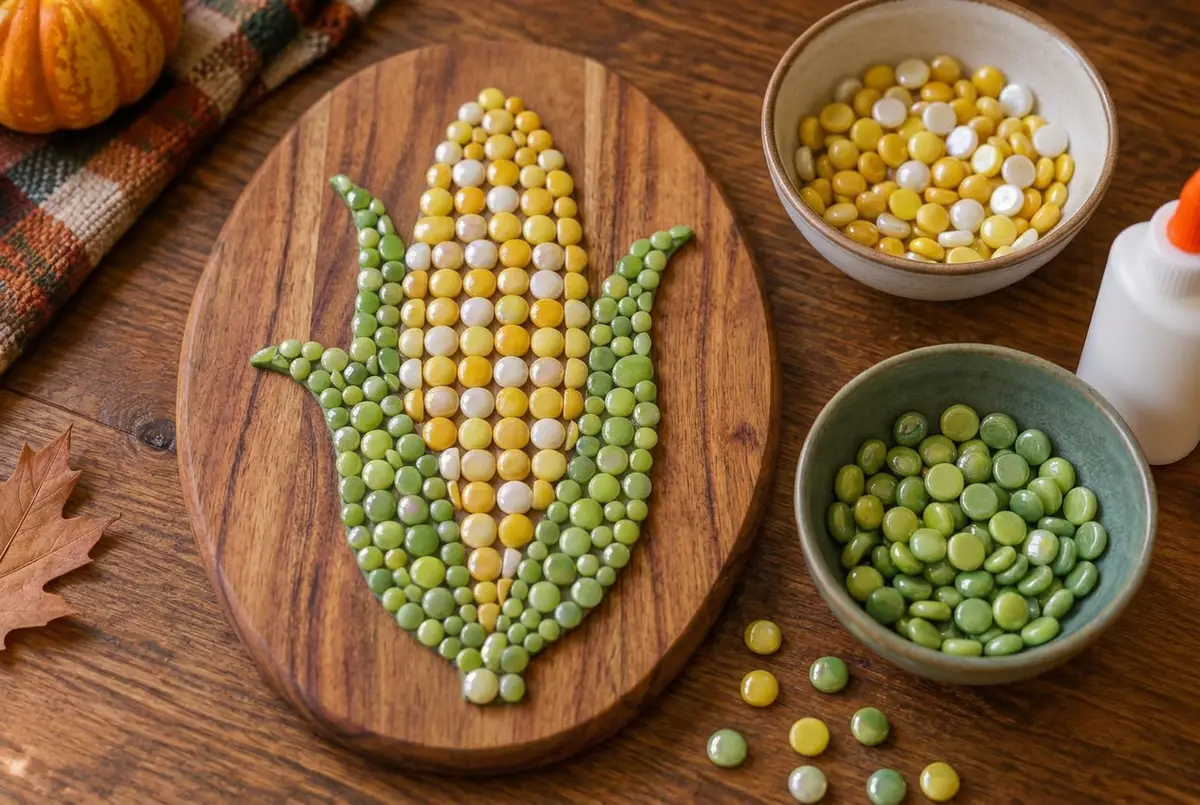
4. The corn mosaic board

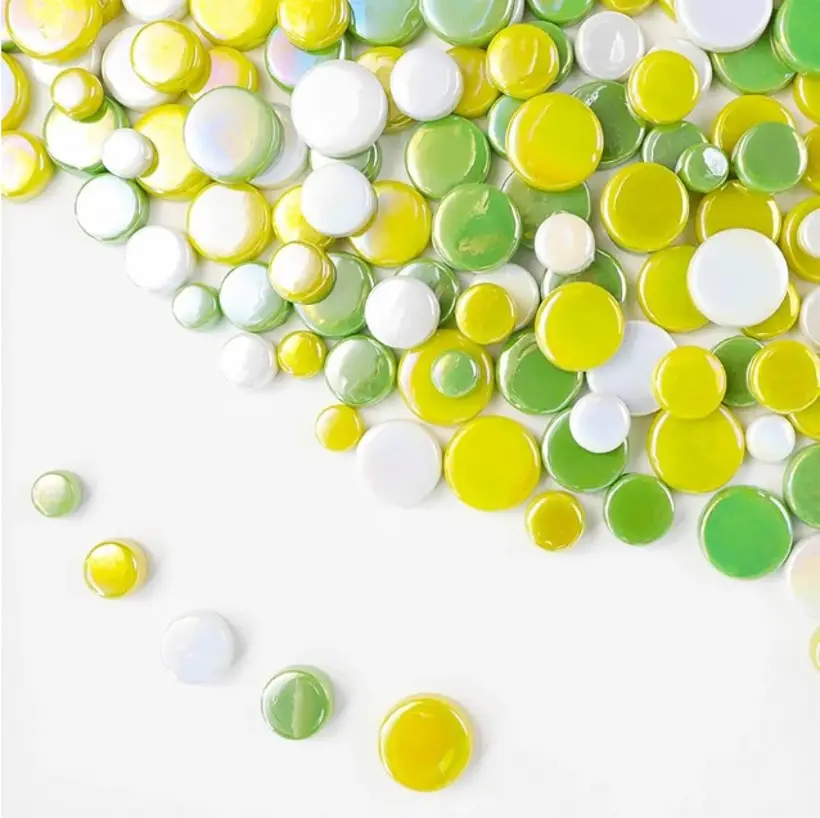
Sort the mosaic tiles into two bowls, yellow in one, green in the other. Sorting is the quiet part and small children love it.

Draw a corn cob shape lightly on a small wooden board, a long oval with two leaves coming off it, then glue the yellow tiles in neat rows down the cob and the green ones along the leaves.

Rows matter more than perfect spacing. Tell them to keep the little tiles marching in lines and it will look like corn even if nothing is straight.

Leave it flat to dry overnight. It ends up on our shelf every year.

Yellow for the cob, green for the leaves, glued in rows on a scrap of wood.

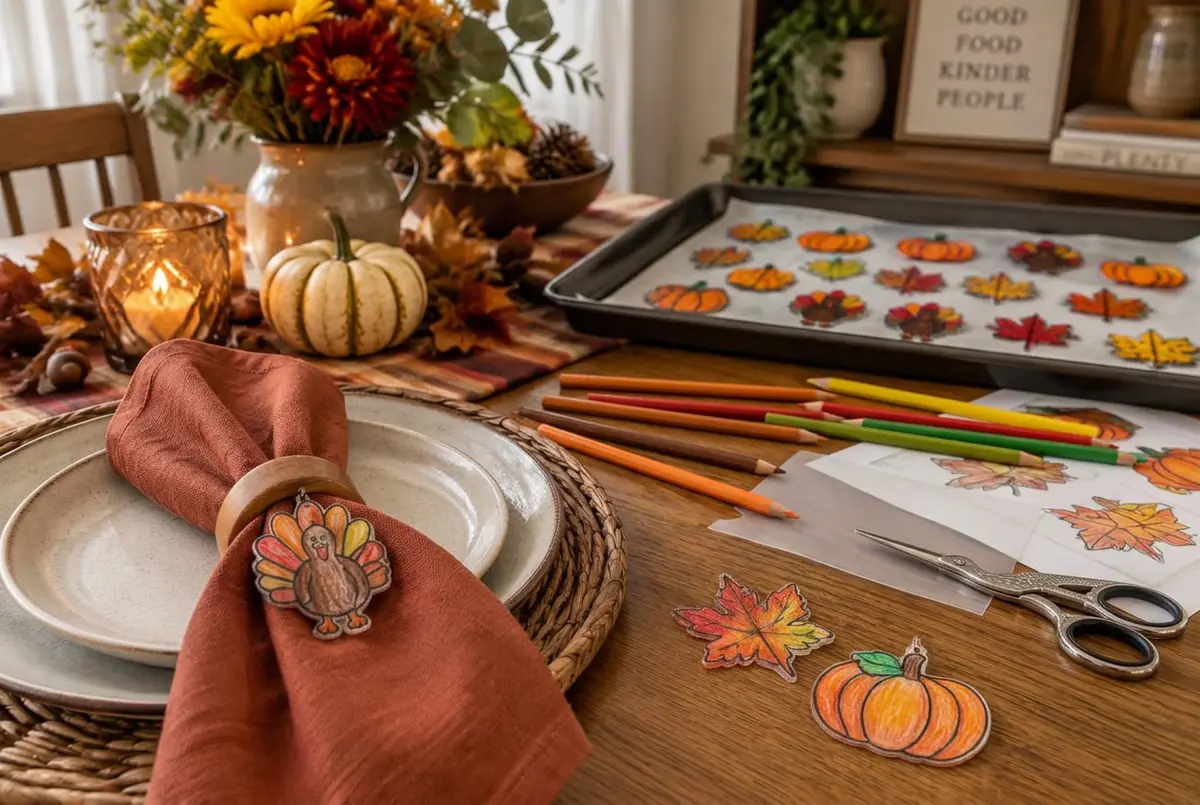
5. Shrink plastic napkin rings

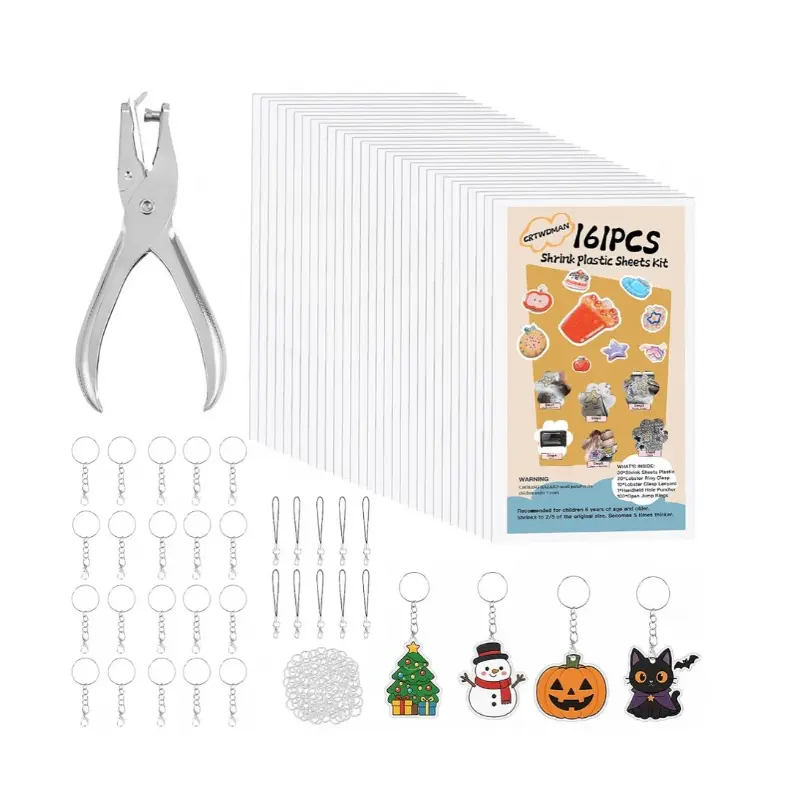
Draw or trace your shapes onto the shrink plastic sheet, then colour them in with coloured pencils. Press hard and shade right up to the lines, because everything gets much darker and much smaller in the oven. Turkeys, leaves and pumpkins are the ones we make.

Now cut each one out exactly along its outline, following the shape of the turkey, the leaf or the pumpkin rather than cutting a square around it. This is the step that decides how the charm looks, so take it slowly and let older children do their own. Punch a small hole at the top before baking, while the plastic is still soft and easy to work with.

Bake according to the packet, usually a couple of minutes, and watch through the glass. They curl right up, panic everyone, then flatten out again into thick glossy charms.

Once cool, attach one to each napkin ring. The children set the table with them and every guest gets a little charm to keep.

This is the one I save for the morning of the holiday. It gives them something of their own to do while the kitchen is chaos, and their work is on the table when everyone sits down.

Coloured, baked, cooled, and clipped onto the napkins.

Tip

Spread these out instead of doing them in one day. The leaf pumpkin and the gratitude pumpkin need drying time, so start them about two weeks ahead. The stamps and the mosaic are lovely for a rainy weekend. Save the napkin rings for the morning of the holiday itself.

Shop the look

Everything on the table

These are affiliate links, which means we may earn a small commission at no extra cost to you.

Looking for everything we use?

Every product linked on this blog lives in one sorted place, with what it is, where we used it, and why I’d buy it again.

Wander through the Glimmers →

Loved this basket?

Covers of the four Ripples of Joy coloring books: spring, summer, autumn and winter

Get our 4 Seasons coloring pack, free

Four printable nature coloring books, about 100 pages of animals, flowers and treasures from every season. Then one small idea a week: a craft secret, a nature whisper, or a question for your family table.

By subscribing you agree to our Privacy Policy. Free, every Sunday morning. No spam, and you can unsubscribe anytime.

Keep the magic going

Next basket to explore