Home/Nature Basket/Mud Kitchen Potion Lab
Mud Kitchen Potion Lab
Nature Basket

Mud Kitchen Potion Lab

Test tubes, petals, bicarbonate of soda and vinegar. A garden potion lab with a recipe book, a fizzing finale, and absolutely no rules about mixing.

This page may contain affiliate links. I earn a commission from qualifying purchases.

Ages 4-915 min prep

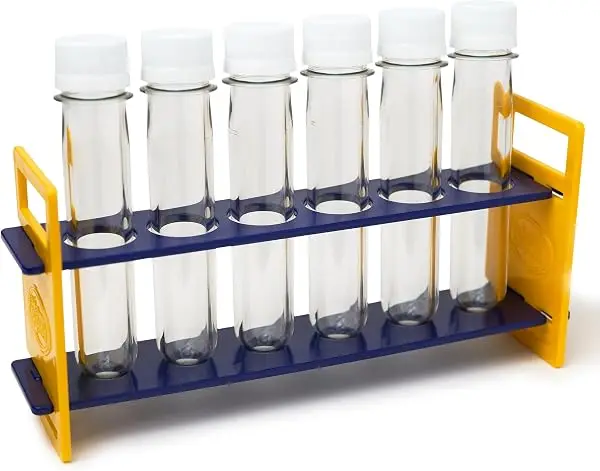
The mud kitchen was getting ignored until I put out six test tubes in a rack. Same mud, same garden, but suddenly it was a laboratory.

They wrote recipes. Actual recipes, with quantities: three petals, two spoons of mud, one drop of the green water. Then they made me drink one, and I mimed it very convincingly.

We finish every session with the fizz - a spoon of bicarb in the bottom of a tube and vinegar poured on top. It is the same trick every time and it has never once got old.

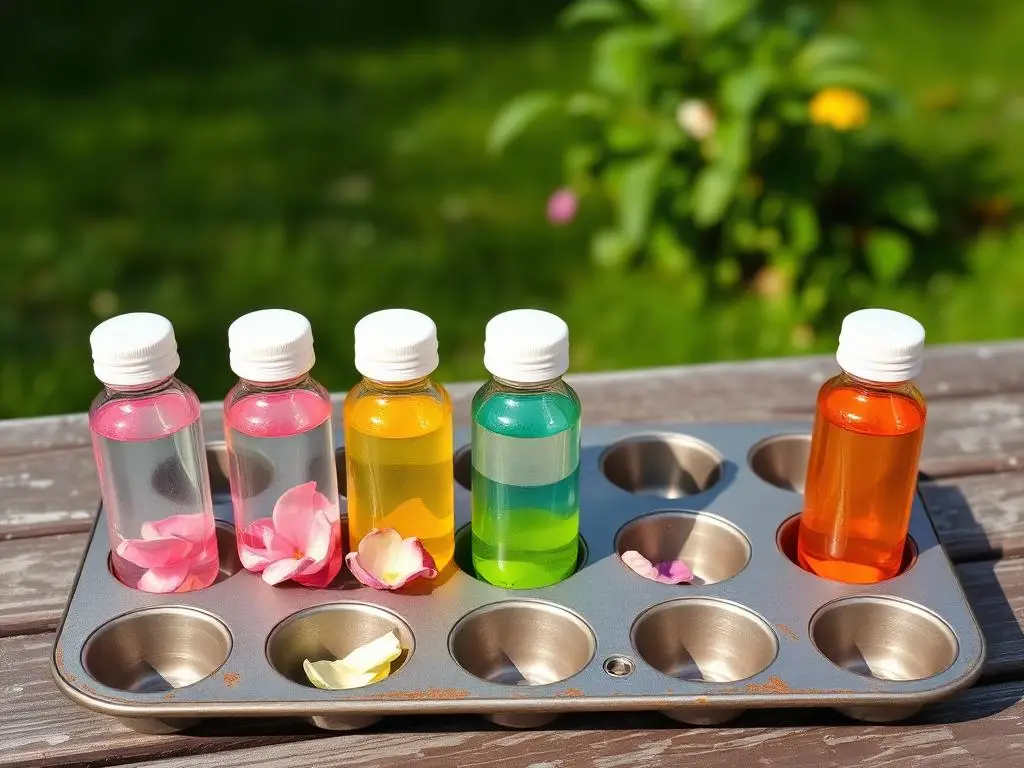
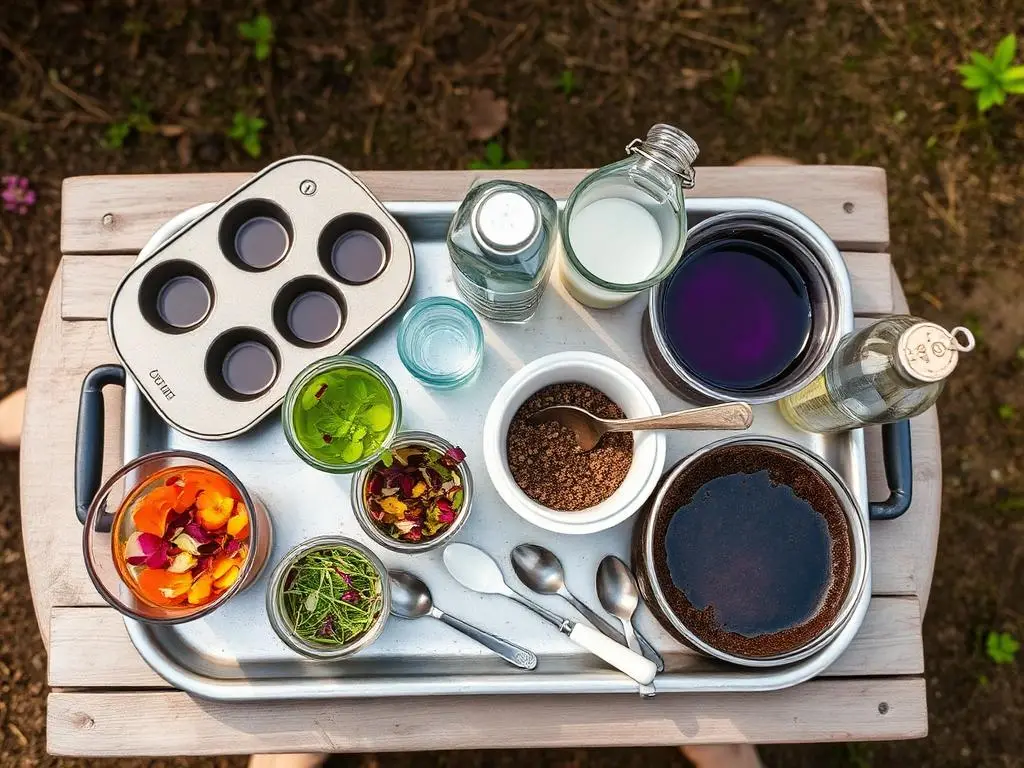
The potion tray laid out before anyone touches it.
Six tubes of coloured water, petals settling at the bottom.
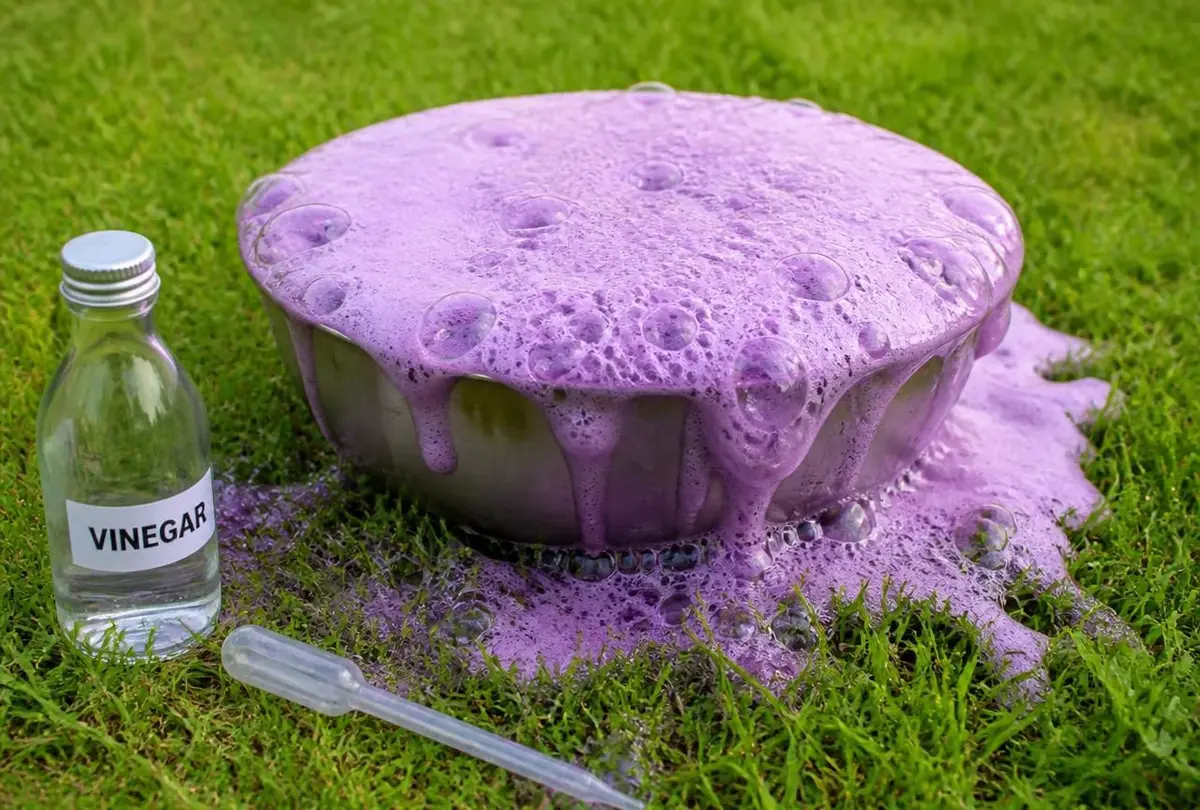
Bicarb and vinegar over the tray - the finale, every single time.

What you'll need

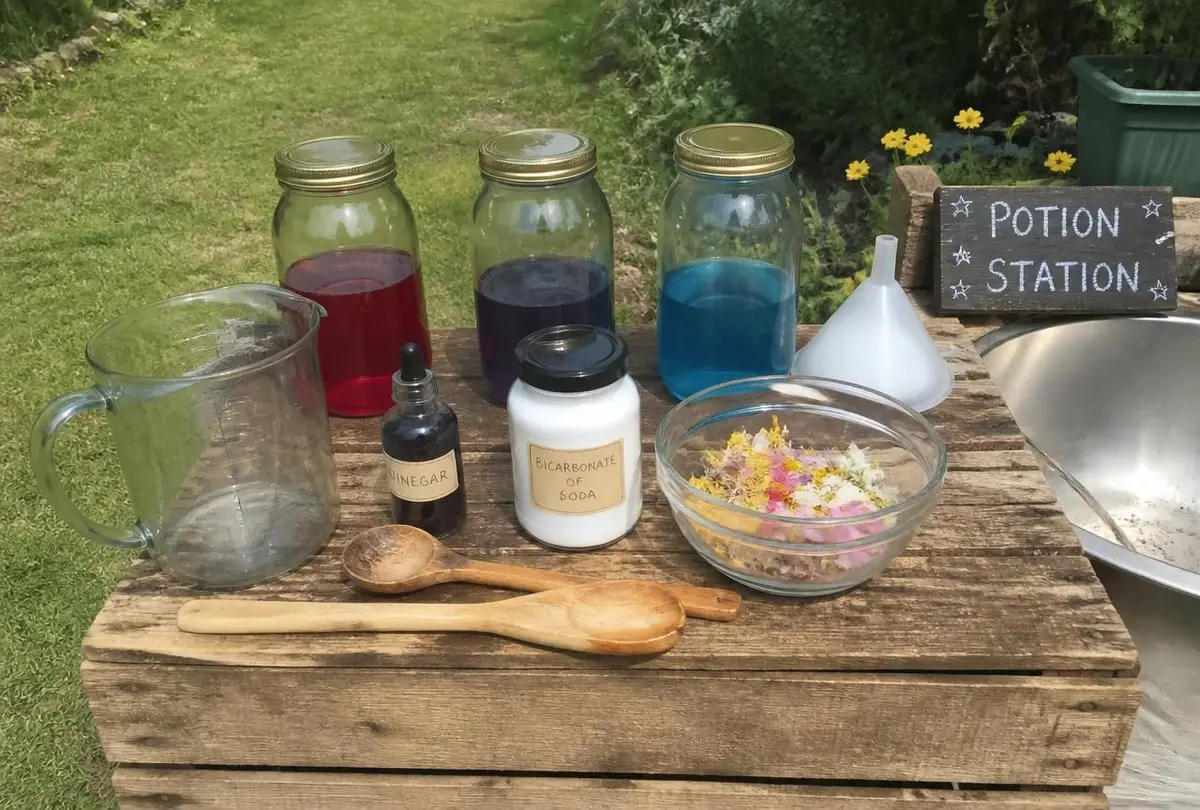
  • Plastic test tubes in a rack - the sturdy kind that survive being dropped on a patio
  • A few jam jars, an old muffin tin, and a jug of water
  • Spoons, a small funnel, a pipette or two, and an old sieve
  • Bicarbonate of soda and white vinegar, in their own labelled pots
  • Food colouring, or better still, water coloured with beetroot, turmeric and red cabbage
  • Petals, leaves, grass, seed heads, and a few small pebbles
  • A notebook and pencil for the recipe book, and sticky labels for naming the potions
  • An apron and a tray to contain the worst of it

Underlined items are affiliate links — if you buy through them I earn a small commission, at no extra cost to you 🙏

How to make it

  1. 1

    Set the tray up outside with the test tube rack in the middle and everything else around it - this is the invitation.

  2. 2

    Let them free-mix first, with no instructions at all. The first fifteen minutes should be pure pouring.

  3. 3

    Introduce the labels: every potion that gets made needs a name and a sticky label on the tube.

  4. 4

    Bring out the notebook and write down one recipe together, with real quantities, so it can be made again.

  5. 5

    Make the colour waters: turmeric for yellow, beetroot for pink, red cabbage water for purple - and watch what cabbage water does when vinegar goes in.

  6. 6

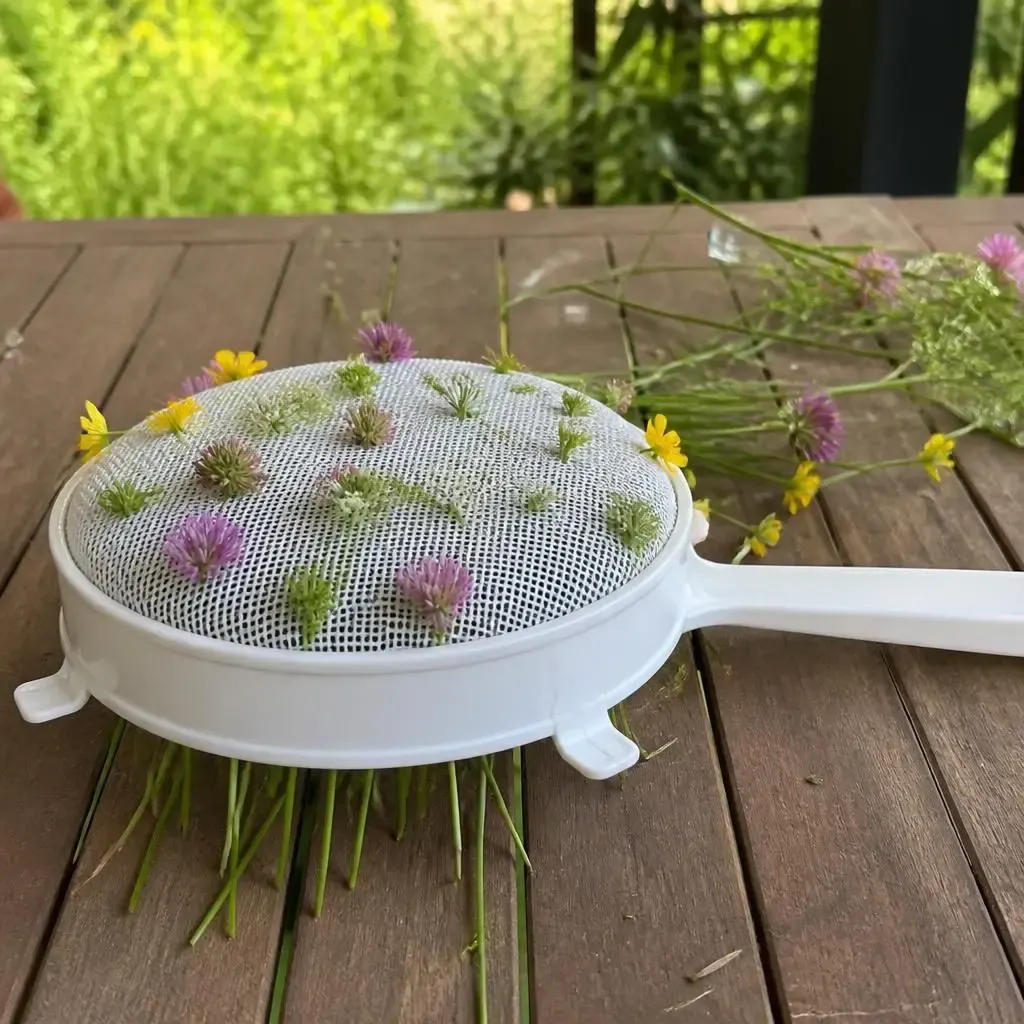
    Add petals and grass for texture, and use the sieve to strain a potion into a clean jar.

  7. 7

    Save the fizz for last: a spoonful of bicarb in a tube, then vinegar poured slowly on top over the tray.

  8. 8

    Line up the finished potions along the step and photograph them. Tip them out, rinse, and the lab is ready for tomorrow.

Tip

Red cabbage water is the best value trick here: it goes pink with vinegar and green with bicarb, so the colour change is real chemistry rather than food colouring. Keep vinegar and bicarb in their own pots and hand them out last, or the whole session becomes fizzing within four minutes.
Looking for everything we use?

Every product linked on this blog lives in one sorted place, with what it is, where we used it, and why I’d buy it again.

Browse Joy’s Recommendations →