Home/Craft Basket/The Laminating Basket: Everything We Make With Our Laminator
The Laminating Basket: Everything We Make With Our Laminator
Craft Basket

The Laminating Basket: Everything We Make With Our Laminator

A little laminating machine turned into the most used tool in our house. Memory cards, quartet games, dress-up paper dolls, a reusable nature bingo, splash-proof recipe cards and pressed flower coasters — one basket, endless projects.

This page may contain affiliate links. I earn a commission from qualifying purchases.

Ages 3+10 min prep

I bought our laminating machine for something completely boring — a chore chart I was tired of reprinting. It sat on the kitchen counter for exactly one afternoon before my kids discovered it, and it has not been put away since.

The first week we laminated the silliest things: a leaf from the yard, a drawing of a cat with eight legs, a photo of grandma. My son would feed the pouch in and then crouch down at counter level to watch it come out the other side warm and shiny, like a tiny magic trick that he was allowed to operate.

What surprised me is how quickly it stopped being about the machine and became about the ideas. Once they understood that laminating means "this will survive us", they started planning: card games they designed themselves, paper dolls with a whole wardrobe, a nature checklist we take on every walk. It went from sealing a leaf to building a four-player quartet game out of our family photos.

This basket lives on a low shelf now. I keep the machine, a stack of pouches, scissors and a dry-erase marker together, and when someone says "can we laminate this?" the answer is almost always yes — because it costs ten minutes and buys us a toy we actually keep.
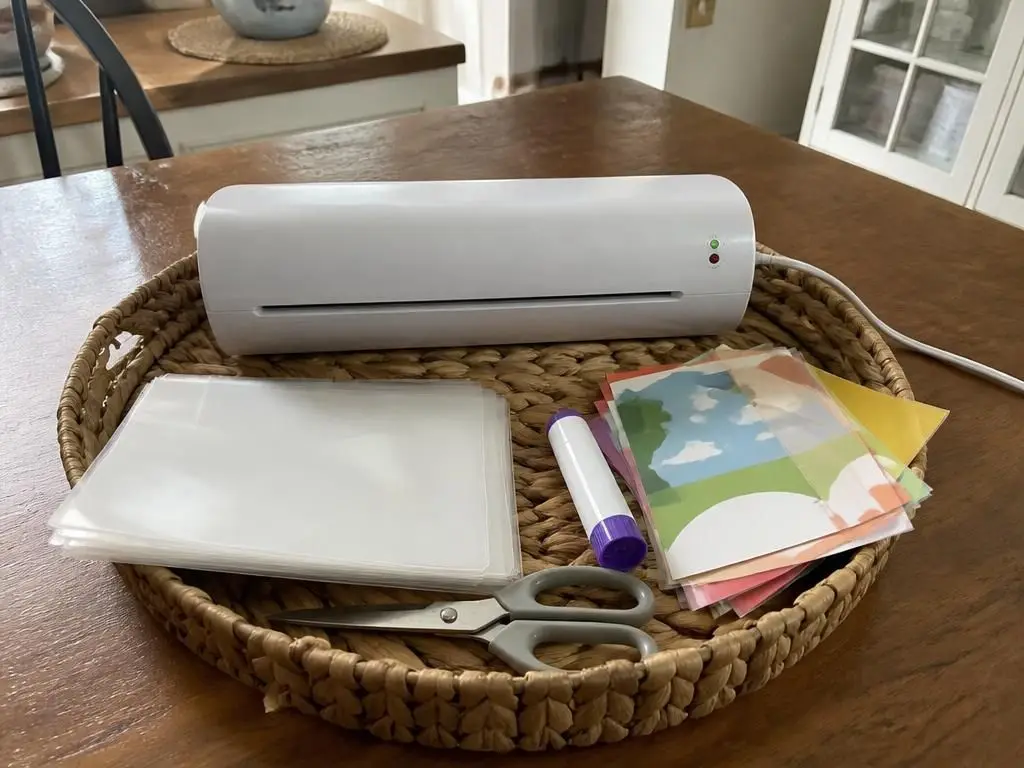
What you'll need

Underlined items are affiliate links — if you buy through them I earn a small commission, at no extra cost to you 🙏

Set the basket up so they can use it (almost) alone

Keep the machine, the pouches, the scissors and the marker in one basket. Ours sits on a low shelf so the kids can pull it out without asking, and the machine goes on the kitchen table where I can see it.

The two rules in our house: the grown-up plugs it in and takes the pouch out of the slot, and nothing goes in without being trimmed first. Everything else — drawing, cutting, arranging inside the pouch, feeding it in — is theirs.

Give it two or three minutes to warm up. Always run pouches in closed-edge first, and never send an empty pouch through. If something comes out with a bubble, run it through a second time.

The whole basket: machine, pouches, scissors, glue stick and a stack of cards waiting.

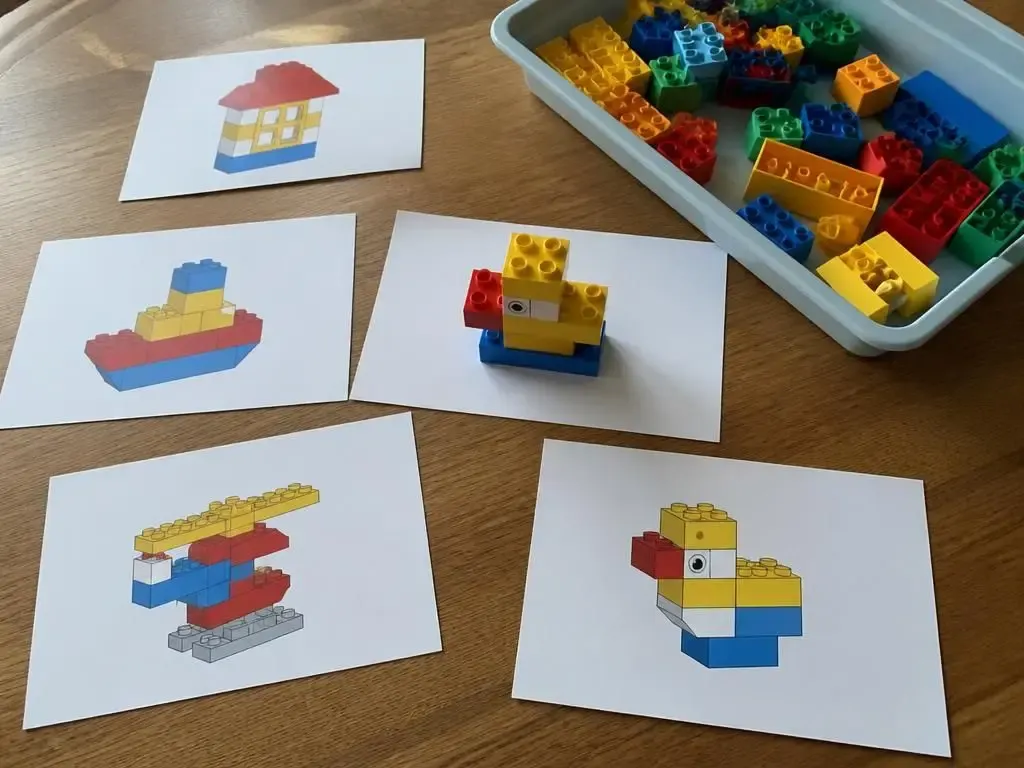
Memory game cards they design themselves

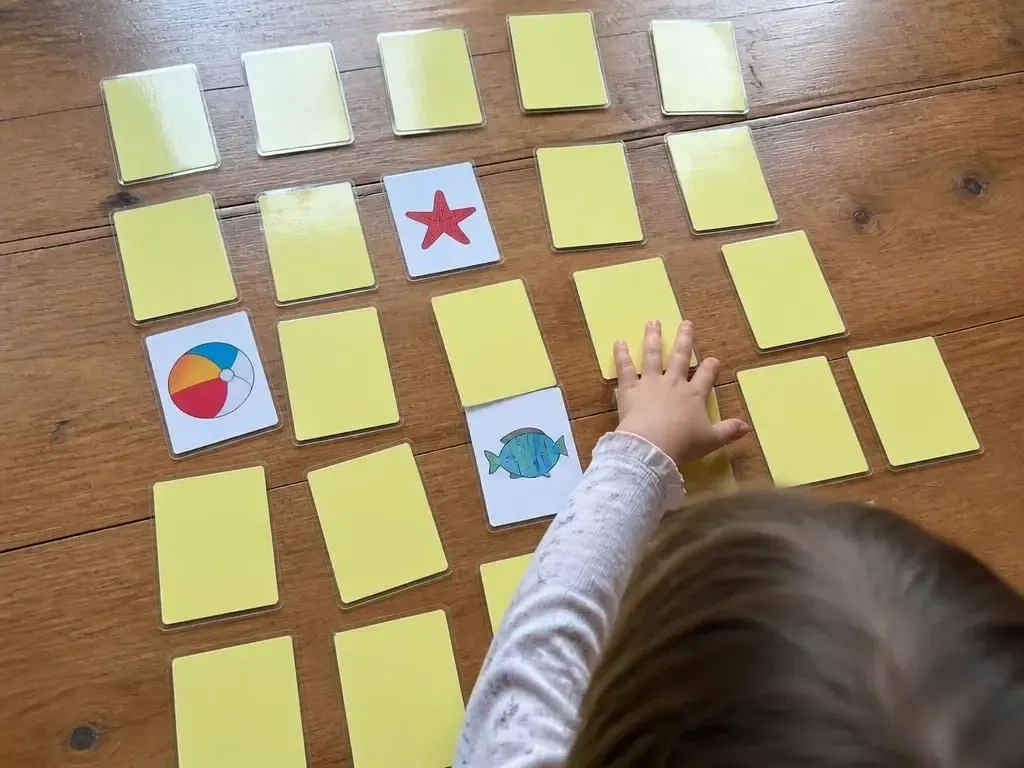
This was our very first real project. Cut card stock into matching squares — we do 24 cards, 12 pairs — and let your child draw a pair of identical pictures on two cards each. A sun, a fish, a beach ball, a star. They do not need to be good; they need to be recognizable to the artist.

Print two copies of the same photos if you want a version with faces they know. Laminate the cards, then cut around them leaving a two millimeter clear border so they stay sealed.

The border matters more than it sounds — cut right up to the edge and the card peels open within a week. My daughter now insists on doing the border herself and gets genuinely annoyed at my sloppy corners.

Laminated memory cards laid out face down — they survive being dropped, spilled on and sat on.

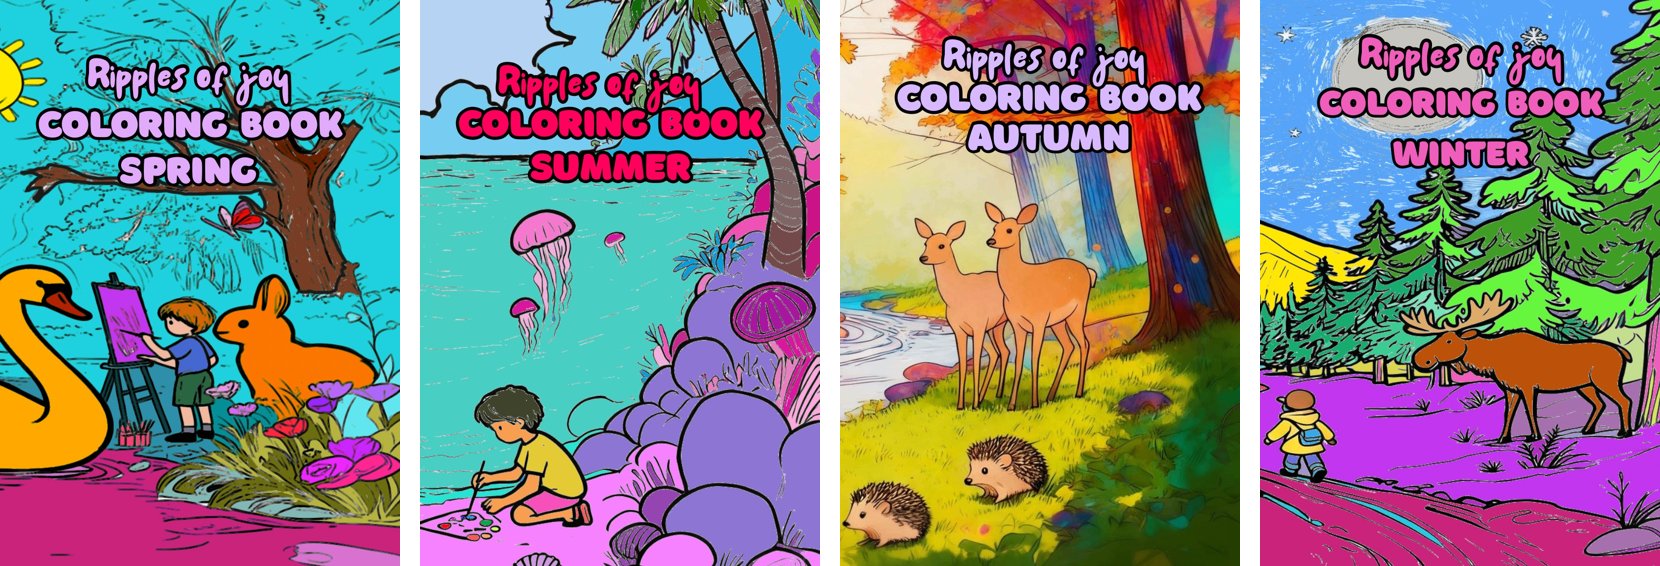
A quartet game from your own family photos

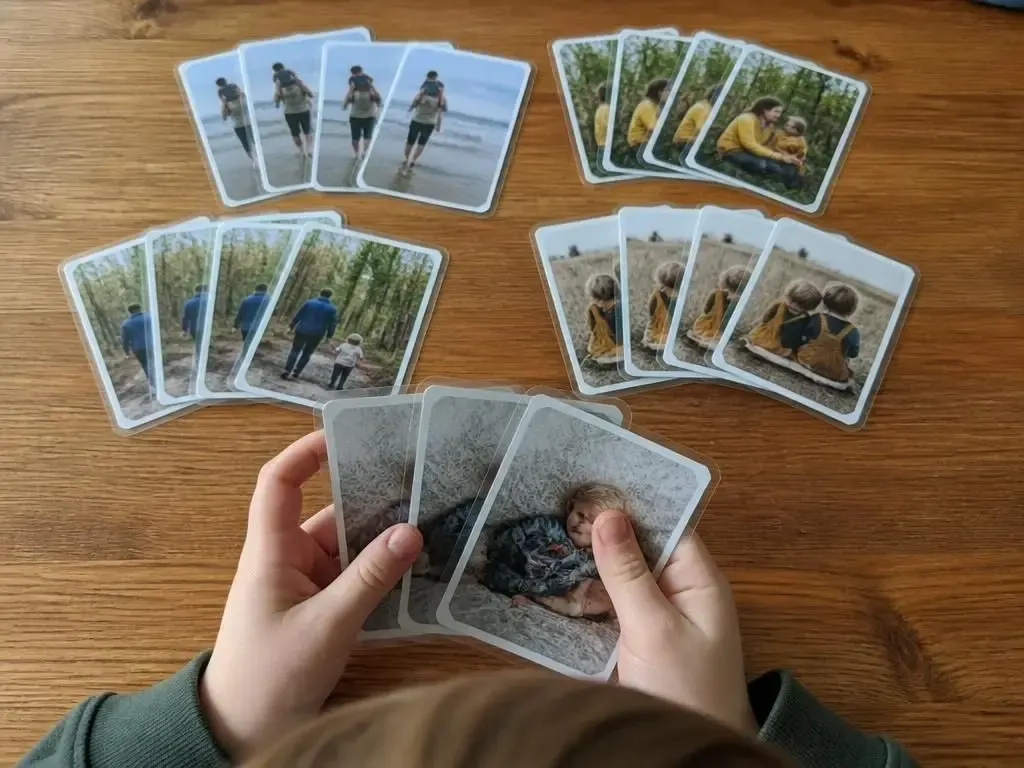
Four cards per family, four families to start: the beach, the forest walk, the cousins, the dog. Print four photos from the same day, add a tiny label on each card, laminate and cut.

Ours started as a plain photo game and slowly grew — every trip now ends with the question of whether it deserves its own set of four. It is the game my kids ask for on rainy afternoons, and the only card game where they narrate every single card before playing it.

If you want to design the card sets quickly, I made a whole quartet deck with AI in another basket — the prompts and the process are in that post, and the finished cards get laminated exactly like these.

A homemade quartet deck — four cards per family, all laminated so they last.
See how we made quartet cards with AI

The AI basket has the prompts we used for the card sets.

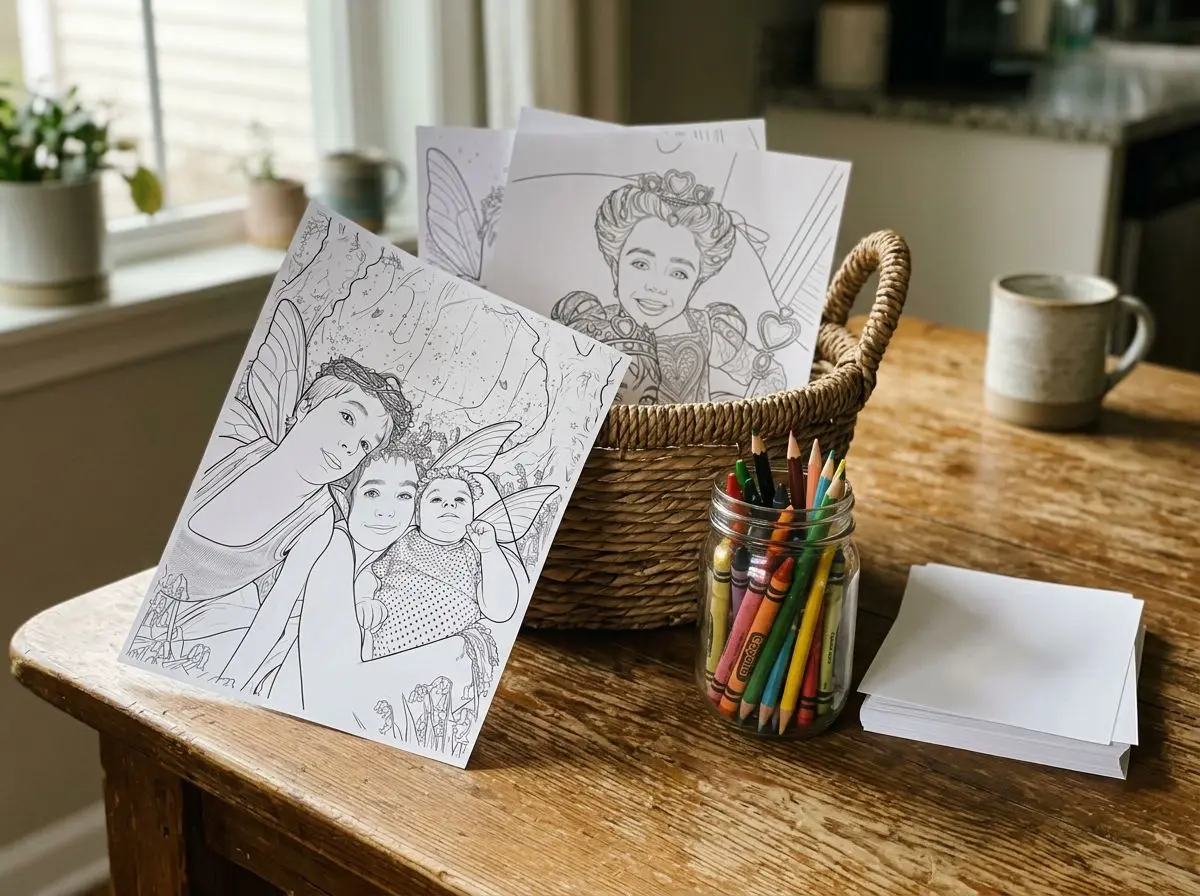
Paper dolls with a whole laminated wardrobe

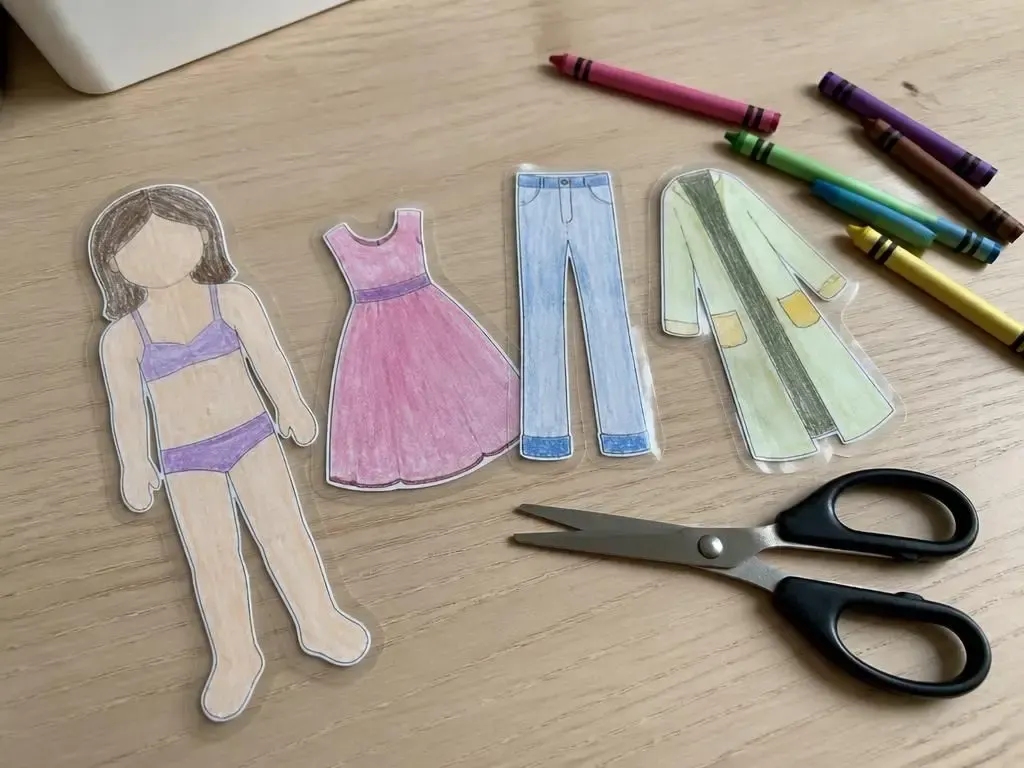
Draw a simple figure on card stock — head, body, arms, legs — and colour it in. Then trace the same body shape onto more paper and draw outfits on top of it: a dress, jeans, a raincoat, pyjamas, a superhero cape.

Laminate the doll and every outfit, cut them out with a clear border, and add small tabs at the shoulders so the clothes stay on. If you skip the tabs, a rolled loop of tape on the back works just as well and holds through a whole afternoon.

This is the one that surprised me. It started with one doll and two dresses and turned into a shoebox with a full seasonal wardrobe, a suitcase for holidays, and — my personal favourite — a laminated pet.

A laminated paper doll and her wardrobe, cut with a clear sealed border.

A reusable nature bingo for every walk

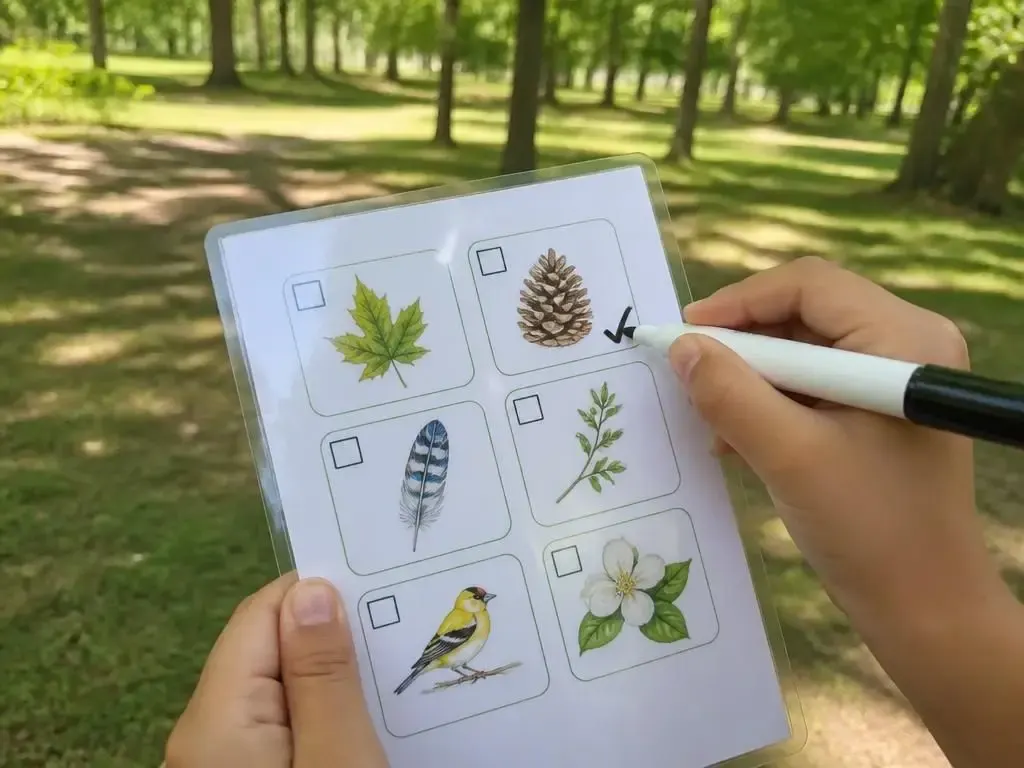
Print a nature bingo sheet, laminate it, clip a dry-erase marker to the basket and it becomes a permanent walking companion. Wipe it clean when you get home and it is ready for the next park, forest or beach.

We keep two in the car door pocket. On slow walks they check off a pinecone, a feather, something yellow — and suddenly the walk has a purpose and nobody asks to be carried.

Fine-tip dry-erase markers work best on laminate. A damp cloth or even a sleeve takes the marks right off.

The nature bingo sheet, laminated and marked with a dry-erase marker mid-walk.
Get our printable nature bingo cards

Free PDF — print it, laminate it, use it forever.

Splash-proof picture recipe cards

Cooking with kids means flour, batter and sticky fingers on everything. Laminated recipe cards solve it: they get wiped down and go back in the drawer looking new.

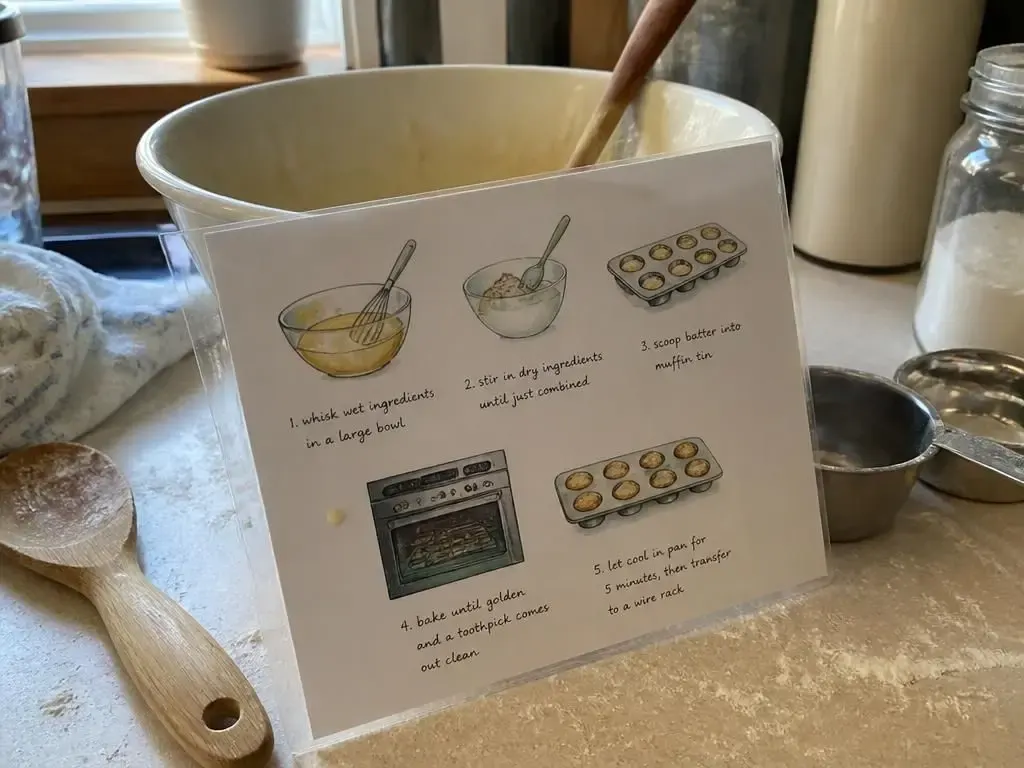
We laminated our three picture recipes — pizza, borekas and pancakes — and propped them against the mixing bowl. My son can follow the pictures without reading a word, and I stopped worrying about the paper.

A little tip: punch a hole in the corner of each card and put them on a binder ring. They hang on the kitchen drawer handle at kid height.

A laminated picture recipe card leaning against the bowl — batter drops wipe straight off.
Our printable picture recipes for kids

Three free illustrated recipe cards, made to be laminated.

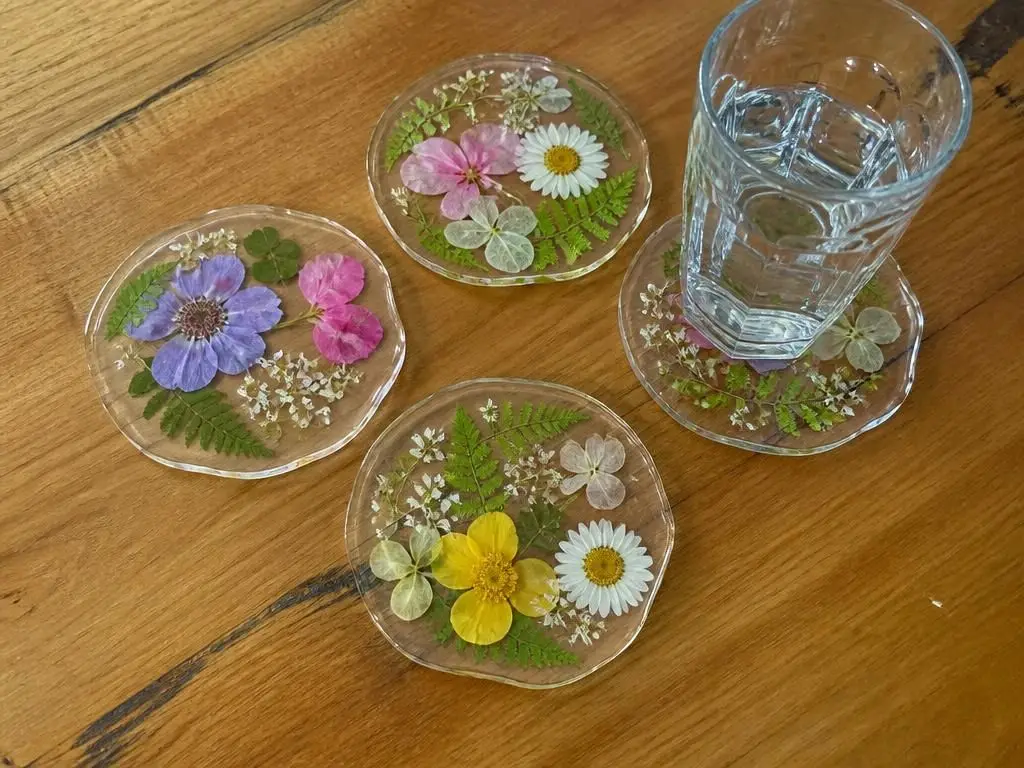
Pressed flower and leaf coasters

The prettiest thing we make. Collect small flowers and leaves on a walk, press them flat between the pages of a heavy book for three to five days, then arrange them inside an open laminating pouch.

Close the pouch gently so nothing shifts, run it through, and cut the sheet into circles or squares with a clear sealed border all the way around. Round the corners so they feel finished.

These have become our standard gift — grandparents, teachers, neighbours. My daughter chooses the flowers, I do the cutting, and we both feel like we made something real.

Pressed flowers sealed inside laminate and cut into coasters.

What else ends up in our machine

Bookmarks from their own drawings. Name tags for the door. A laminated weekly routine with dry-erase boxes to tick. Placemats they designed themselves. Puzzle cards — laminate a picture, then cut it into wavy pieces.

Learning cards too: letters, numbers, shapes, and a set of tracing cards they write on with a dry-erase marker and wipe clean a hundred times.

The pattern is always the same. It starts simple, and within a month they are designing something I would never have thought of.

Tip

Trim before you laminate, not after — a wide paper margin inside the pouch looks messy and wastes plastic. Always leave a 2 mm clear sealed border when cutting the finished sheet, or it will peel. Let sheets cool flat under a book for a minute so they do not curl. And buy pouches in bulk — the moment kids realise anything can be laminated, one pack lasts about a week.

Shop the look

Everything on the table

These are the two things you actually need. If you buy through these links I may earn a small commission, at no extra cost to you 🙏

Looking for everything we use?

Every product linked on this blog lives in one sorted place, with what it is, where we used it, and why I’d buy it again.

Browse Joy’s Recommendations →