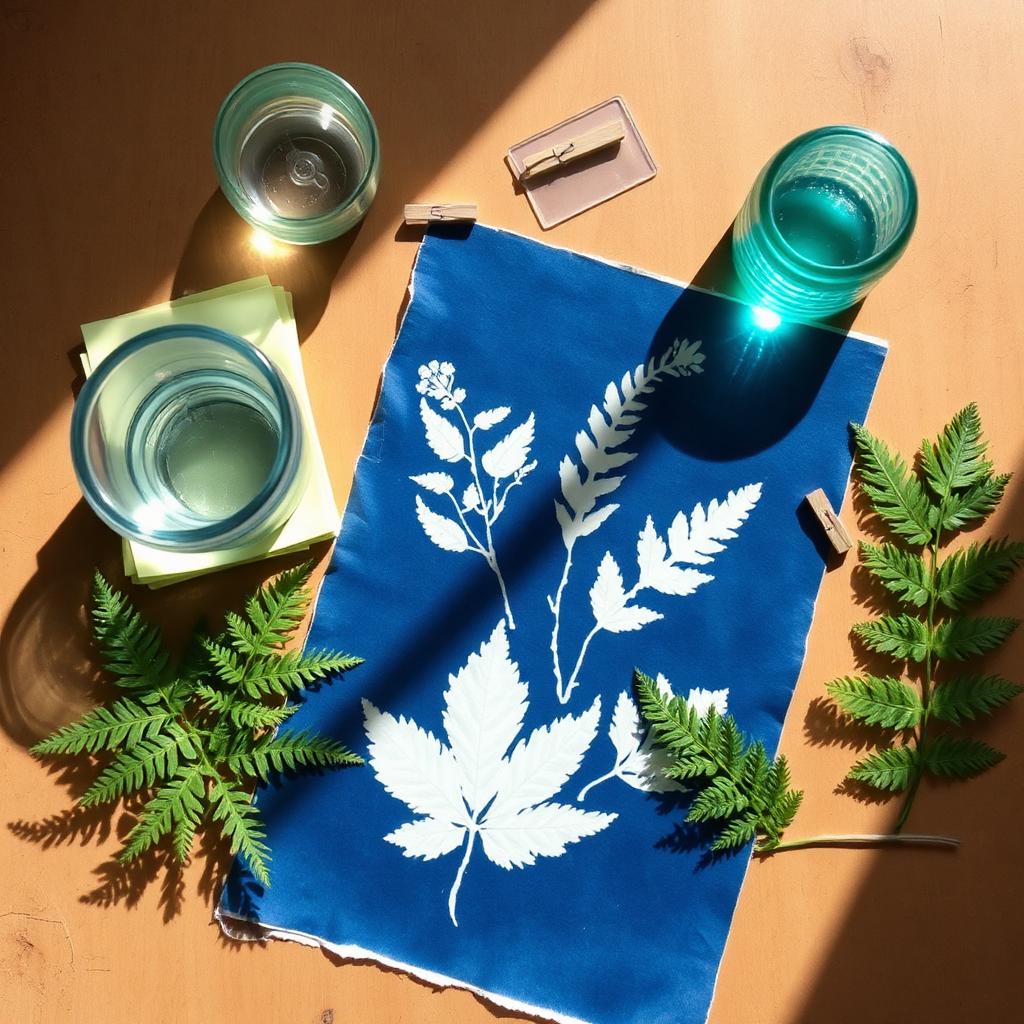
Craft Basket
Cyanotype Sun Print Basket
A magical sun-powered printing basket that turns leaves, flowers, and lace into deep-blue works of art.
This page may contain affiliate links. I earn a commission from qualifying purchases.
Ages 3-610 min prep
A magical sun-powered printing basket that turns leaves, flowers, and lace into deep-blue works of art.
This page may contain affiliate links. I earn a commission from qualifying purchases.
This is my favorite summer activity, and honestly, I get as excited as the kids do. Sunlight does the work, and the reveal in the water bowl feels like real magic every single time.
We start by collecting: ferns from the walk home, a feather my daughter found, a doily from my grandmother's drawer. Then the paper goes into the sun and we wait, which is its own small lesson in patience for a 4 year old.
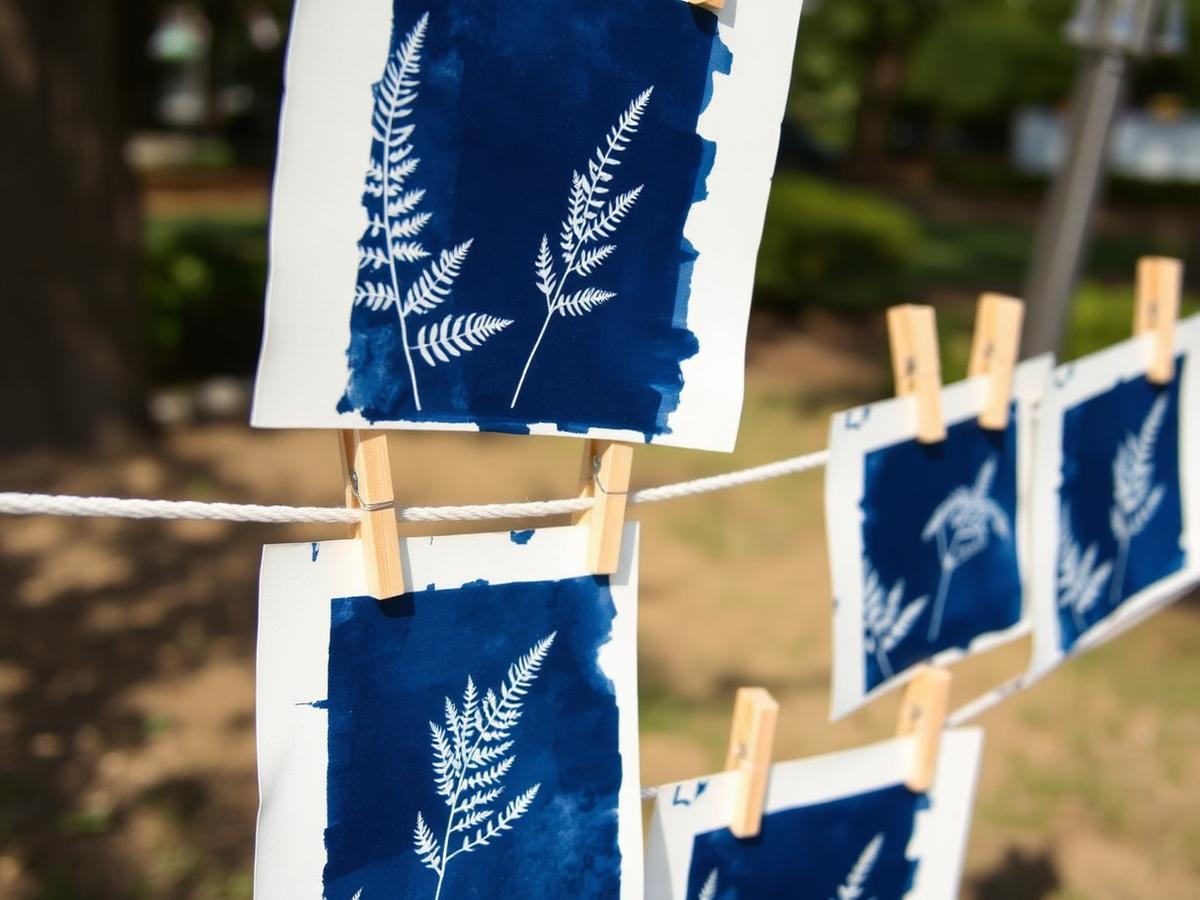
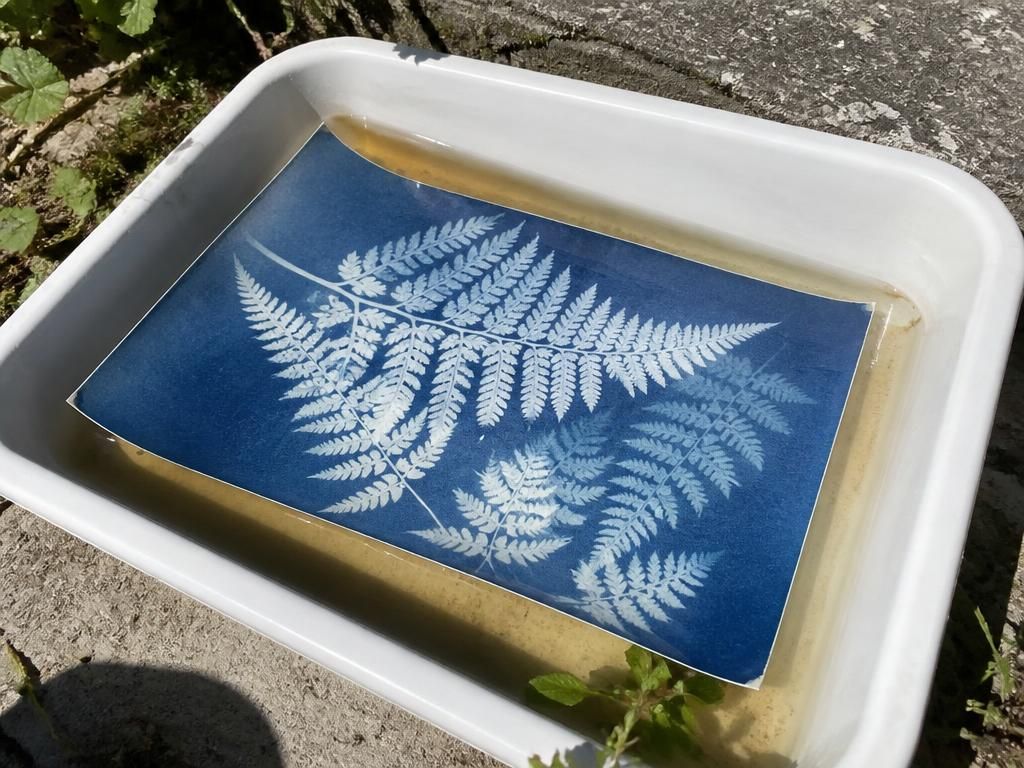
The first time the white silhouettes appeared in the rinse water, both of my kids screamed. We now have a whole wall of blue prints and we use the extras as gift tags all year.
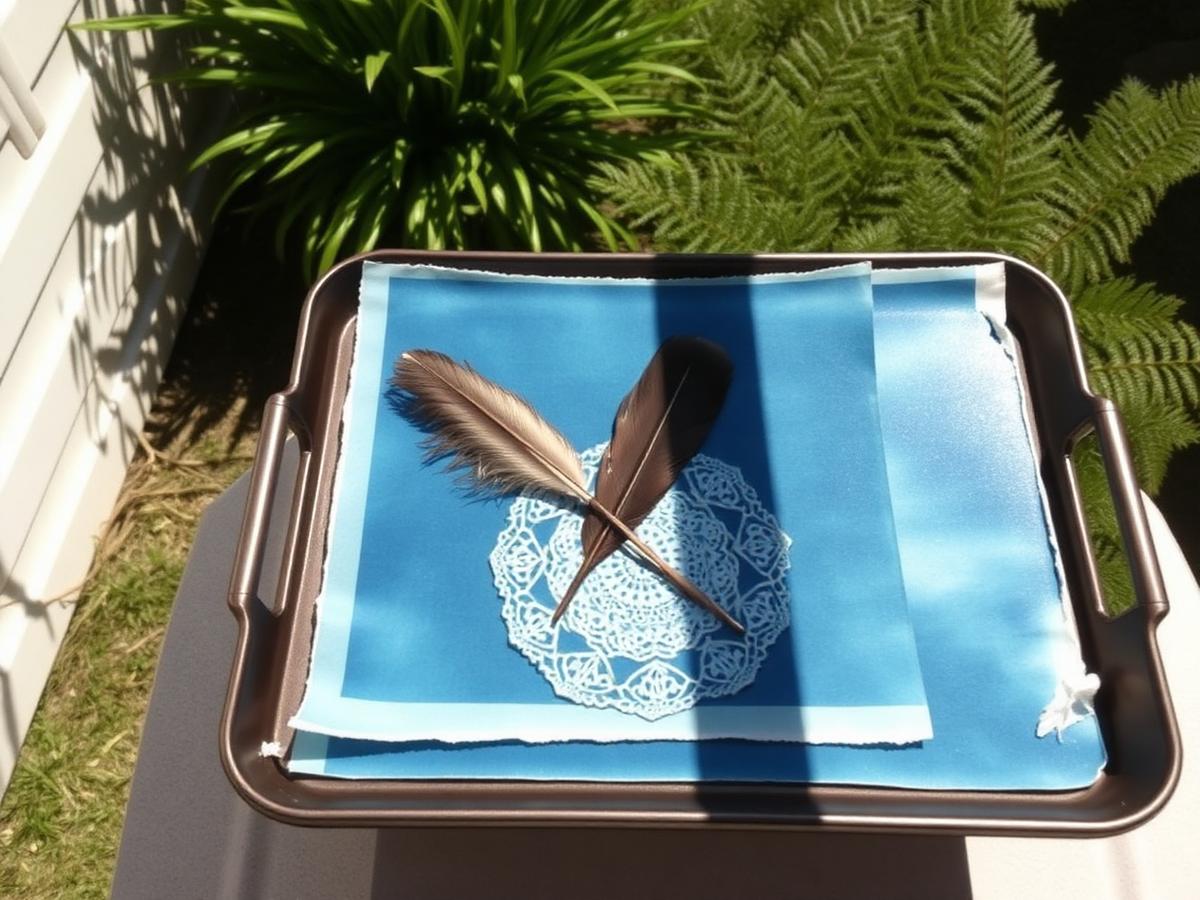
Set up the basket the night before: line a small basket with a soft cloth and tuck in the pressed leaves, flowers, doily, lace, and clothespins. Keep the cyanotype paper sealed in its black bag inside the basket until morning.
Choose a bright sunny day. Fill the rinse bowl with cool water and set it outside in the shade so it is ready.
Move to a dim room or shaded corner. Open the paper packet and lay one sheet, blue-green side up, on the tray. Close the packet again right away so the other sheets stay fresh.
Invite your child to arrange leaves, flowers, and lace on the paper. Anything opaque will print white; anything see-through will print pale blue. Remind them not to slide pieces around too much.
Gently lower the glass or acrylic pane on top to press everything flat against the paper. This keeps edges crisp.
Carry the tray straight into direct sunlight. Watch the paper turn from blue-green to bronze, then to a pale grey-blue. This usually takes 2-5 minutes on a bright day, up to 15 on a cloudy one.
Bring the tray back into the shade. Lift off the glass and the natural pieces and slide the paper into the bowl of cool water.
Swish the paper gently for 1-2 minutes until the yellow tint washes away and the print turns deep Prussian blue. Change the water once if it gets cloudy.
Clip the print to the clothesline to dry flat. The blue will keep deepening for the next hour as it oxidizes.
Once dry, look together at the white silhouettes and talk about which leaves left the sharpest prints and which surprised you.
Kids this age love the 'reveal' moment in the water more than the arranging step, so keep the sun exposure short and the rinse bowl close. Save a few prints to use later as gift tags, bookmarks, or the cover of a little nature journal.