- 1
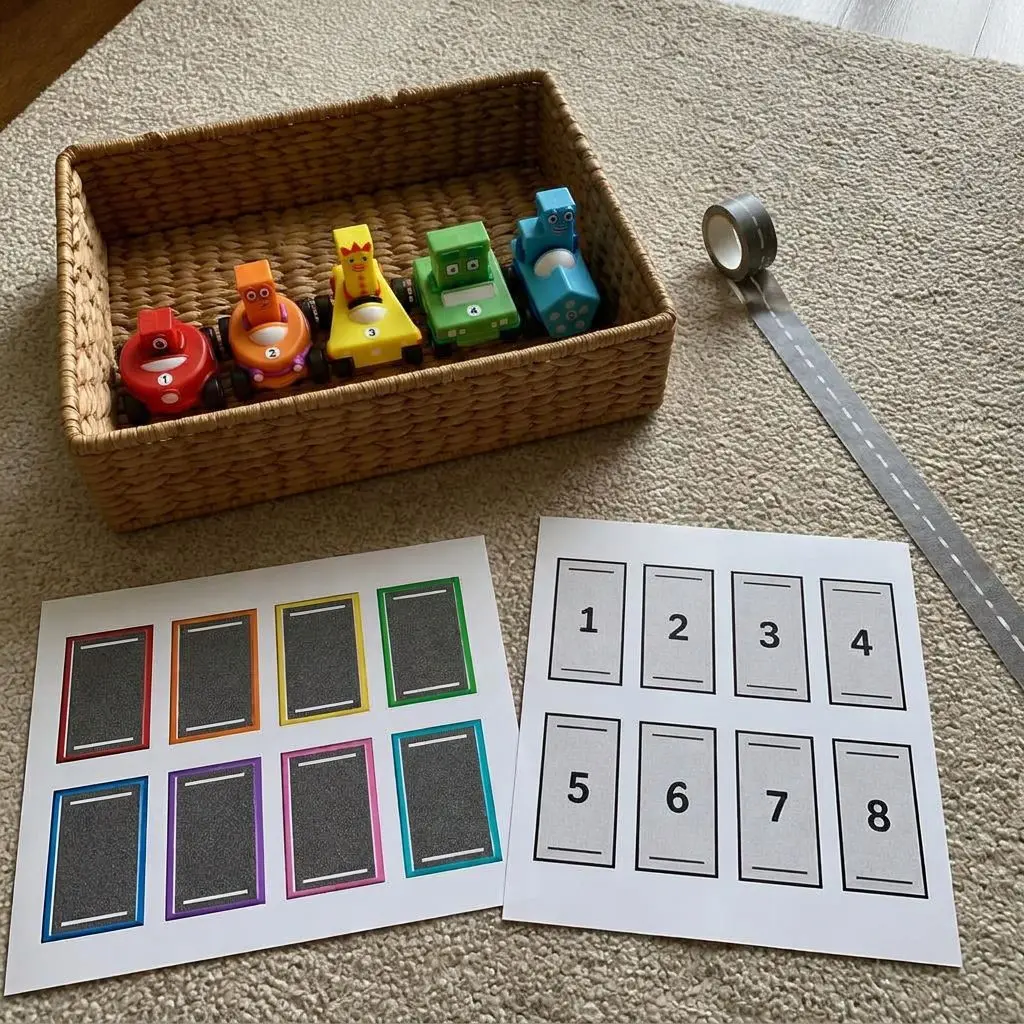
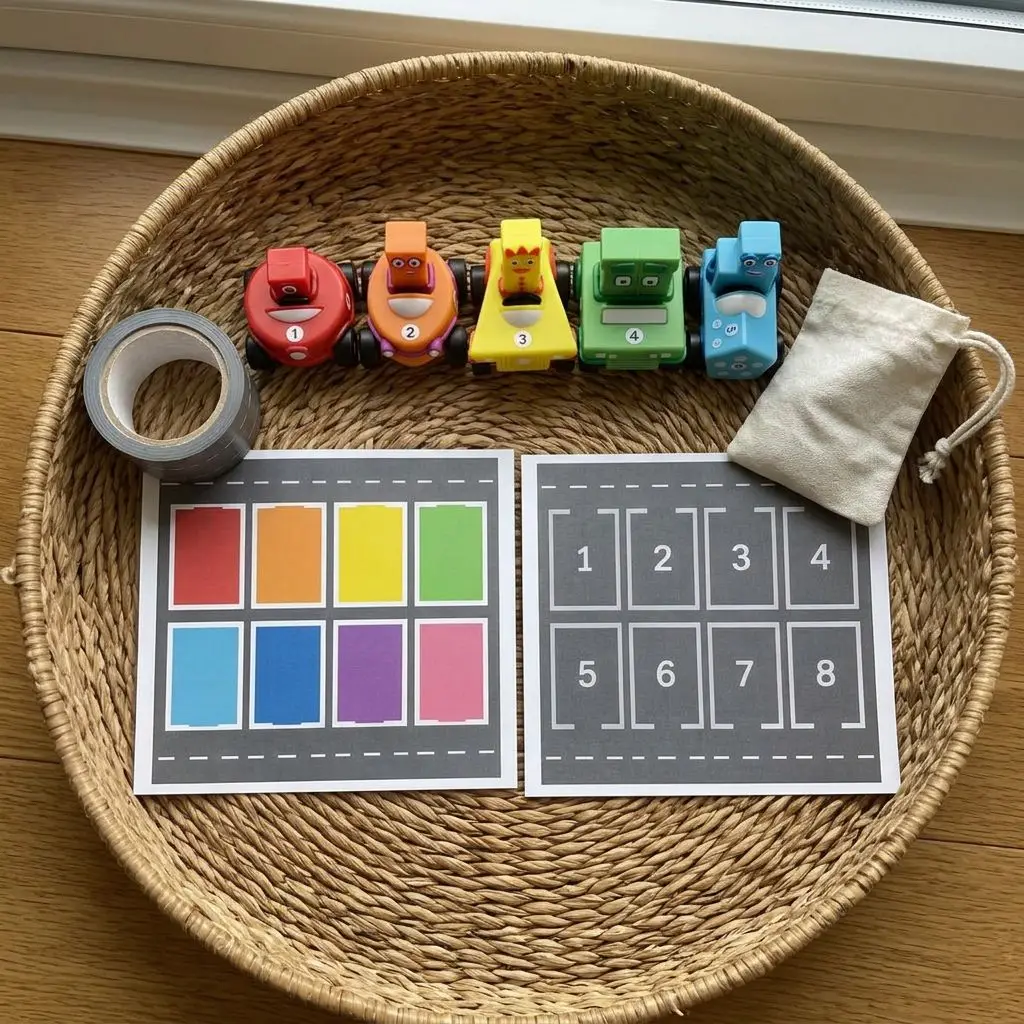
Download both printable parking lot pages from the resources below and print each one on plain white paper (cardstock lasts longer, and a clear sleeve or laminating pouch means you can reuse them daily).
- 2
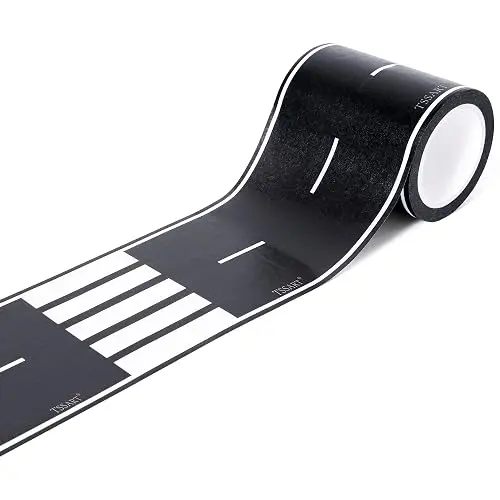
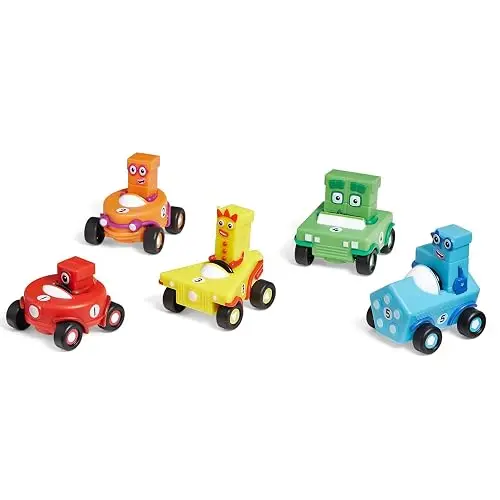
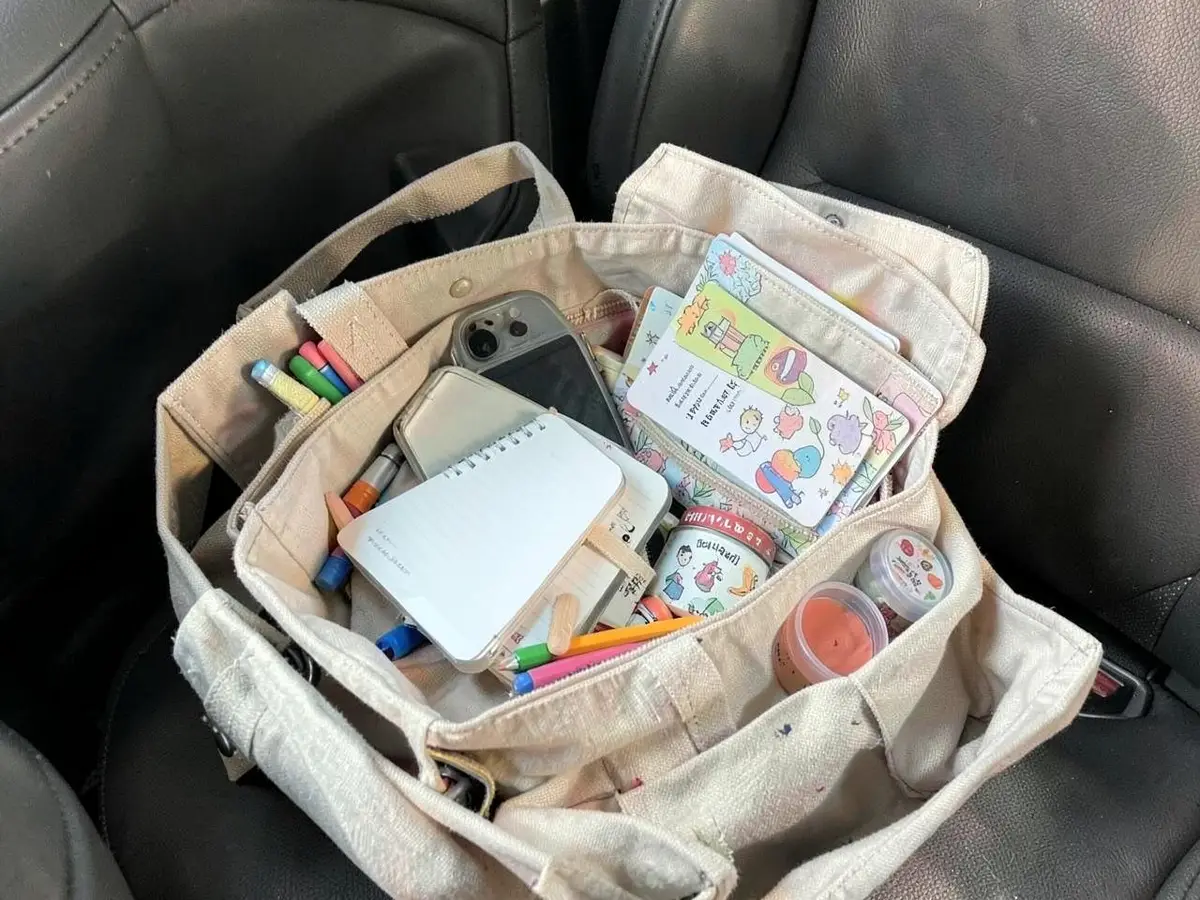
The night before, tuck the roll of road washi tape, the Numberblocks figures, and one of the parking pages into the basket so the invitation is ready when your child wakes up.
- 3
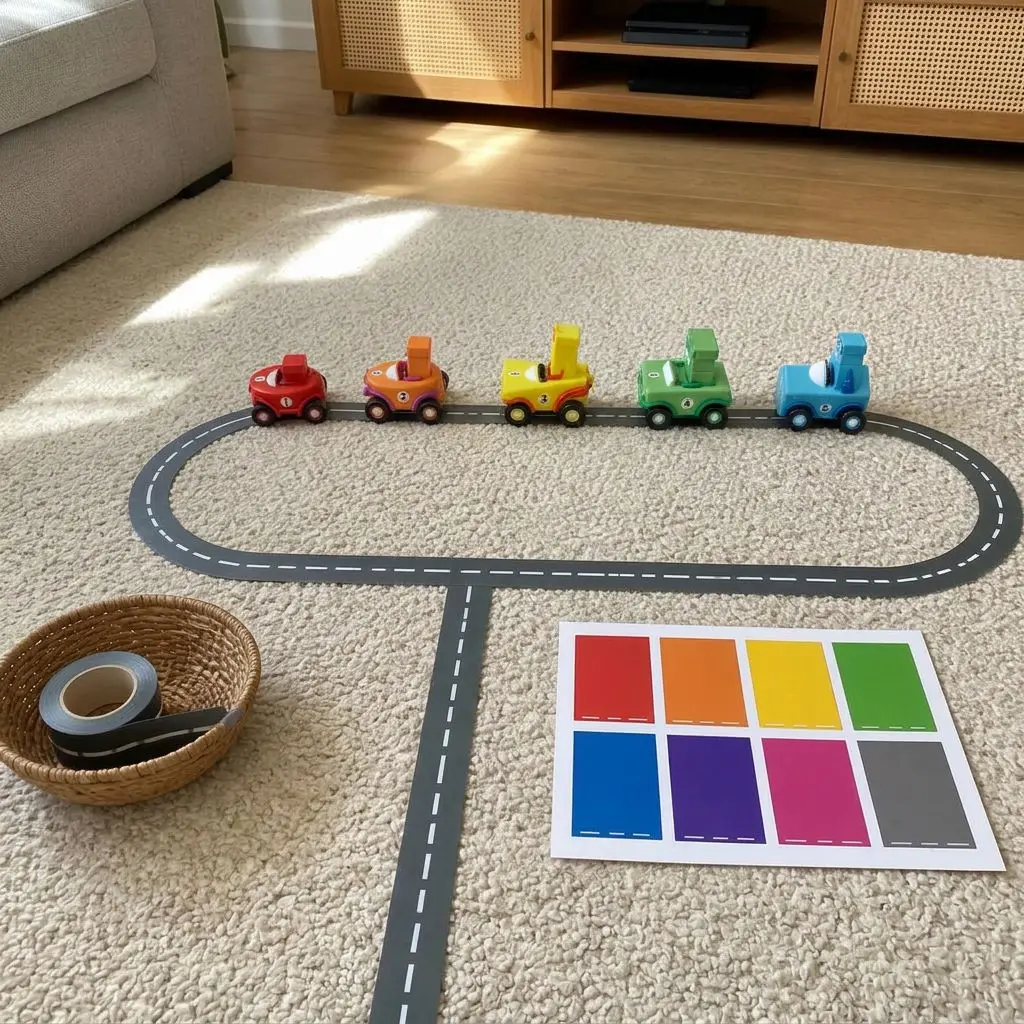
In the morning, spread a soft rug or blanket on the floor and tip the basket out together. Unroll the washi tape and let your child help lay out a road — a straight street, a big loop, a road with a turn and a T-junction. The tape peels off cleanly, so you can rearrange as you go.
- 4
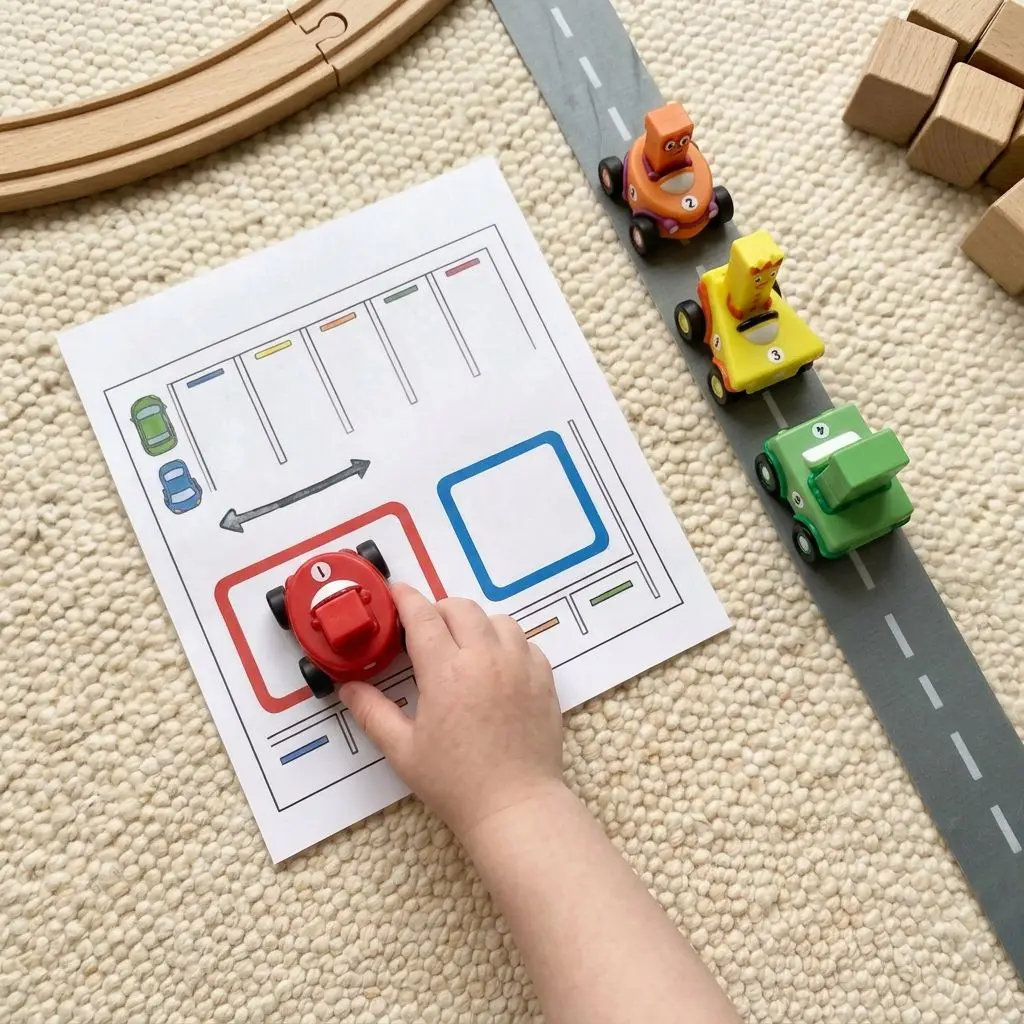
Place the printed parking lot page at one end of the road — this is the 'garage'. The Numberblocks start parked here and walk out onto the street.
- 5
For the Color Parking Lot: after each trip along the road, invite your child to park a Numberblock on the spot that matches its color (red 1, orange 2, yellow 3, green 4, and so on). Say the number and the color out loud together.
- 6
For the Numbered Parking Lot: line the Numberblocks up and take turns 'delivering' them in order — park number 1 first, then 2, then 3, all the way to 8. Great for early number recognition and one-to-one matching.
- 7
For younger children (2-3), focus on just the color page and only 3 or 4 Numberblocks at a time.
- 8
For older children (4-6), swap between the two pages: build a longer road, add a junction, and let two Numberblocks race to their numbered spot.
- 9
When play winds down, peel up the tape (roll it back onto the spool or bin it), and everything else nests back into the basket — figures in a little pouch, folded pages on top.