- 1
Download the Butterfly printable pack below and print all 7 pages on plain white paper (cardstock holds up better for the wing pieces and the wheel).
- 2
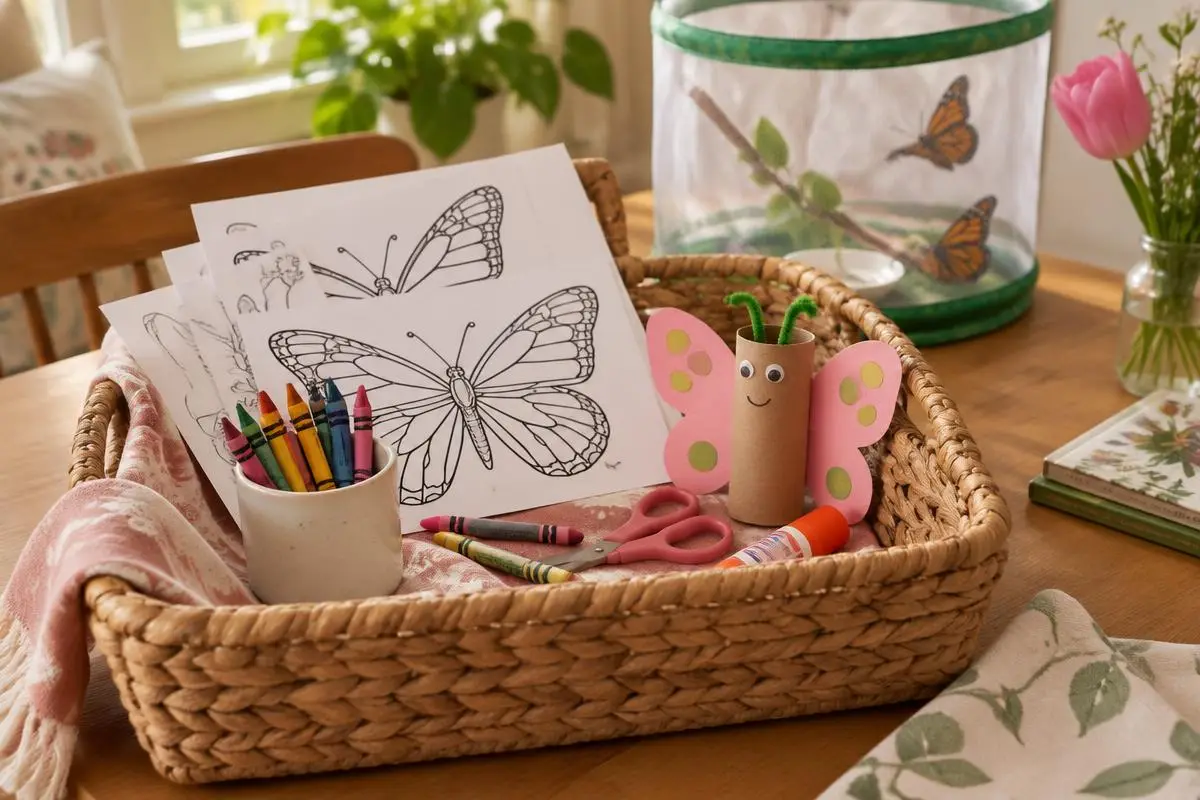
The night before, tuck the printed pages, the paints, the scissors, the glue stick and the empty paper roll into the basket so it is waiting in the morning.
- 3
Start outside: walk slowly and look for a butterfly, a caterpillar, or — easiest of all — a leaf with holes chewed in it. A nibbled leaf is proof a caterpillar was there, and children love that.
- 4
Back at the table, open with the Paint me page. Six butterfly outlines, six chances to mix a colour nobody has ever seen before. Let this part take as long as it takes.
- 5
Cut out the four life-cycle pieces — eggs, caterpillar, chrysalis, butterfly — and glue them into the four quarters of the blank wheel, going round in order.
- 6
Push the split-pin through the centre of the finished wheel and through a paper arrow so your child can spin it and point at the stage they want to tell you about.
- 7
The mirror-effect page is the drawing challenge: each butterfly is missing half, and the job is to draw the other side to match. Fold the page down the middle first if your child wants to check the two halves line up.
- 8
Colour the anatomy page, matching each word to the colour of that part of the butterfly — legs, proboscis, antennae, wings, body and head.
- 9
Finish with the wearable one: colour and cut out the wing pieces, glue them to the sides of the paper roll, cut a slit down the length of the roll so it opens, and slide it onto a wrist.
- 10
If you set up the hatching kit, park it somewhere visible and check it together every morning until the butterflies come out and you can open the mesh in the garden.