Craft Basket
Rolled Beeswax Candle Basket
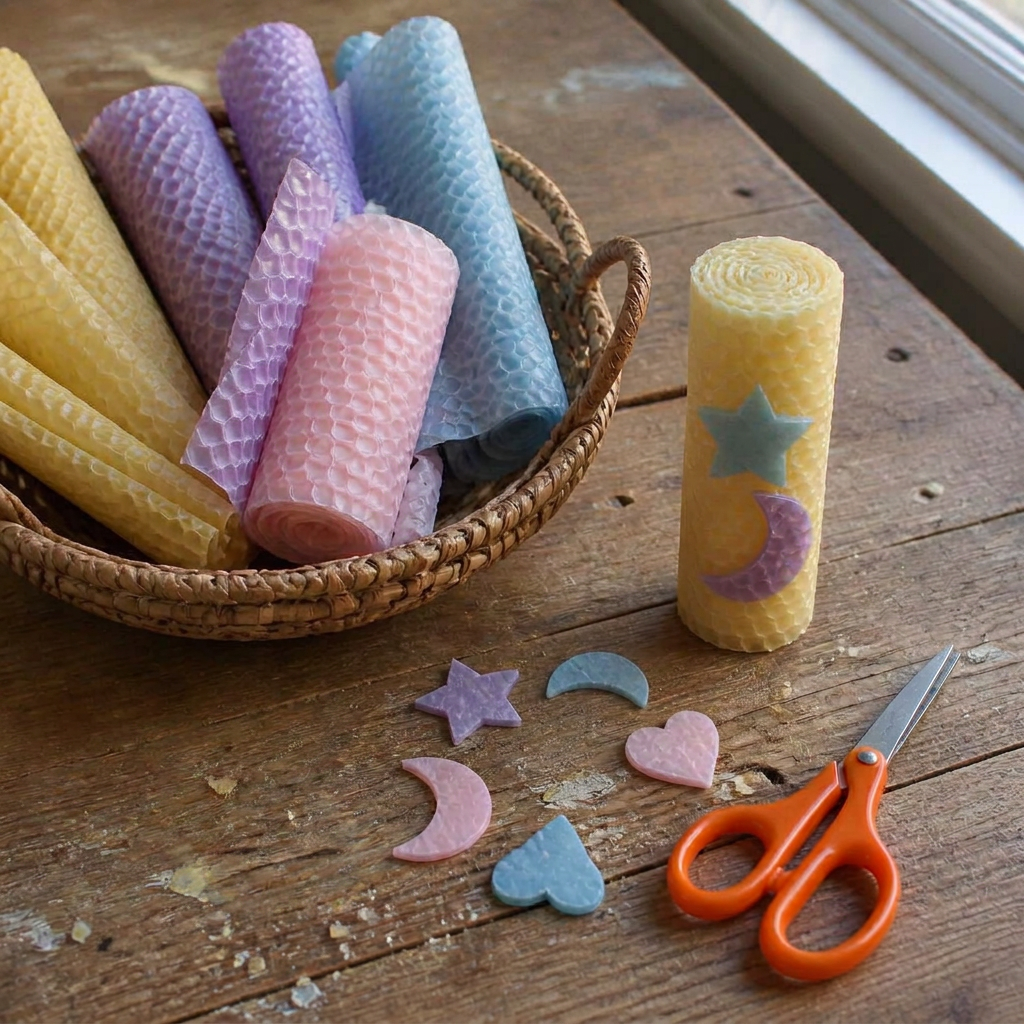
A calm candle-making basket with pastel honeycomb beeswax sheets in soft yellow, blue, purple, and pink, plus little wax stars and moons that stick on without glue.
Ages 3-68 min prep
A calm candle-making basket with pastel honeycomb beeswax sheets in soft yellow, blue, purple, and pink, plus little wax stars and moons that stick on without glue.
Prepare the basket the night before: place a few colorful beeswax sheets, wick pieces, scissors, and simple shape templates on a tray so everything feels ready and inviting.
In the morning, invite your child to choose a favorite color. Lay one beeswax sheet on the board with the honeycomb texture facing up. If the sheet feels stiff, warm it for a minute between your palms — no hot water or melted wax needed.
Place the cotton wick along one short edge of the sheet. Leave a small wick tail sticking out above the top of the wax so the candle shape makes sense to your child.
Help your child fold the first edge of wax snugly over the wick. This first tuck is the only tricky part, so do it together slowly.
Invite your child to roll the sheet forward with both hands, pressing gently as they go. The beeswax sticks to itself, so the candle closes without glue.
When the candle is rolled, press the seam with warm fingers for a few seconds until it stays closed. Let your child stand it upright and notice the spiral at the top.
Use scraps of beeswax sheet to cut simple decorations: a star, crescent moon, small heart, or tiny strips. Mix colors — a blue star on a yellow candle, a purple moon on a pink candle. For younger children, cut the shapes yourself and let them choose where they go.
Show your child how to press a wax shape onto the candle with warm fingers. Wax sticks to wax, so the decorations attach by gentle pressure only.
Place the finished candle in the basket or on a little tray. Keep it as a handmade seasonal decoration, or save it for an adult-supervised lighting moment later.
This is a making activity, not a fire activity. Do not light the candle during independent child play, and keep matches and lighters completely out of the basket. For ages 3-4, pre-cut the shapes and focus on rolling and pressing. For ages 5-6, offer scissors and let them design the candle with simple wax cutouts.