Home/Nature Basket/The Pinecone Basket: 10 Things To Do With Pinecones
The Pinecone Basket: 10 Things To Do With Pinecones
Nature Basket

The Pinecone Basket: 10 Things To Do With Pinecones

One basket of pinecones and ten different mornings: a weather station that really works, a bird feeder, scale art, a hatching chick, borax crystals, tiny trees, potpourri, a bracelet stand, fire starters and dipped wax candles.

This page may contain affiliate links. I earn a commission from qualifying purchases.
Ages 3-810 min prepSave to Pinterest

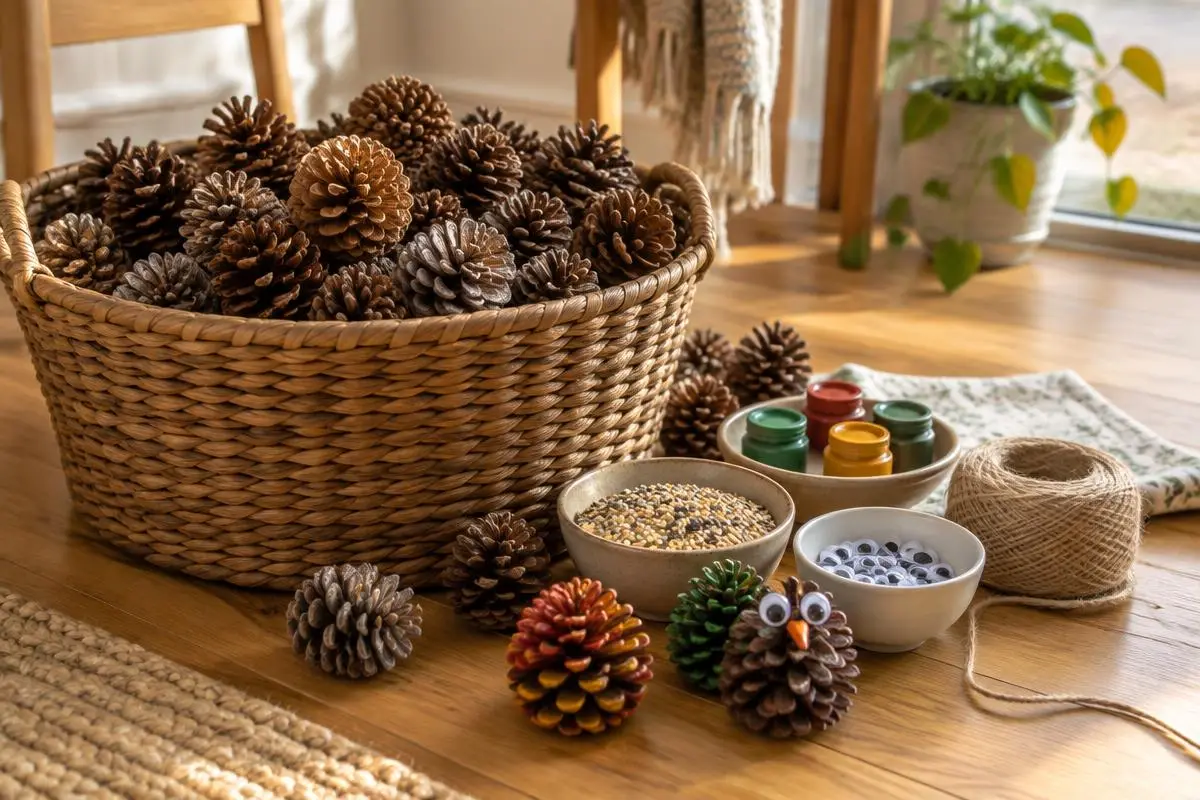
We came home from one autumn walk with forty pinecones in a tote bag, and I have never once regretted it. They went into a basket by the back door and we have been pulling things out of that basket ever since.

What I love about pinecones is that they are free, they are already beautiful, and they hold their shape through absolutely anything — paint, wax, birdseed, borax, glue. A four-year-old cannot really ruin one.

This is everything we have made with ours, from the slow weather experiment that started it all to the candles we dip every December. Each idea below has its own small supply list, so you can pick one for tomorrow morning and leave the rest for another week.

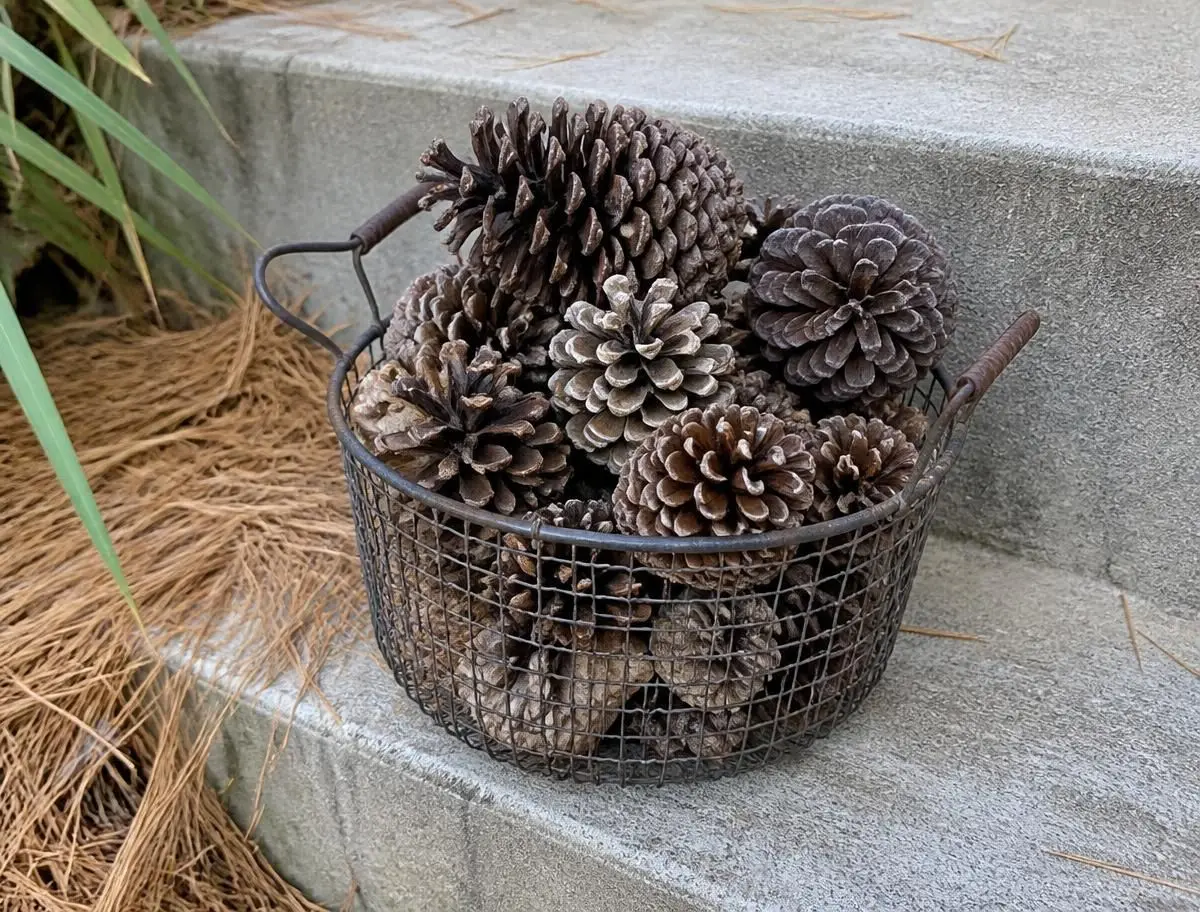
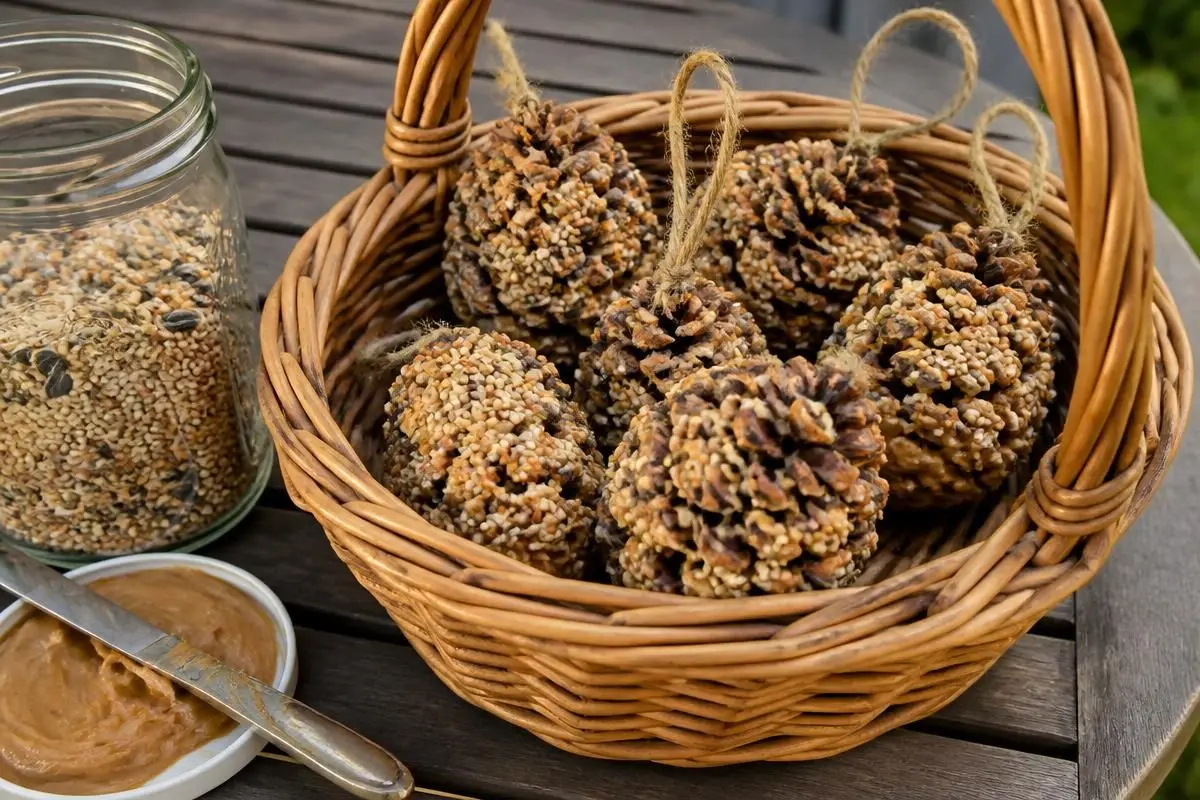
The basket by the door: cones in every size, paint, twine and birdseed.
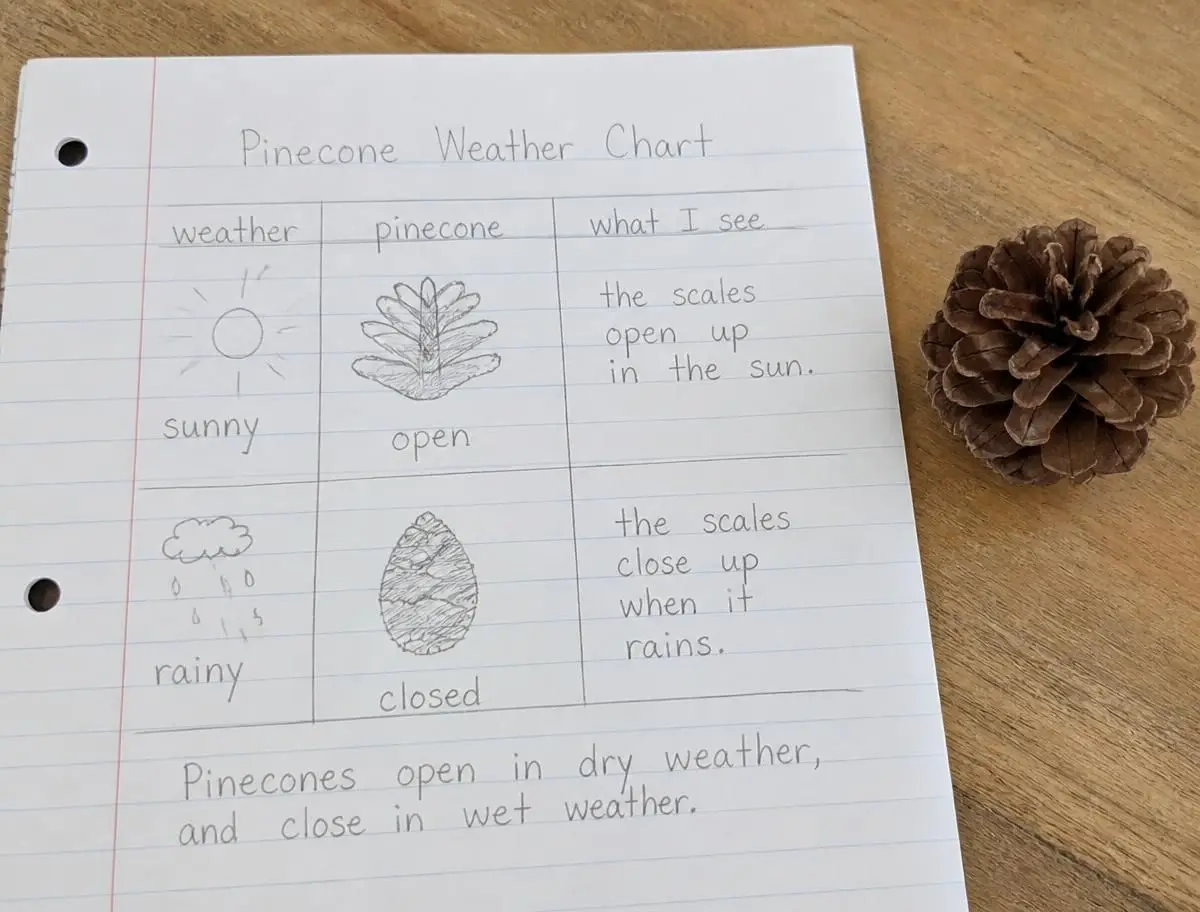
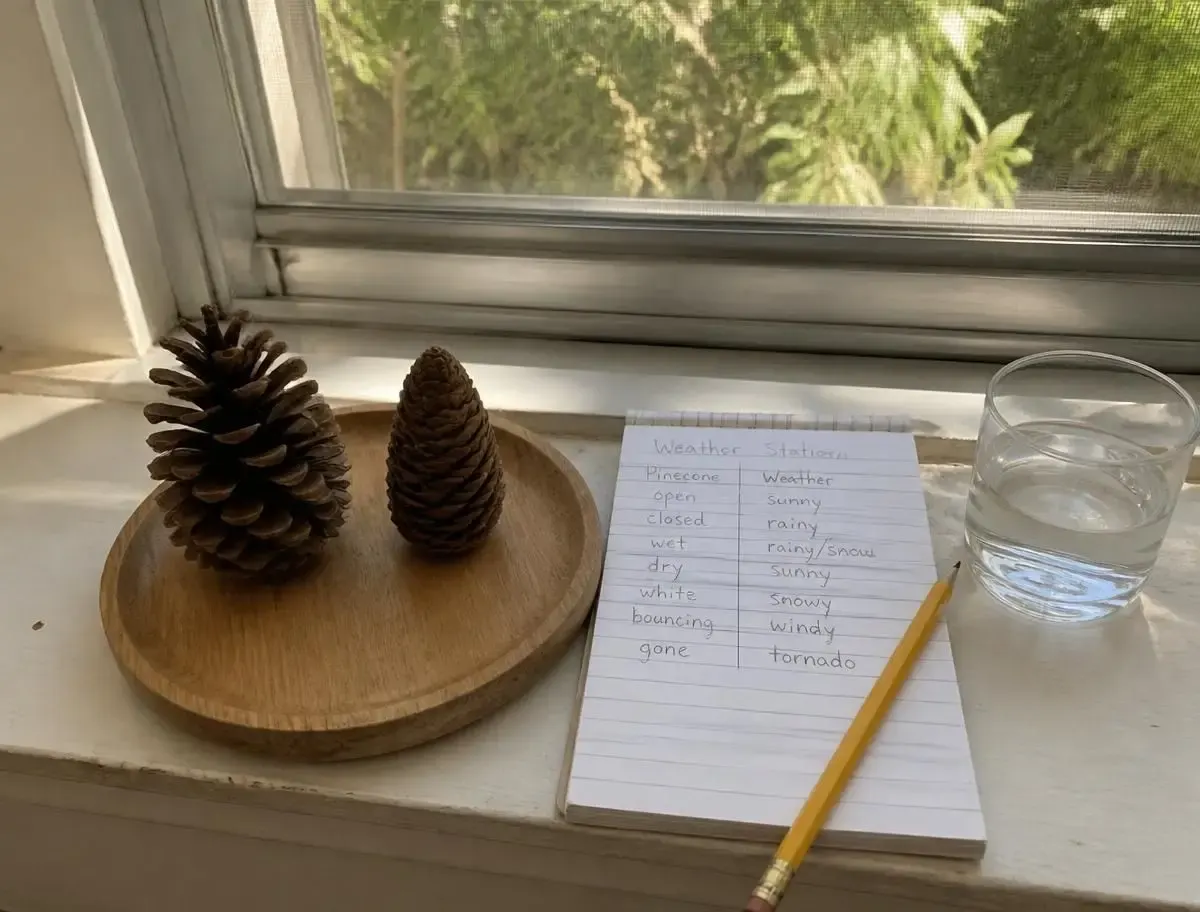
Marking the weather chart at breakfast: open, half, closed.
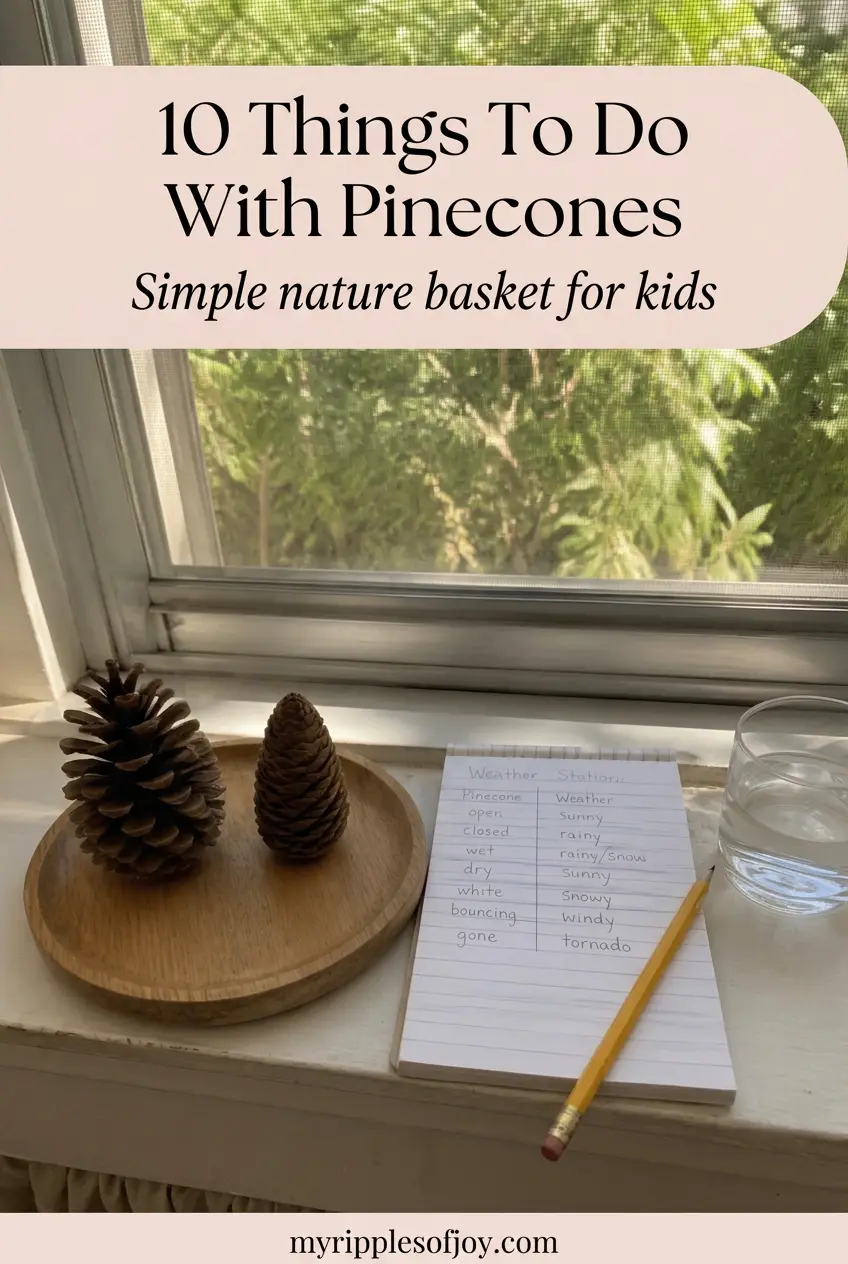
The weather station itself: two cones, two saucers, a chart.
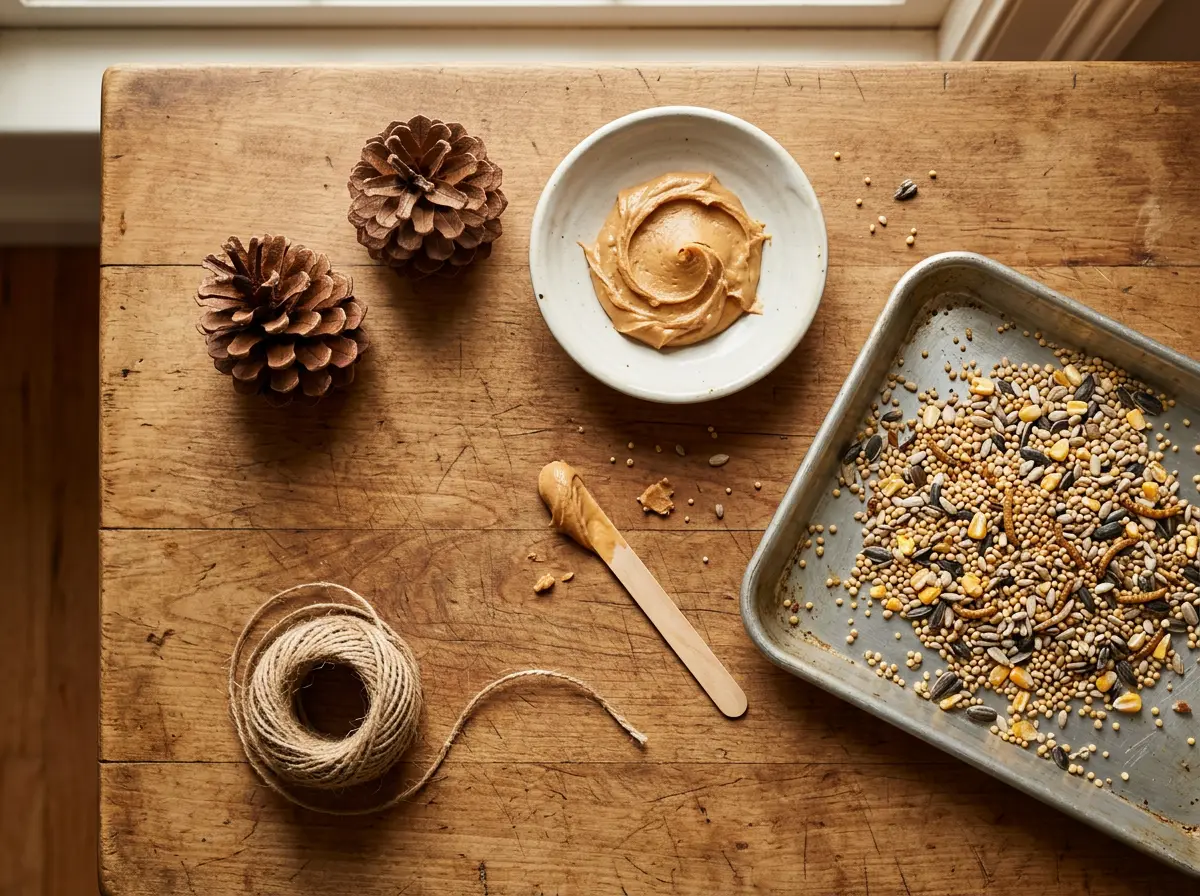
Peanut butter on, seed tray waiting.
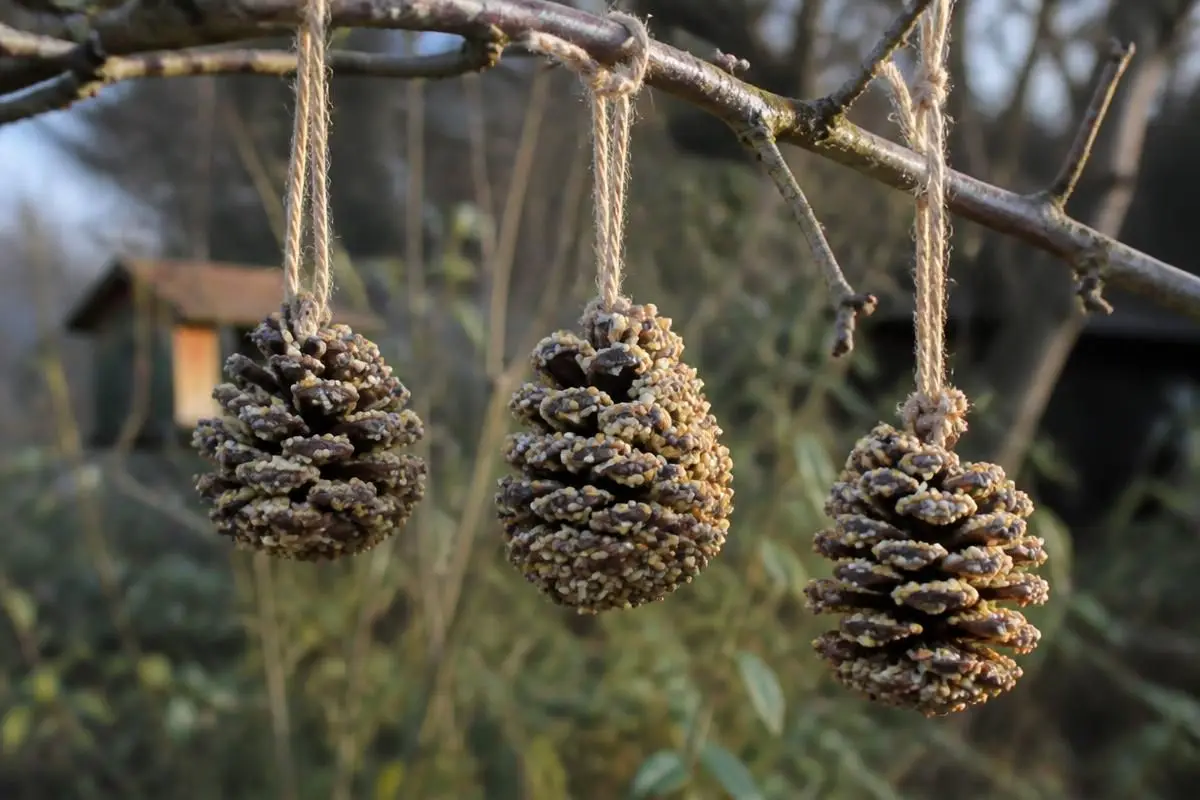
Feeders hanging on a branch we can see from the kitchen window.
A finished feeder, coated right down between the scales.

What you'll need

  • A basket of pinecones in mixed sizes — some wide open, some still tightly closed
  • An old sheet or newspaper for the table, and an apron
  • Craft paints, a few brushes and a glue stick
  • Strong PVA or tacky glue for anything three-dimensional
  • Garden twine, cut into 30cm lengths before you start
  • A tray for each child, so everyone's pile stays their own
  • Everything else is listed inside each idea below — most of it is already in your kitchen

Want more quiet time? Slip a few pages from our free Autumn coloring book into the basket.

How to make it

  1. 1

    Go on a walk with a bag and collect far more cones than you think you need. Open ones and closed ones behave differently, so take both.

  2. 2

    Shake them out on the doorstep, then soak them for ten minutes in warm water with a splash of vinegar to shift dirt and anything living inside.

  3. 3

    Spread them on a baking tray and dry them in a low oven, 90°C for an hour, or on a sunny windowsill for two days. They will open right up as they dry.

  4. 4

    Tip them into a basket where your child can reach them without asking, and keep it there all season.

  5. 5

    Then pick an idea from below for a morning. Each one has its own short supply list and a few steps — you do not need to do them in order.

The Pinecone Basket: 10 Things To Do With Pinecones, pin it for later
Pin it for laterSave to Pinterest

1. The pinecone weather station

You'll need: two dried pinecones, two saucers, a bowl of water, a tea towel, and a sheet of paper ruled into a week.

Pinecones open their scales in dry air and close them when the air is damp — it is how the tree protects its seeds. This is a real experiment with a real result, and it is the one that has lasted longest in our house.

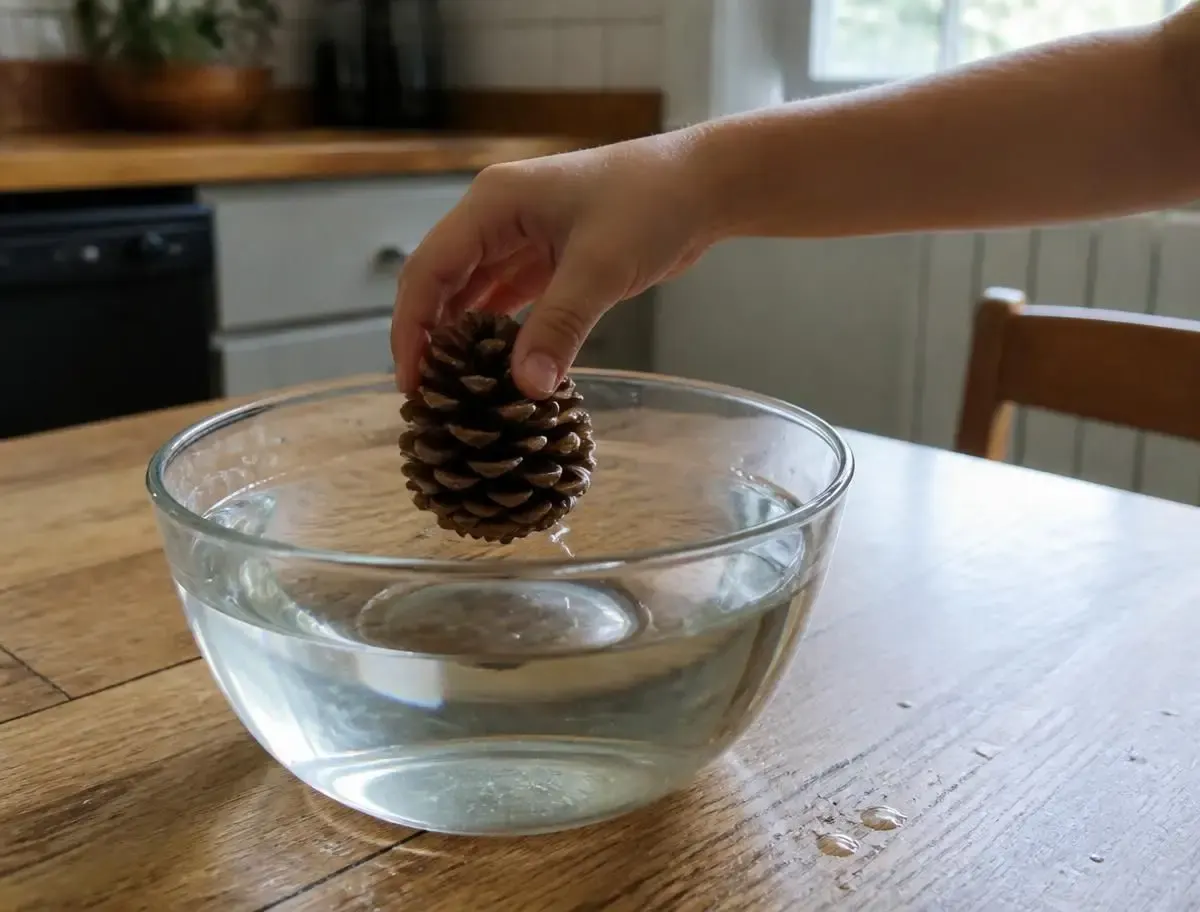
Put one cone on a saucer on the windowsill and leave it alone. That one is the weather station. Drop the second into a bowl of water and watch over the next hour as the scales pull shut — it happens fast enough for a child to actually see.

Lift the wet one out, sit it on a towel in the sun, and by tomorrow it will have opened again. Then check the windowsill cone every morning at breakfast and mark the chart: open, half, or closed. Look out of the window at the same moment and draw the real weather beside it. Compare at the end of the week.

The scales closing in a bowl of water — it happens fast enough to watch.

2. The pinecone bird feeder

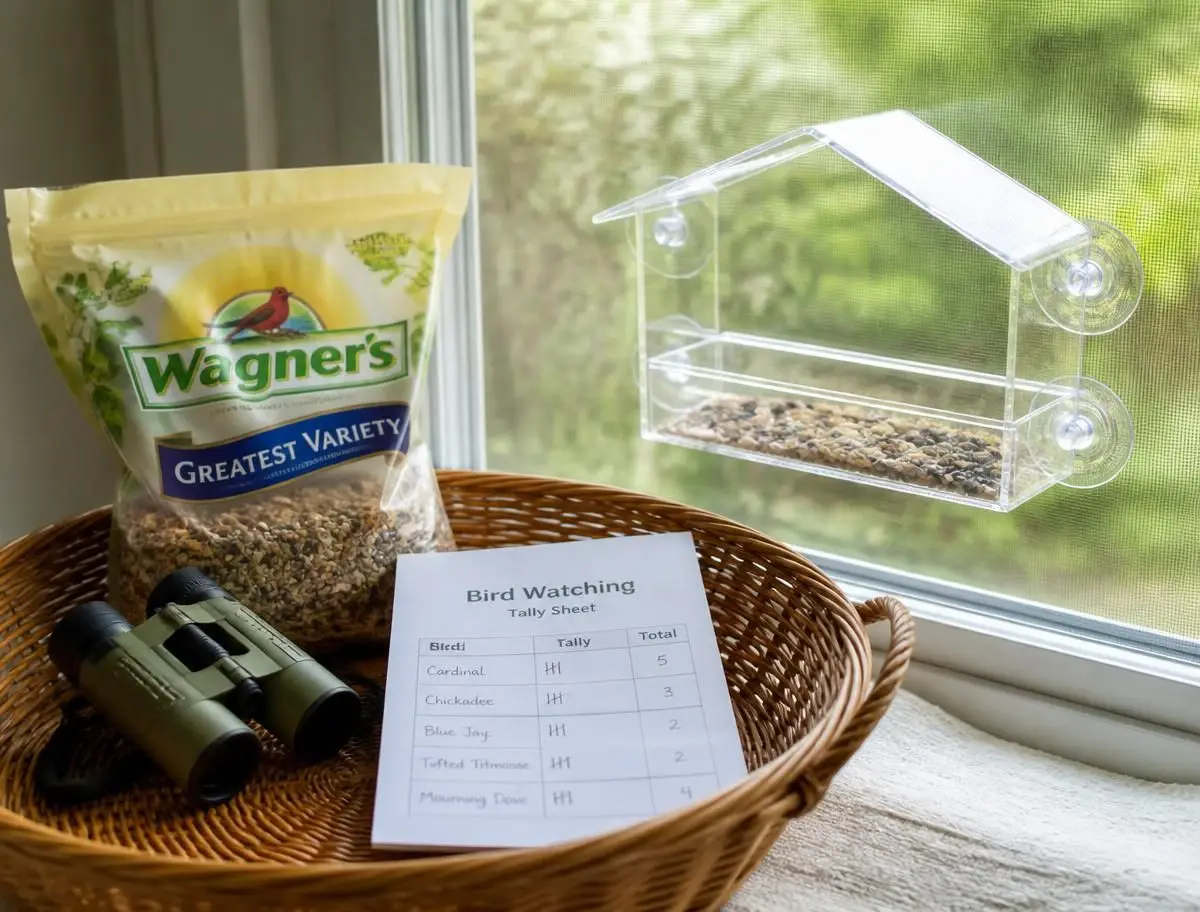
You'll need: five or six open pinecones, peanut butter (or sunflower seed butter if there are nut allergies), a baking tray of birdseed, garden twine, a lolly stick for spreading, and a bowl of warm soapy water ready in advance.

Tie a loop of twine around the top of each cone first, while it is still clean and easy to hold. Pour a thick layer of birdseed into the tray.

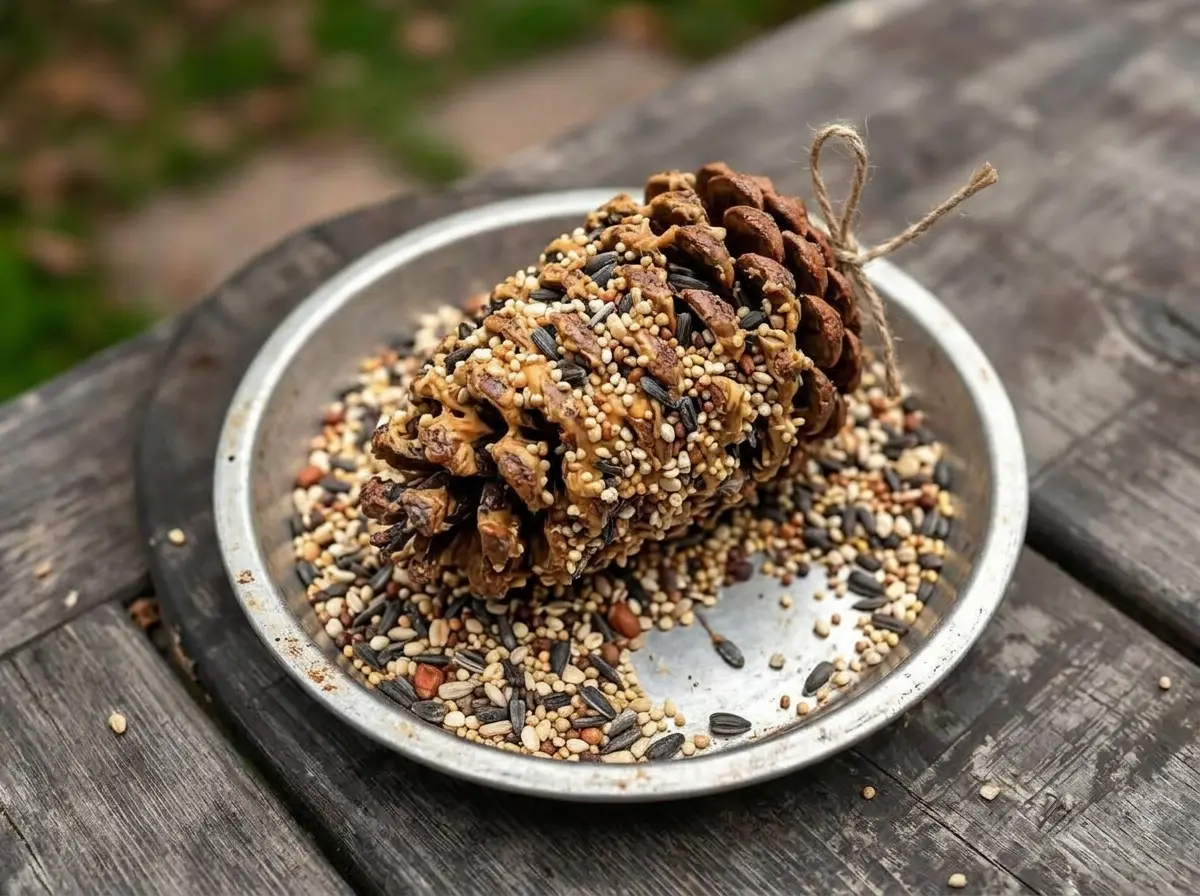
Let them spread the peanut butter over the cone with a lolly stick, right down between the scales, then roll and press it through the seed with both hands until it is completely coated. This is the messy part they came for, and it is properly allowed.

Lay them on a plate in the fridge for twenty minutes to set firm, then choose a branch together — visible from a window, out of reach of cats. Hang them, come back inside, and stay very still by the glass for five minutes. Birds need the quiet.

Keep a tally by the window of who came: sparrow, blue tit, pigeon, squirrel. Ours checked that branch first thing every morning for two weeks.

Rolled through the seed until every sticky scale is covered.

3. Pinecone scale art: roofs, balloons and petals

You'll need: a few pinecones to pull apart, a glue stick or PVA, paper, crayons or pencils, and paints if you want the scales coloured.

Snap the scales off an open cone by hand — they come away easily and a child can do a whole cone in a few minutes. You end up with a bowl of little brown teardrops that look like tiles, or petals, or balloons, depending on what you draw around them.

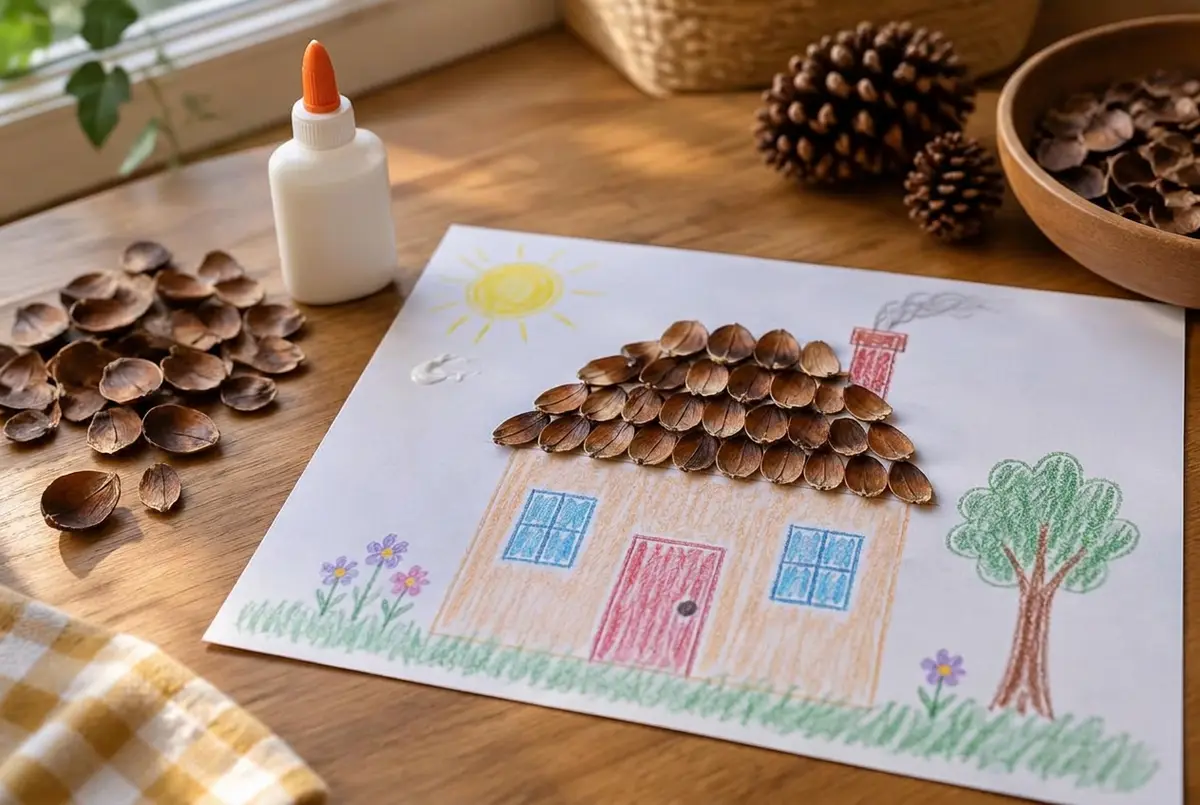
Draw a simple house on the paper and glue the scales in overlapping rows across the roof, starting from the bottom edge so each row tucks under the next, exactly like real tiles.

Or draw a bunch of balloon strings rising from one point, paint the scales in pastel colours, and glue one at the top of each string. Same for flower petals around a painted centre, or feathers on a drawn owl.

Scales glued in overlapping rows make a roof that stands off the page.

4. Painted scale balloons

You'll need: loose pinecone scales, acrylic or poster paint in soft colours, a thin brush, a pencil, white paper and PVA glue.

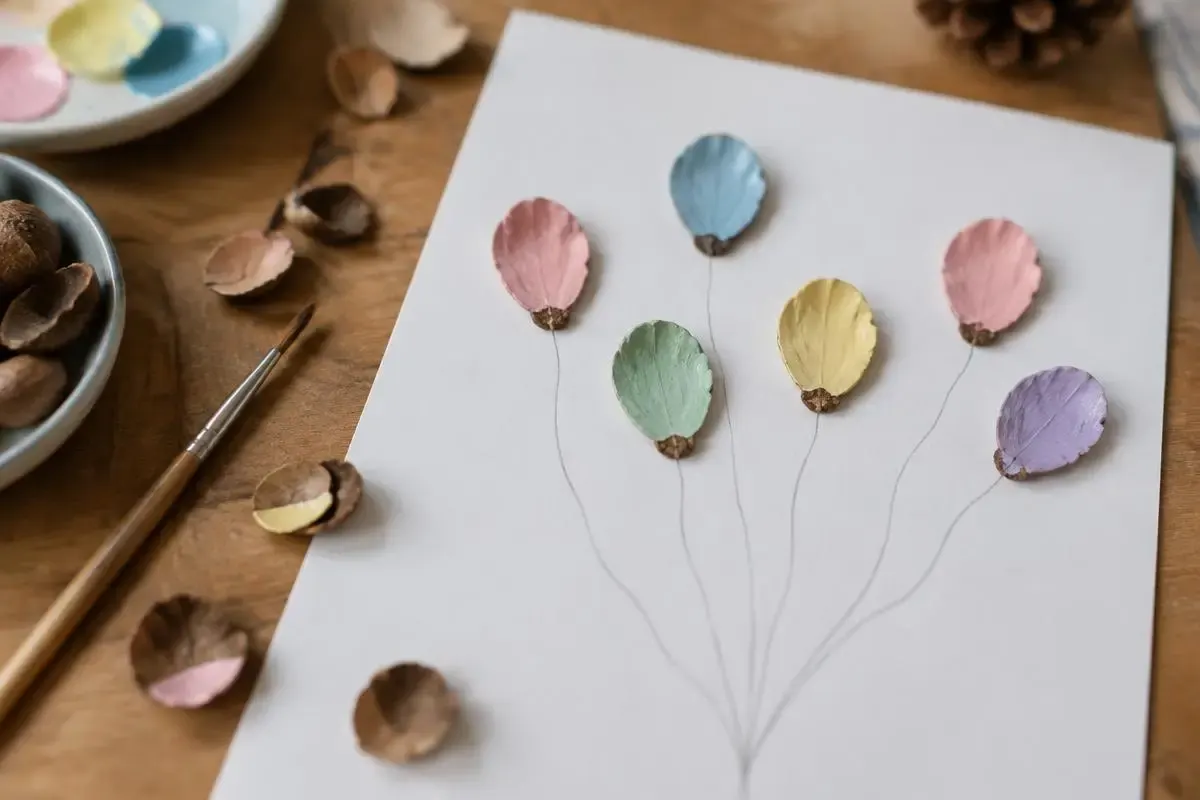
Paint the flat side of each scale one colour and leave them on baking paper to dry — ten minutes is usually enough.

Draw long curved strings on the paper, all rising from the same spot at the bottom. Glue one painted scale at the top of each string, fat end up, so it reads as a balloon.

It is a lovely first lesson in how a shape can stand for something else. Ours ended up as a birthday card.

Six painted scales and six pencil strings — a balloon bunch that stands off the page.

5. The hatching pinecone chick

You'll need: one small round pinecone, a balloon, newspaper strips, flour-and-water paste or PVA, orange paper for the beak, two googly eyes, and strong glue.

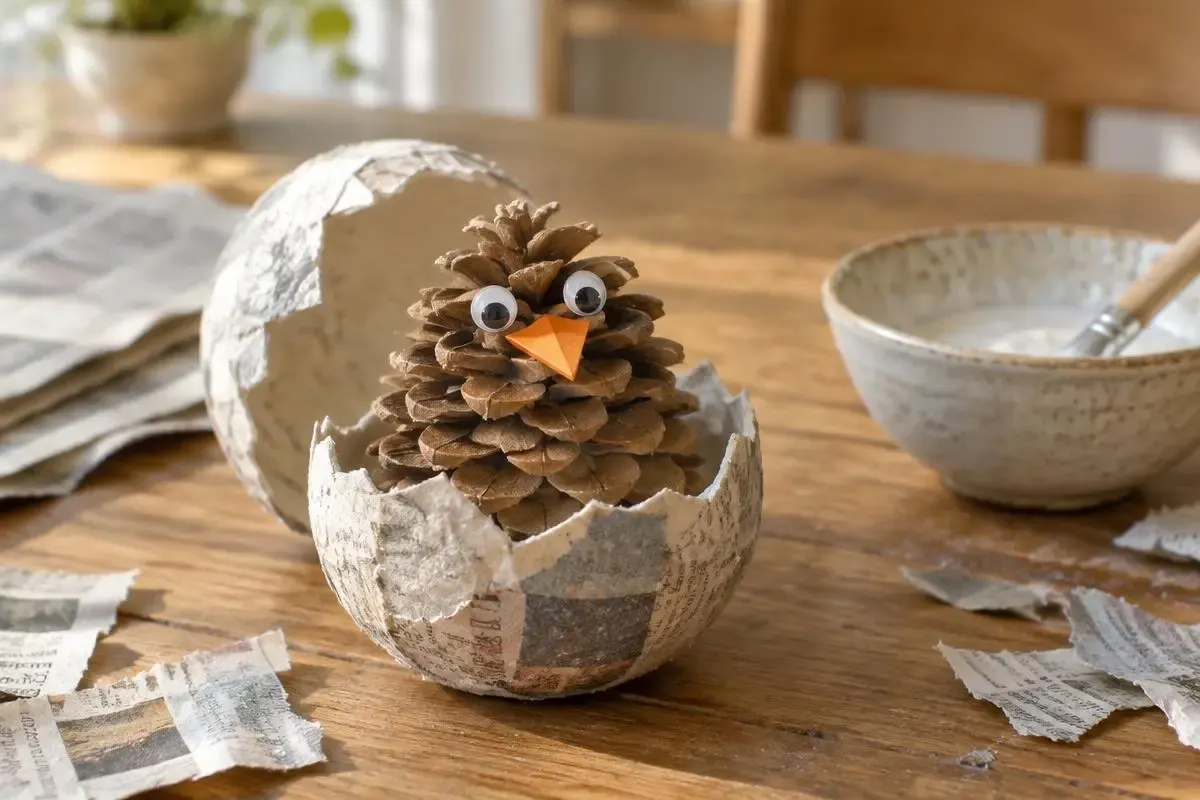
Blow up a balloon to roughly the size of a large egg and cover it in three layers of newspaper strips dipped in paste, leaving it to dry properly overnight between layers. Pop the balloon and cut a jagged crack around the middle so the top lifts off like a hatching shell.

Paint the shell cream or white. Fold a small square of orange paper in half into a triangle for the beak and glue it to the front of the pinecone, then add the two googly eyes just above it.

Sit the chick inside the bottom half of the shell with the cracked-off piece leaning beside it. The scales do the work — they genuinely look like downy feathers, and nobody can walk past it without picking it up.

The scales read as feathers; a paper beak and two eyes do the rest.

6. Borax pinecone crystals

You'll need: a small pinecone, a clean glass jar, borax powder, boiling water, string and a pencil. This one is an adults-pour, children-watch activity.

Tie the string around the top of the cone and the other end around the pencil, so the cone hangs freely without touching the sides or bottom of the jar.

Boil the water and stir in three tablespoons of borax for every cup, until no more will dissolve. Pour it into the jar, lower the cone in, and rest the pencil across the rim.

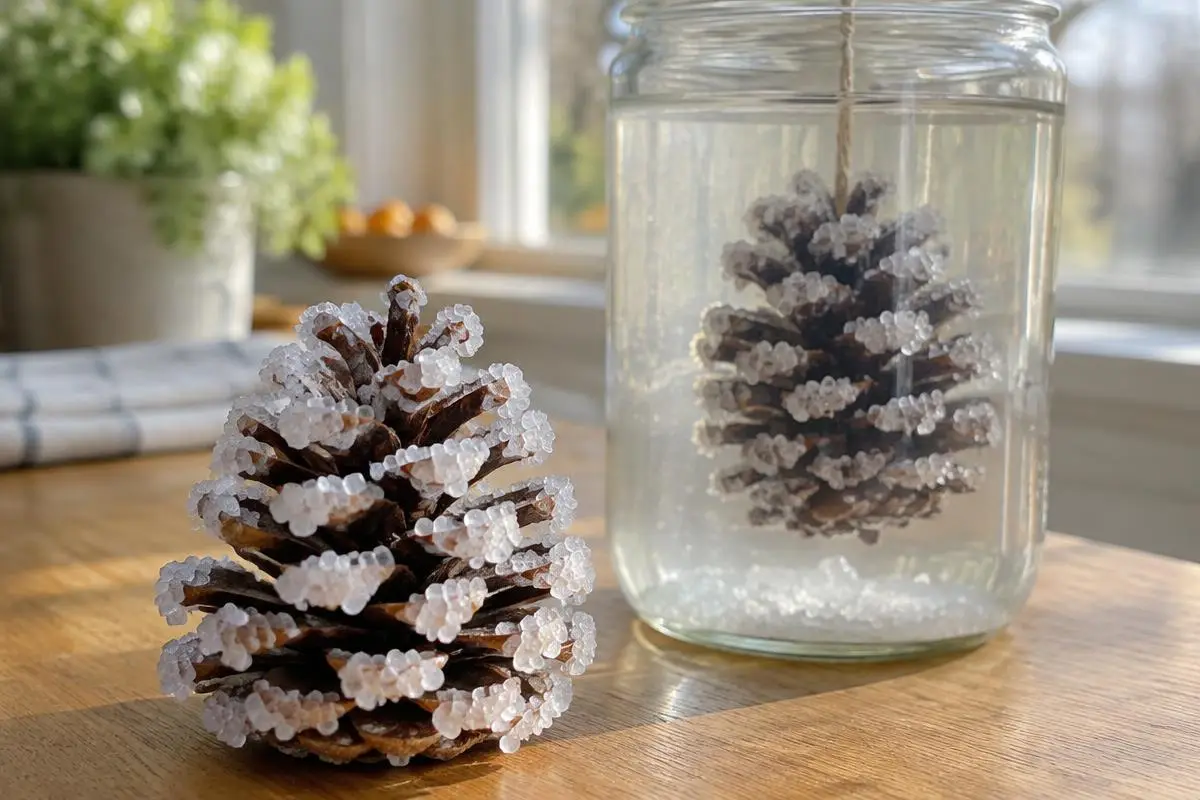
Leave it somewhere it will not be knocked, and look at it after a few hours, then again in the morning. The cone comes out furred with sparkling white crystals. Lift it out gently and dry it on a towel.

Keep borax out of reach and wash hands afterwards — the pouring is yours, the watching is theirs, and the watching is the good part anyway.

Crystals grow overnight on a cone hung in borax solution.

7. A tiny pinecone Christmas tree

You'll need: a tall narrow pinecone, a small polystyrene or wooden disc for the base, green paint, a brush, strong glue, and anything small and shiny for decorating.

Push the pointed tip of the cone into the polystyrene disc so it stands upright, then lift it out, add a blob of strong glue and press it back in. Leave it to set.

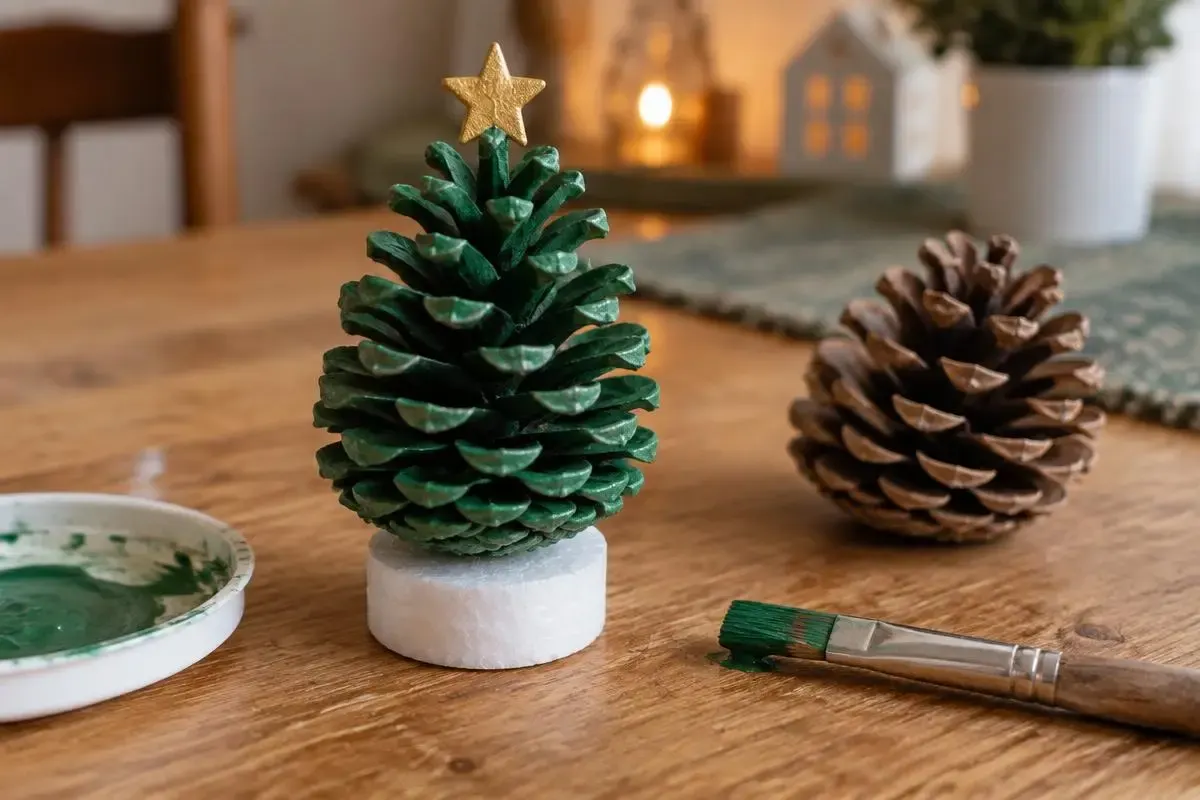
Paint the whole cone green, working the brush down between the scales. Two thin coats look far better than one thick one.

Once dry, dab tiny spots of paint or glue-and-glitter on the scale tips for baubles, and add a small star cut from gold card at the top. A row of these along a windowsill in December is a very good use of a Tuesday.

A narrow cone, a polystyrene base, two coats of green and a paper star.

8. Pinecone potpourri

You'll need: a handful of small dried pinecones, dried orange slices, cinnamon sticks, star anise, dried lavender, a shallow bowl, and a few drops of essential oil (orange, cinnamon or pine).

Slice an orange thinly and dry the slices in the oven at 90°C for two to three hours, turning once. This alone makes the house smell wonderful.

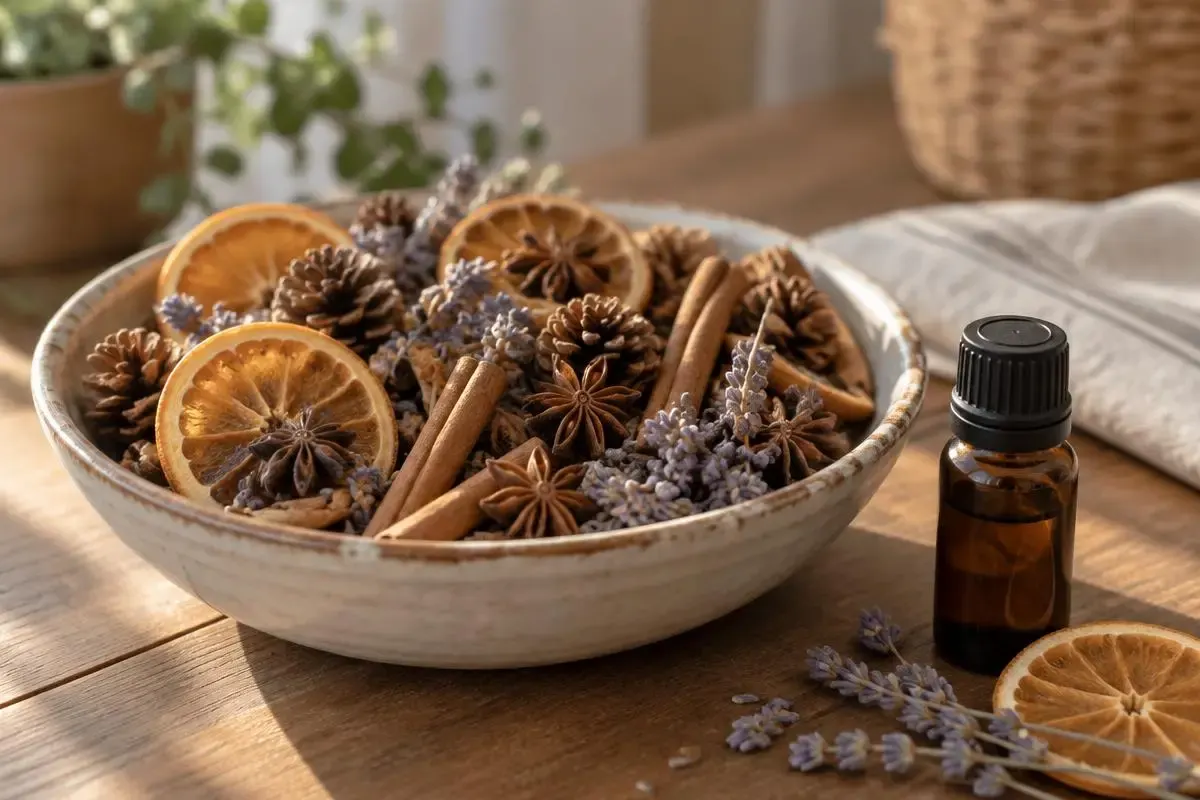
Let your child fill the bowl: cones first, then the orange slices tucked between them, then cinnamon sticks, star anise and a scatter of lavender. Sorting and arranging is the whole activity for a three-year-old.

Add a few drops of essential oil onto the cones — they soak it up and hold the scent for weeks. Give it a shake whenever the smell fades and add another drop.

Cones, dried orange, cinnamon and lavender — a bowl they can arrange themselves.

9. A pinecone bracelet stand

You'll need: one closed, narrow pinecone, a fist-sized ball of air-dry clay, a little water, and bracelets or hair ties to hang on it.

Roll the clay into a ball and press it down onto the table into a smooth round dome, about as wide as a teacup saucer. Smooth the edges with a wet fingertip.

Push the pointed tip of the closed cone down into the centre of the dome until it stands up straight on its own. Check it from all sides and straighten it before the clay starts to firm up.

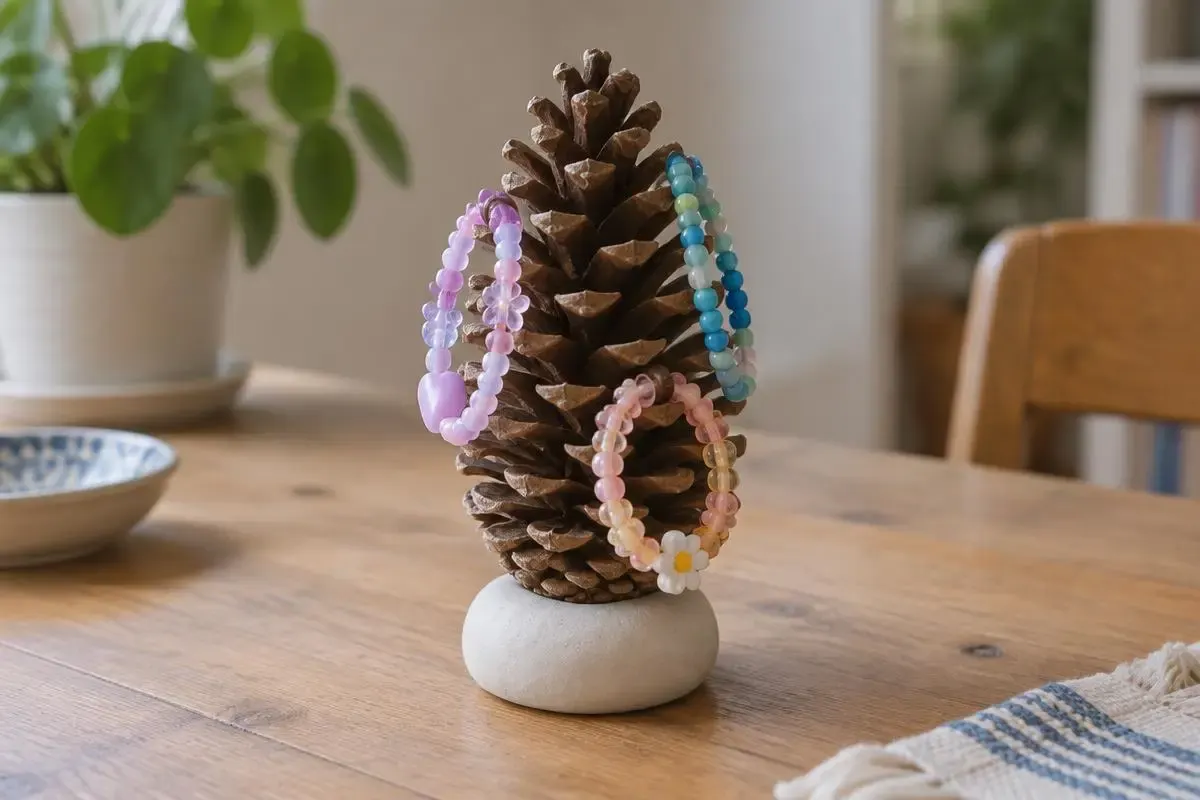
Leave it to dry for a day or two, then hang bracelets over the scales. A closed cone works best here — the scales sit close to the body and the bracelets slide down and stay put.

A closed cone in a clay base holds a whole morning's beaded bracelets.

10. Pinecone fire starters

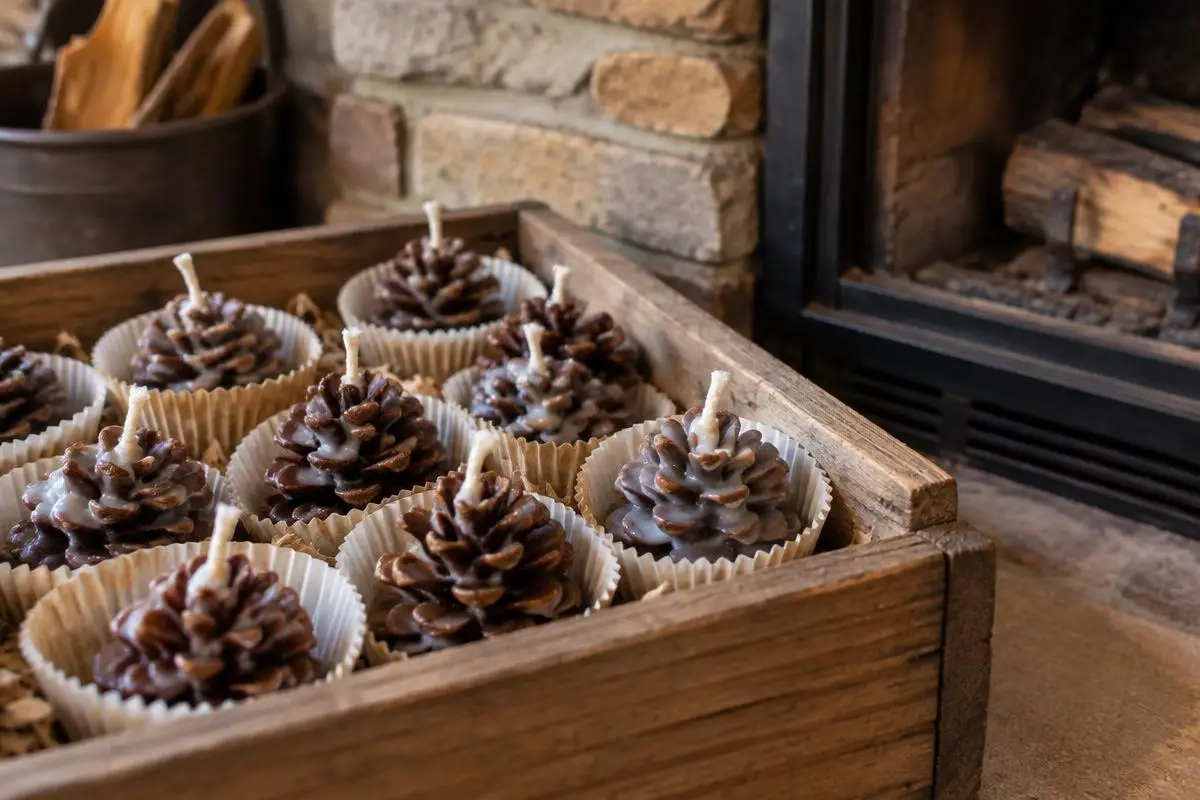
You'll need: dry open pinecones, paper cupcake liners, old candle stubs or soy wax, a heatproof jug set in a pan of simmering water, and short lengths of cotton wick or string.

Sit one cone in each cupcake liner and lay a length of wick up the side of the cone so a couple of centimetres stick out above the top.

Melt the wax in the jug over simmering water — this part is entirely yours. Spoon it over the cones until the liner is filled and the scales are coated, then leave everything to set hard.

Children can help by choosing the cones, pressing them into the liners and sprinkling a little cinnamon on top before the wax sets. One of these under the kindling lights a fire on the first match.

Wax poured over cones in cupcake liners — one lights a fire on the first match.

11. Dipped pinecone candles

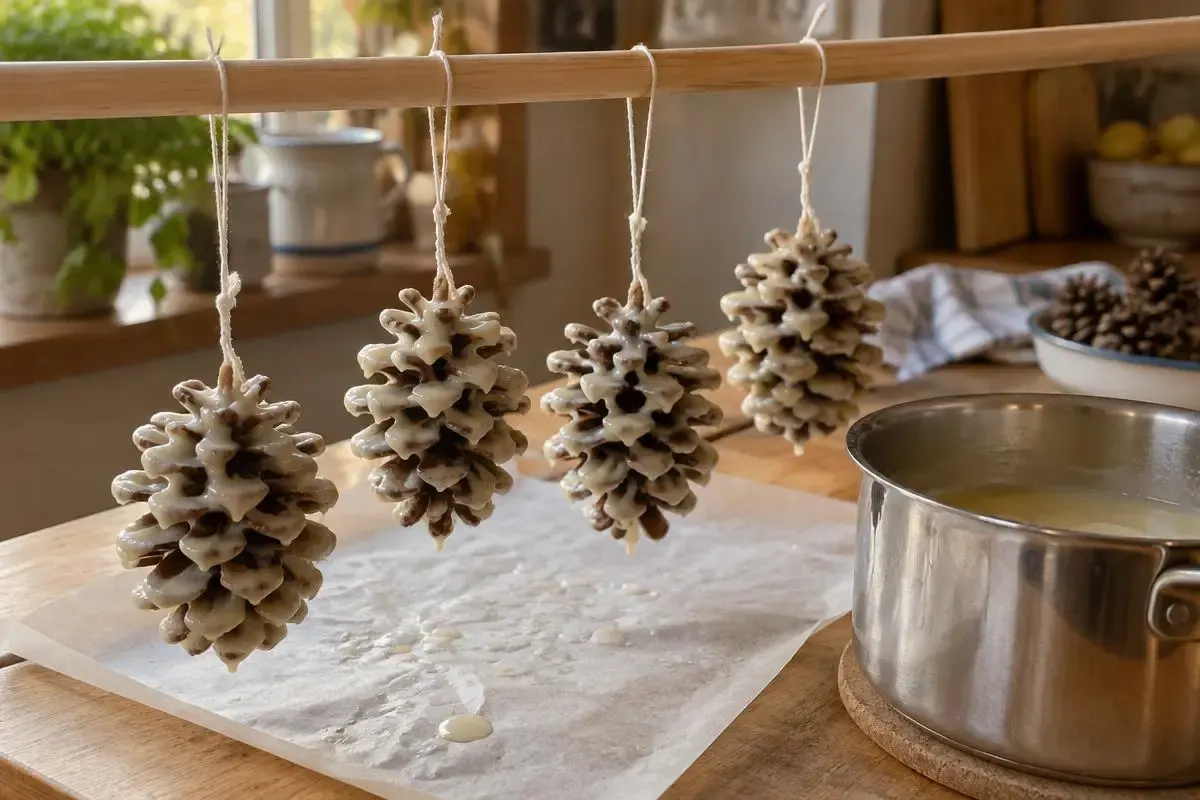
You'll need: dry pinecones, cotton candle wick or thick string, soy or paraffin wax, a tall heatproof jug in a pan of simmering water, baking paper, and a dowel or broom handle balanced between two chairs.

Tie the wick tightly around the very top of the cone with a long tail left free, so the cone hangs point-down and the wick stands up like a candle when you turn it the right way up.

Melt the wax and dip the whole cone in, then lift it straight out and hold it in the air for thirty seconds until the wax goes dull. Dip, lift, wait. Dip, lift, wait. Ten dips builds a proper thick coat.

Hang them from the dowel over baking paper to cool completely. The dipping is an adult job with a small child narrating beside you, and the counting of dips keeps them entirely absorbed.

Burn them outdoors or on a wide heatproof dish, never unattended — a wax-coated cone burns brightly and drips.

Dip, lift, wait — ten times over, then hang them to cool.

Tip

Collect twice as many cones as you need and dry them properly — a low oven for an hour deals with anything living inside and opens the scales right up. Keep one closed cone aside for the bracelet stand and one fully dried open cone for the weather station; those two need opposite things. And anything involving hot wax or borax is a grown-up job with a child watching from the other side of the table.

Loved this basket?

Covers of the four Ripples of Joy coloring books: spring, summer, autumn and winter

Get our 4 Seasons coloring pack, free

Four printable nature coloring books, about 100 pages of animals, flowers and treasures from every season. Then one small idea a week: a craft secret, a nature whisper, or a question for your family table.

By subscribing you agree to our Privacy Policy. Free, every Sunday morning. No spam, and you can unsubscribe anytime.

Keep the magic going

Next basket to explore