Craft Basket
Plaster Mosaic Clock
A shimmering mosaic disc that grows into a real working clock — a keepsake made from tiny colorful tiles.
Ages 4-630 min plus overnight drying prep
A shimmering mosaic disc that grows into a real working clock — a keepsake made from tiny colorful tiles.
Adult only: mix plaster with water to a pancake-batter consistency. Pour into the mold about 2 cm thick.
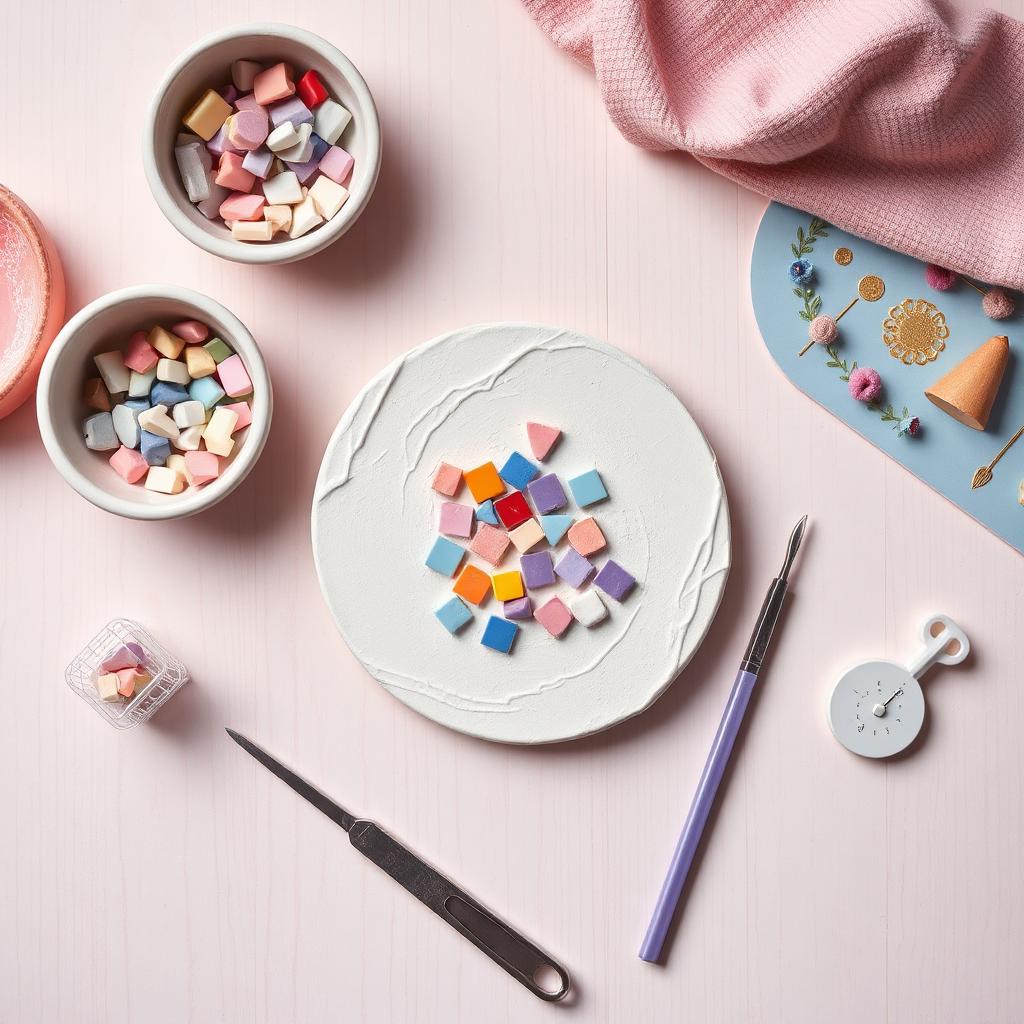
While it's still soft, let your child gently press mosaic tiles into the surface, leaving the exact center clear.
Push a pencil through the center to make a small hole for the clock stem, then wiggle it out.
Let the plaster set undisturbed for 24 hours until it's completely dry and cool.
Pop the disc out of the mold. If any tiles are loose, dab a little glue underneath and press back in.
Adult only: push the clock stem through the center hole from the back. Screw the nut on the front, then attach the hour, minute, and second hands.
Add a battery, spin the hands to a fun time, and hang it up in your child's room.
Talk about the numbers 12, 3, 6, 9 as you place the four tiles at those spots — a lovely first introduction to reading a clock.